配置Swagger的两种方式以及swagger权限验证、安全控制
前言
swagger是什么?
Swagger 是一个规范且完整的框架,用于生成、描述、调用和可视化 RESTful 风格的 Web 服务。
Swagger 的目标是对 REST API 定义一个标准且和语言无关的接口,可以让人和计算机拥有无须访问源码、文档或网络流量监测就可以发现和理解服务的能力。当通过 Swagger 进行正确定义,用户可以理解远程服务并使用最少实现逻辑与远程服务进行交互。与为底层编程所实现的接口类似,Swagger 消除了调用服务时可能会有的猜测。
Swagger 的优势
- 支持 API 自动生成同步的在线文档:使用 Swagger 后可以直接通过代码生成文档,不再需要自己手动编写接口文档了,对程序员来说非常方便,可以节约写文档的时间去学习新技术。
- 提供 Web 页面在线测试 API:光有文档还不够,Swagger 生成的文档还支持在线测试。参数和格式都定好了,直接在界面上输入参数对应的值即可在线测试接口。
一、springboot配置Swagger的两种方式
方式1:使用配置文件来配置Swagger设置
1.在pom.xml文件添加依赖
        <dependency>
            <groupId>com.spring4all</groupId>
            <artifactId>swagger-spring-boot-starter</artifactId>
            <version>1.8.0.RELEASE</version>
        </dependency>
2.在配置文件application.yml添加配置
swagger:
  base-package: 'com.itfuture.controller'
  base-path: '/**'
  title: '注解方式的Swagger'
  description: '这是注解方式的Swagger'
  version: '2.0'
  license-url: 'https://www.apache.org/licenses/LICENSE-2.0.html'
  license: 'The Apache License'
  contact:
    name: 'itfuture'
    url: 'https:www.baidu.com'
    email: '******@qq.com'
3.在启动类添加注解@EnableSwagger2Doc
@EnableSwagger2Doc
@SpringBootApplication
public class EApplication {

    public static void main(String[] args) {
        Object o=new Object();
        SpringApplication.run(EApplication.class, args);
    }

}
4.如果报这个异常

5.在pom.xml添加如下依赖
        <dependency>
            <groupId>org.springframework.boot</groupId>
            <artifactId>spring-boot-starter-validation</artifactId>
        </dependency>
方式2:创建Java类来配置Swagger设置
1.在pom.xml添加依赖
        <dependency>
            <groupId>io.springfox</groupId>
            <artifactId>springfox-swagger2</artifactId>
            <version>2.9.2</version>
        </dependency>
<!--        导入swagger-ui依赖-->
        <dependency>
            <groupId>io.springfox</groupId>
            <artifactId>springfox-swagger-ui</artifactId>
            <version>2.9.2</version>
        </dependency>
2.创建Swagger的Java配置类(可以在配置类添加@EnableSwagger2注解,也可以在启动器类上加这个注解!)
/**swagger2配置
 * @author: wxh
 * @version:v1.0
 * @date: 2022/09/22 20:04
 */
@Configuration
@EnableSwagger2
public class Swagger2Config {
    @Bean
    public Docket webApiConfig(){
        //添加head参数start
        ArrayList<Parameter> pars = new ArrayList<>();
        ParameterBuilder tokenPar = new ParameterBuilder();
        tokenPar.name("userId")
                .description("用户Id")
                .defaultValue("1")
                .modelRef(new ModelRef("string"))
                .parameterType("header")
                .required(false)
                .build();
        pars.add(tokenPar.build());

        ParameterBuilder tmpPar = new ParameterBuilder();
        tmpPar.name("userTempId")
                .description("临时用户ID")
                .defaultValue("1")
                .modelRef(new ModelRef("string"))
                .parameterType("header")
                .required(false)
                .build();
        pars.add(tmpPar.build());

        //添加head参数end

        return new Docket(DocumentationType.SWAGGER_2)
                .groupName("webApi")
                .apiInfo(webApiInfo())
                .select()
                //可以测试请求头中:输入token
                .apis(RequestHandlerSelectors.basePackage("com.gg.zhschool.controller"))
                //.apis(RequestHandlerSelectors.withClassAnnotation(ApiOperation.class))
                //过滤掉admin路径下的所有页面
                //.paths(Predicates.and(PathSelectors.regex("/sms/.*")))
                //过滤掉所有error或error.*页面
                //.paths(Predicates.not(PathSelectors.regex("/error.*")))
                .build()
                .globalOperationParameters(pars);
    }

    private ApiInfo webApiInfo(){
        return new ApiInfoBuilder()
                .title("网站-API文档")
                .description("本文档描述了网站微服务接口定义")
                .version("1.0")
                .contact(new Contact("itfuture","http://www.baidu.com","itfuture03@163.com"))
                .build();
    }

    private ApiInfo adminApiInfo(){

        return new ApiInfoBuilder()
                .title("后台管理系统-API文档")
                .description("本文档描述了后台管理系统微服务接口定义")
                .version("1.0")
                .contact(new Contact("atguigu", "http://atguigu.com", "512111559@qq.com"))
                .build();
    }

}
3.在启动类添加注解@EnableSwagger2(如果在配置类已经加过则跳过此步)
@SpringBootApplication
@EnableSwagger2
public class ZhSchoolApplication {

    public static void main(String[] args) {
        SpringApplication.run(ZhSchoolApplication.class, args);
    }

}
然后启动项目,在浏览器输入:http://localhost:8080/swagger-ui.html
二、swagger权限验证、安全控制
当我们使用swagger,进行文档管理的时候,担心文档暴露(暴露接口)不安全时。
可采用两种方式
1.环境权限配置
对swagger文档配置只在测试环境可访问,生产环境不可访问。
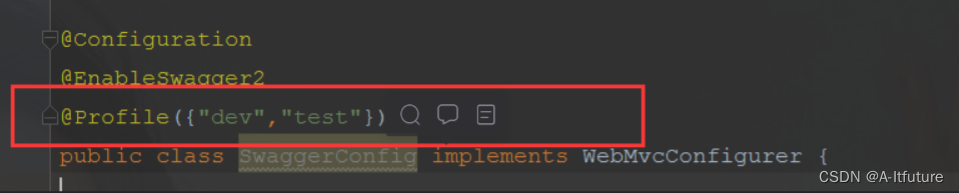
@Profile({"dev","test"})
如以上配置,则只有在dev以及test环境有效,在生产环境不可访问。
2.账户权限配置
在1.9.0版本时,针对Swagger的资源接口,SwaggerBootstrapUi提供了简单的Basic认证功能。
如果是springboot项目可在yml文件配置
(1)在yml文件中配置
swagger:
  production: false
  basic:
    enable: true
    username: eSwagger
    password: 123456
以上分别为启用,并且用户名为eSwagger.密码为123456。
切记swagger.production 不可设置为true,否则将屏蔽所有资源
(2)在swaggerConfig中添加注解
@EnableSwaggerBootstrapUI
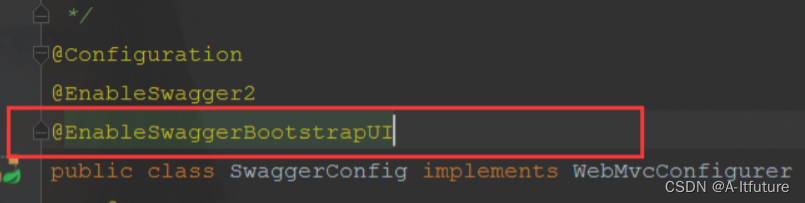
结果就是此时访问需要通过用户密码才可进行访问!
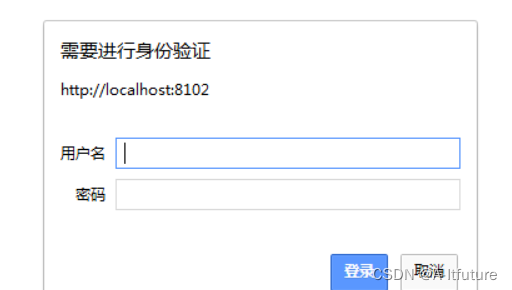
此时只能通过配置的正确用户名和密码来登录!否则无法进入!