一.知识回顾
【0.SpringBoot专栏的相关文章都在这里哟,后续更多的文章内容可以点击查看】
【1.SpringBoot初识之Spring注解发展流程以及常用的Spring和SpringBoot注解】
【2.SpringBoot自动装配之SPI机制&SPI案例实操学习&SPI机制核心源码学习】
【3.详细学习SpringBoot自动装配原理分析之核心流程初解析-1】
【4.详细学习SpringBoot自动装配原理之自定义手写Starter案例实操实战-2】
之前我们学习了SpringBoot自动装配的原理以及通过手写来实现一个Starater案例,接下来我们更深入的学习SpringBoot的源码了,为了能否更好的学习SpringBoot的源码,就需要我们在本地编译源码环境,然后在研究源码的时候可以添加对应的注释是必须的,接下来就给大家来介绍下如何来搭建我们的源码环境。
当你以后想要学习其它源码的时候,需要进行导入编译到本地环境,也是一样的操作哦。
二. IDEA中集成SpringBoot源码环境详细步骤讲解
2.1 官方源码下载
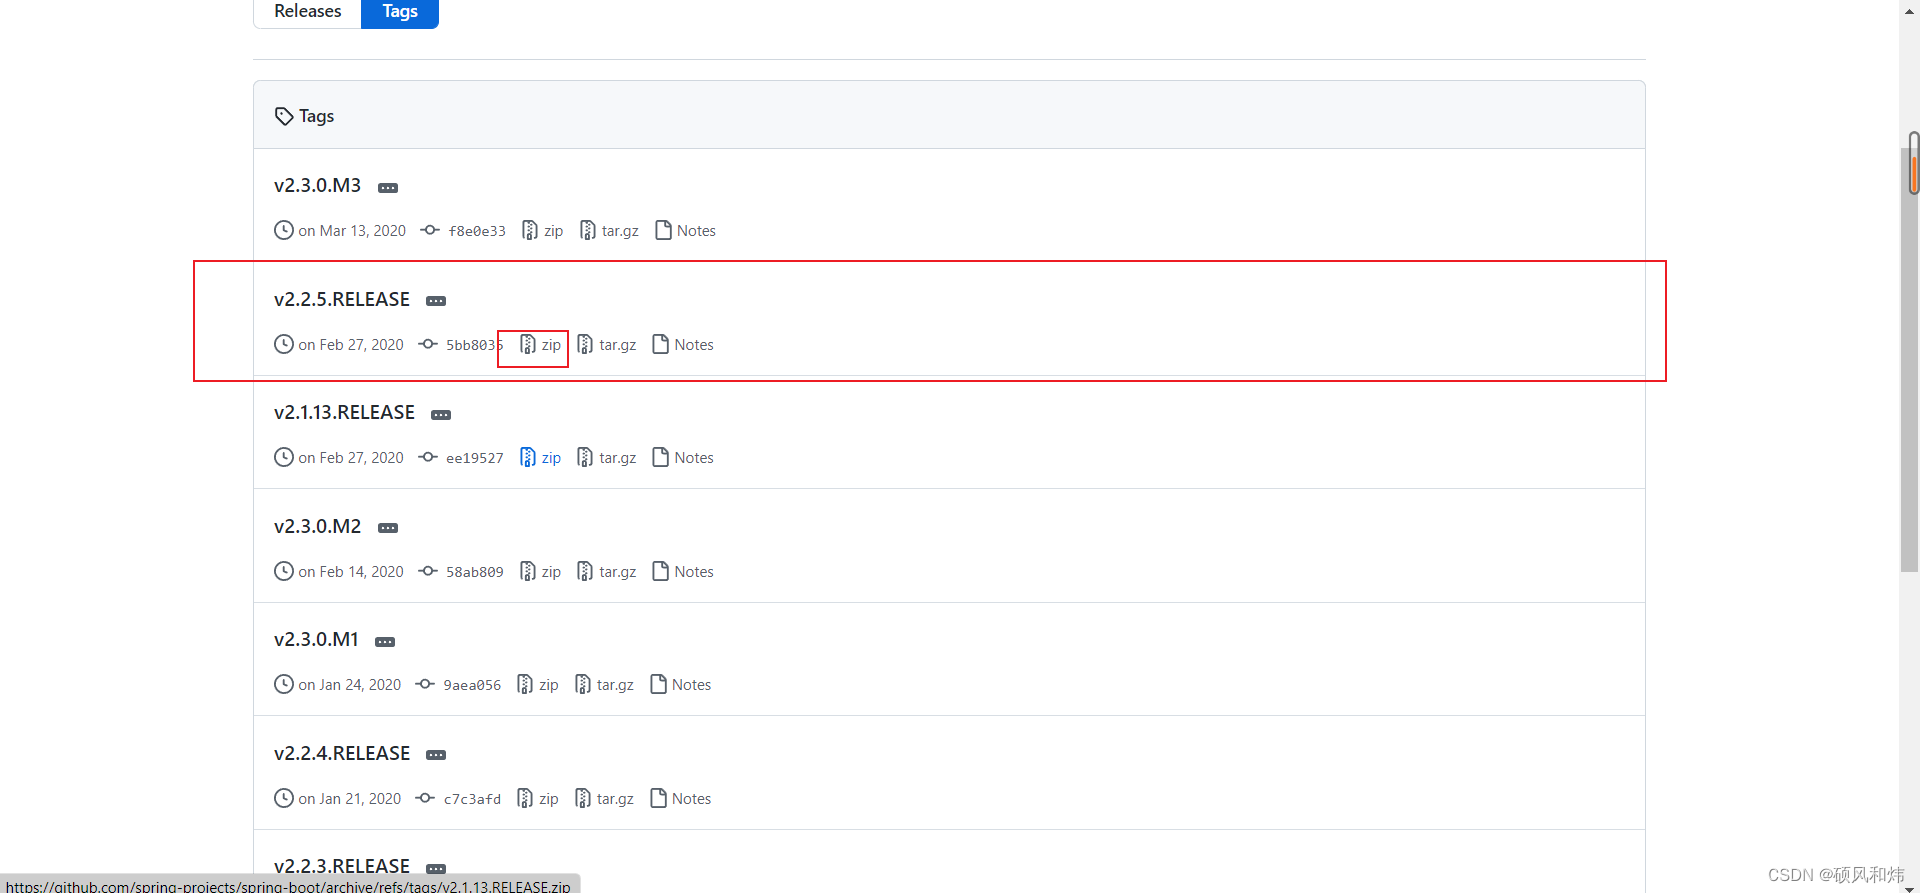
首先大家要注意SpringBoot项目在2.3.0之前是使用Maven构建项目的,在2.3.0之后是使用Gradle构建项目的。我们就以SpringBoot2.2.5为案例,所以本文就介绍SpringBoot2.2.5的编译过程。
2.1.1 进入官方地址
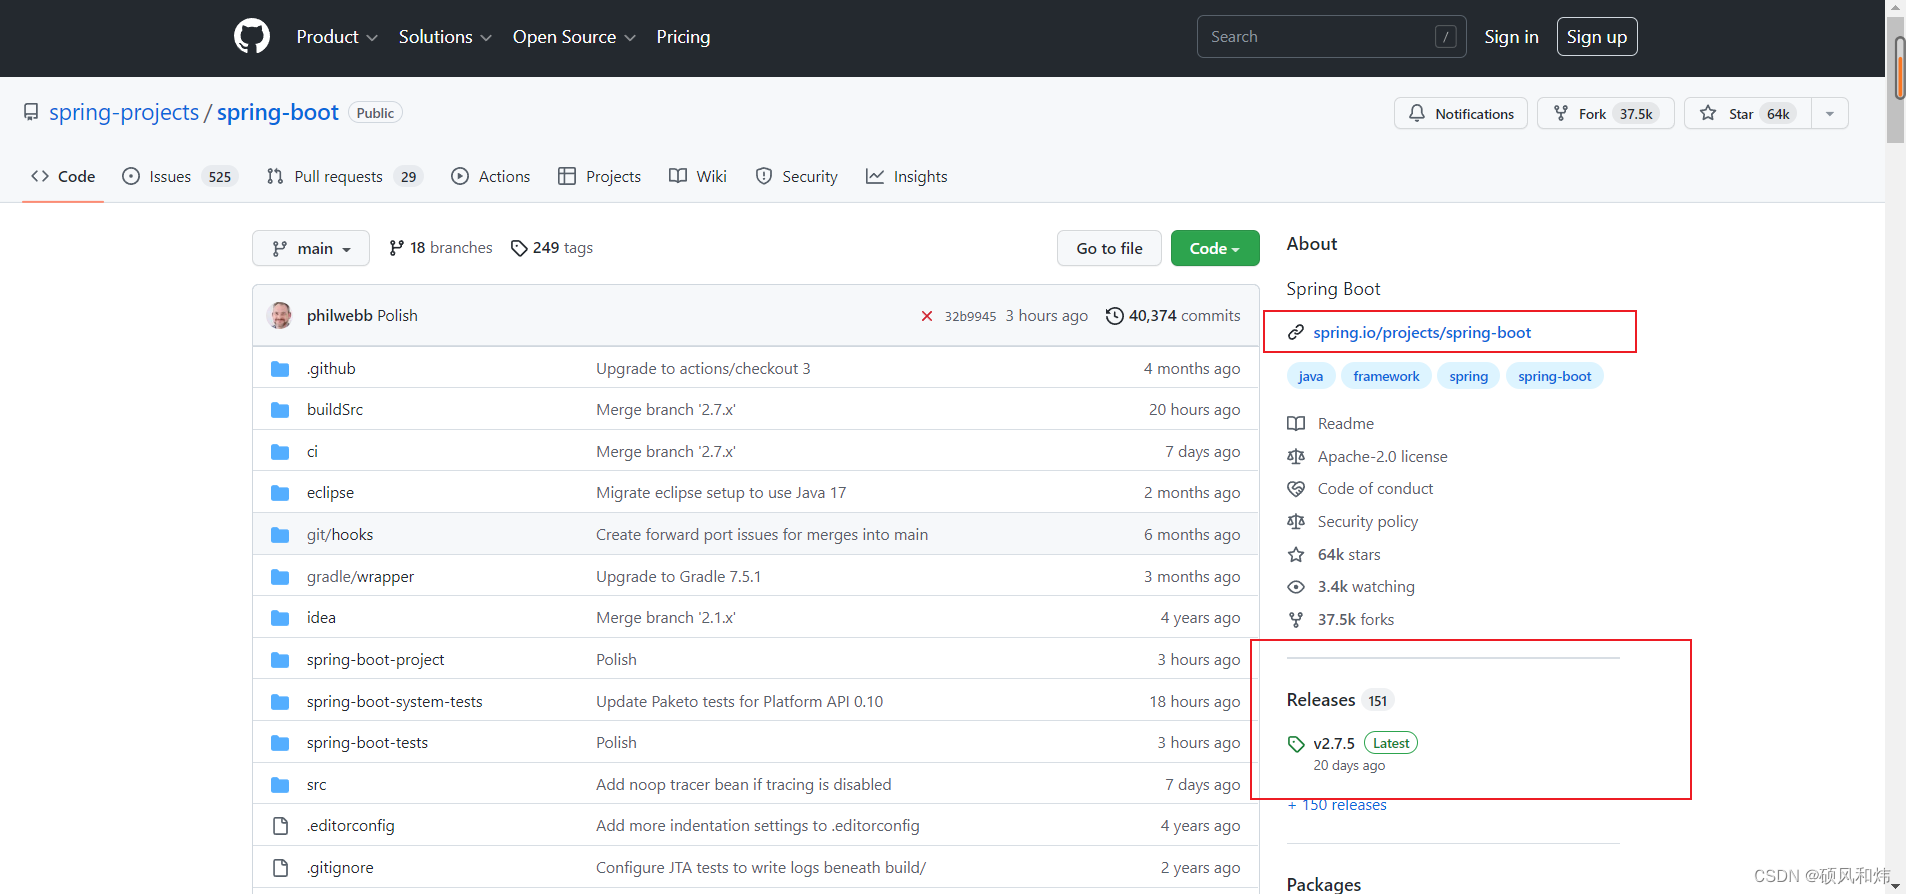
2.1.2 找到我们对应要下载的版本
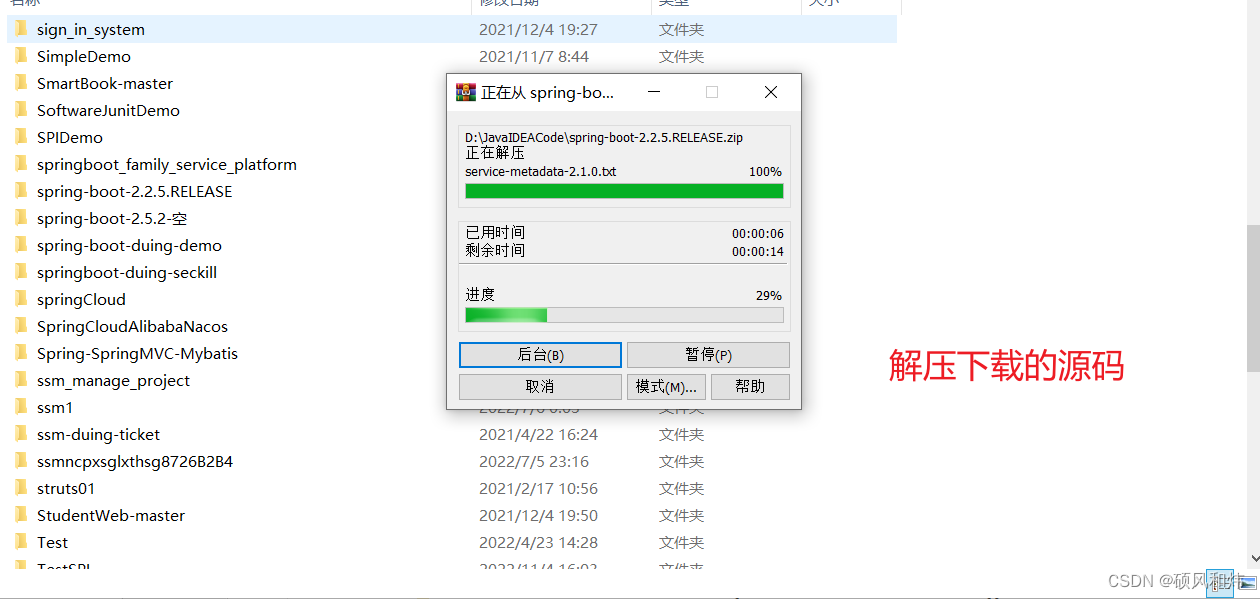
2.1.3 解压下载的springboot源码
2.2 本地源码编译
2.2.1 把解压缩的源码直接导入到IDEA中,修改pom文件中的版本号。
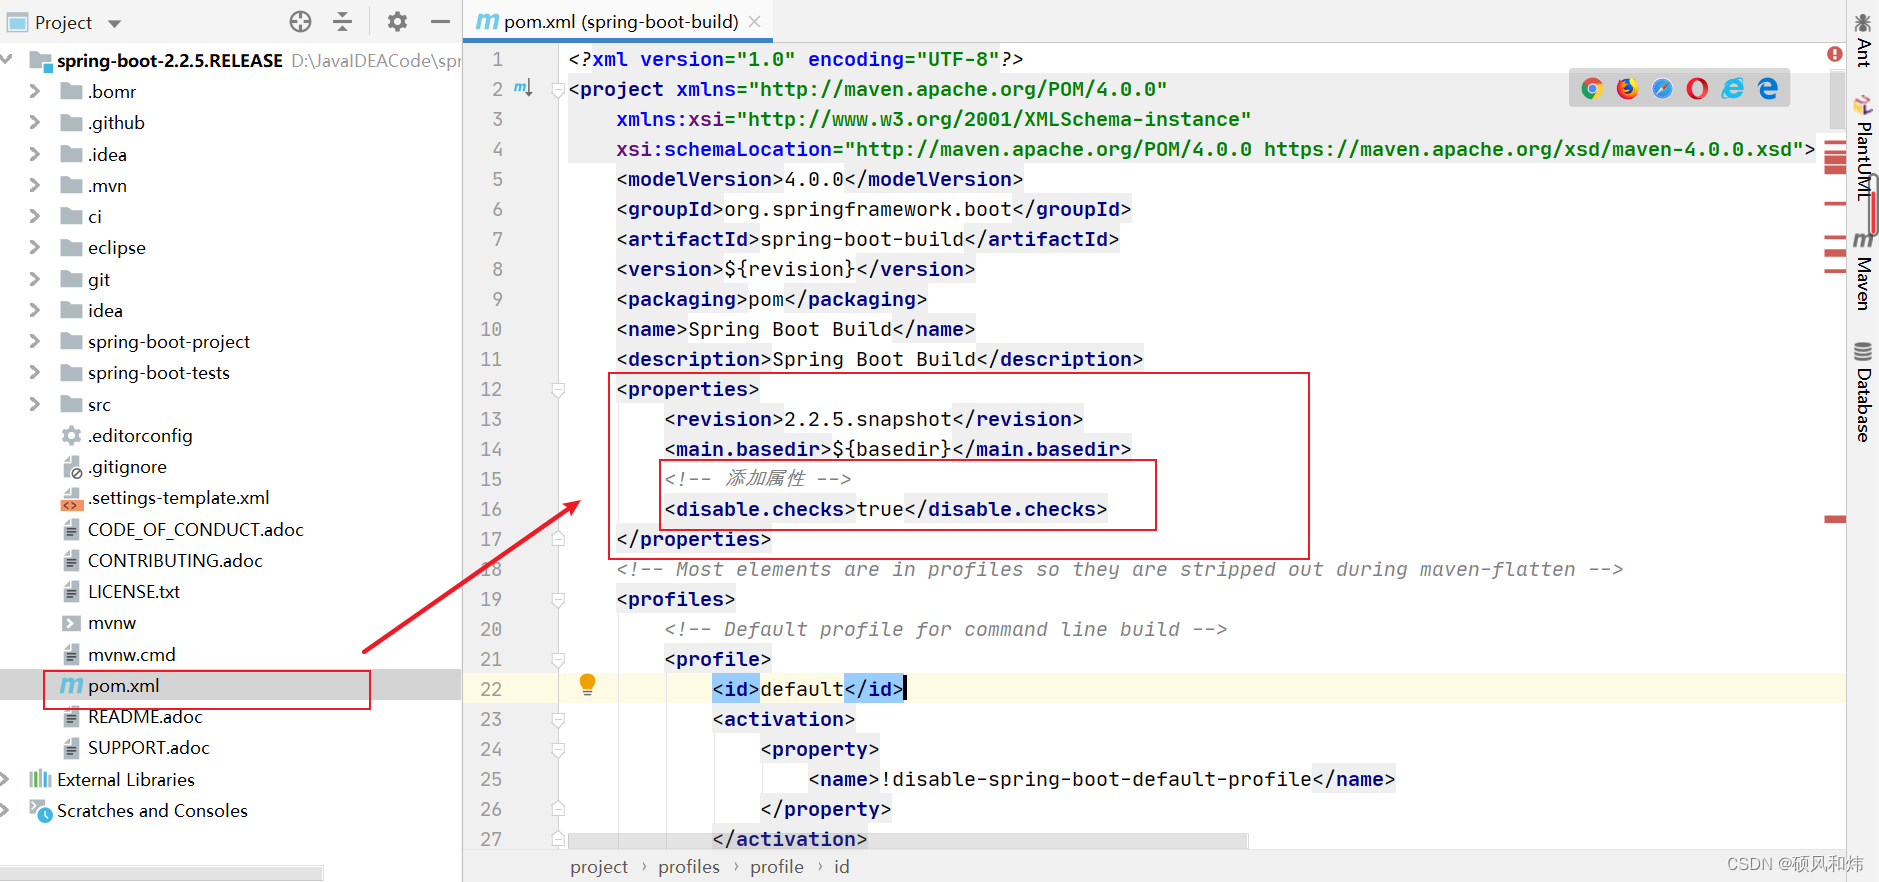
注意:如果pom文件提示 disable.checks属性找不到,我们按照下面这个添加即可。
<properties>
	<revision>2.2.5.snapshot</revision>
	<main.basedir>${basedir}</main.basedir>
	<!-- 添加属性 -->
	<disable.checks>true</disable.checks>
</properties>
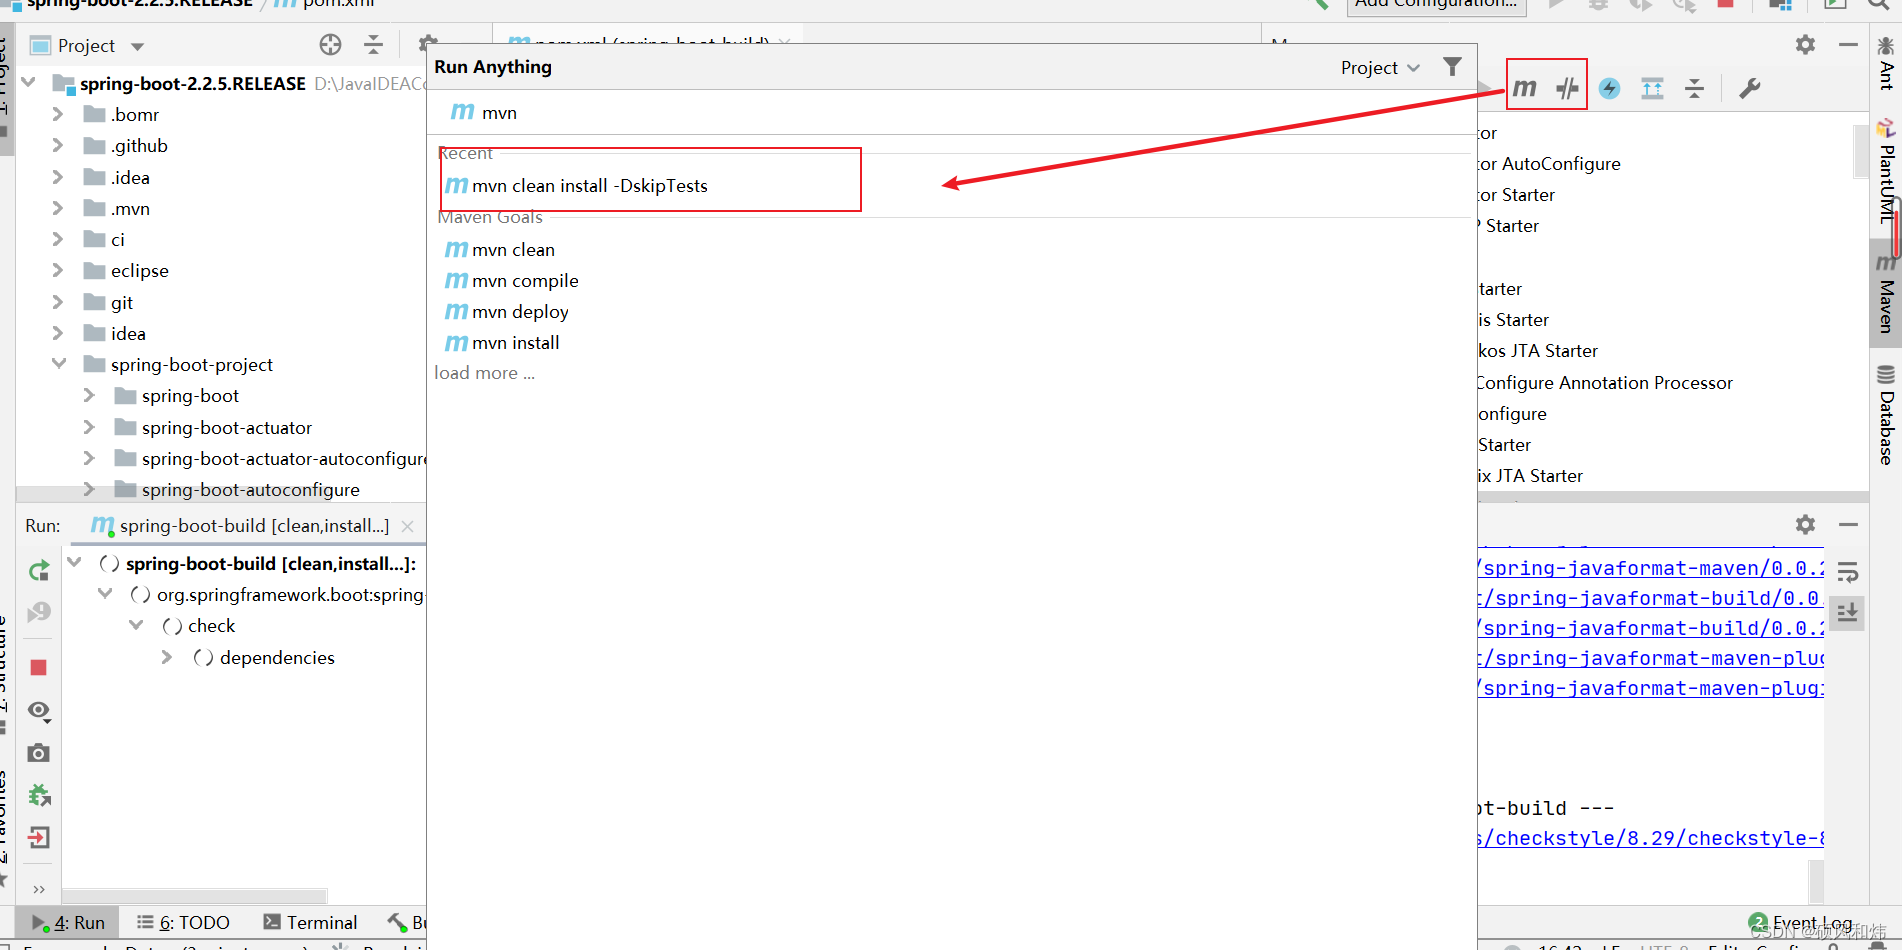
2.2.2 然后执行编译命令
mvn clean install -DskipTests
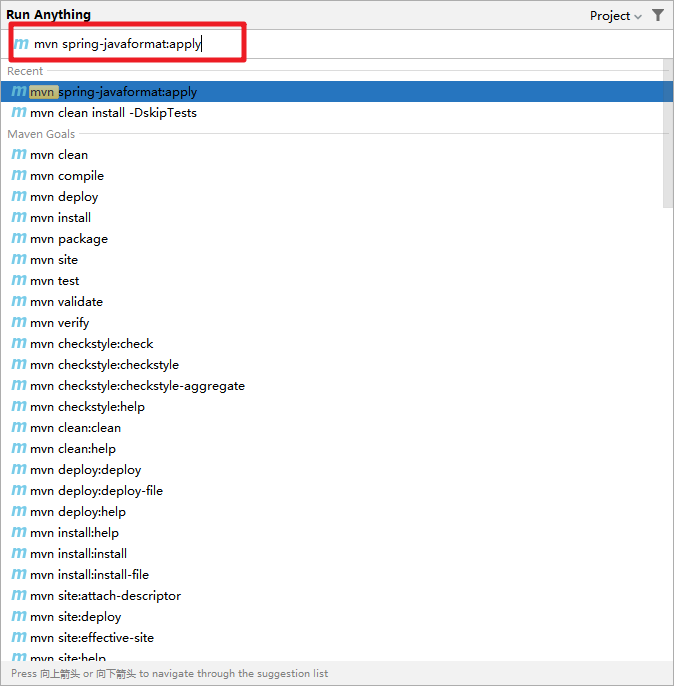
2.2.3 然后控制台出现如下错误
Run `spring-javaformat:apply` to fix.

2.2.4 按照提示,执行下面的命令就好了:
mvn spring-javaformat:apply
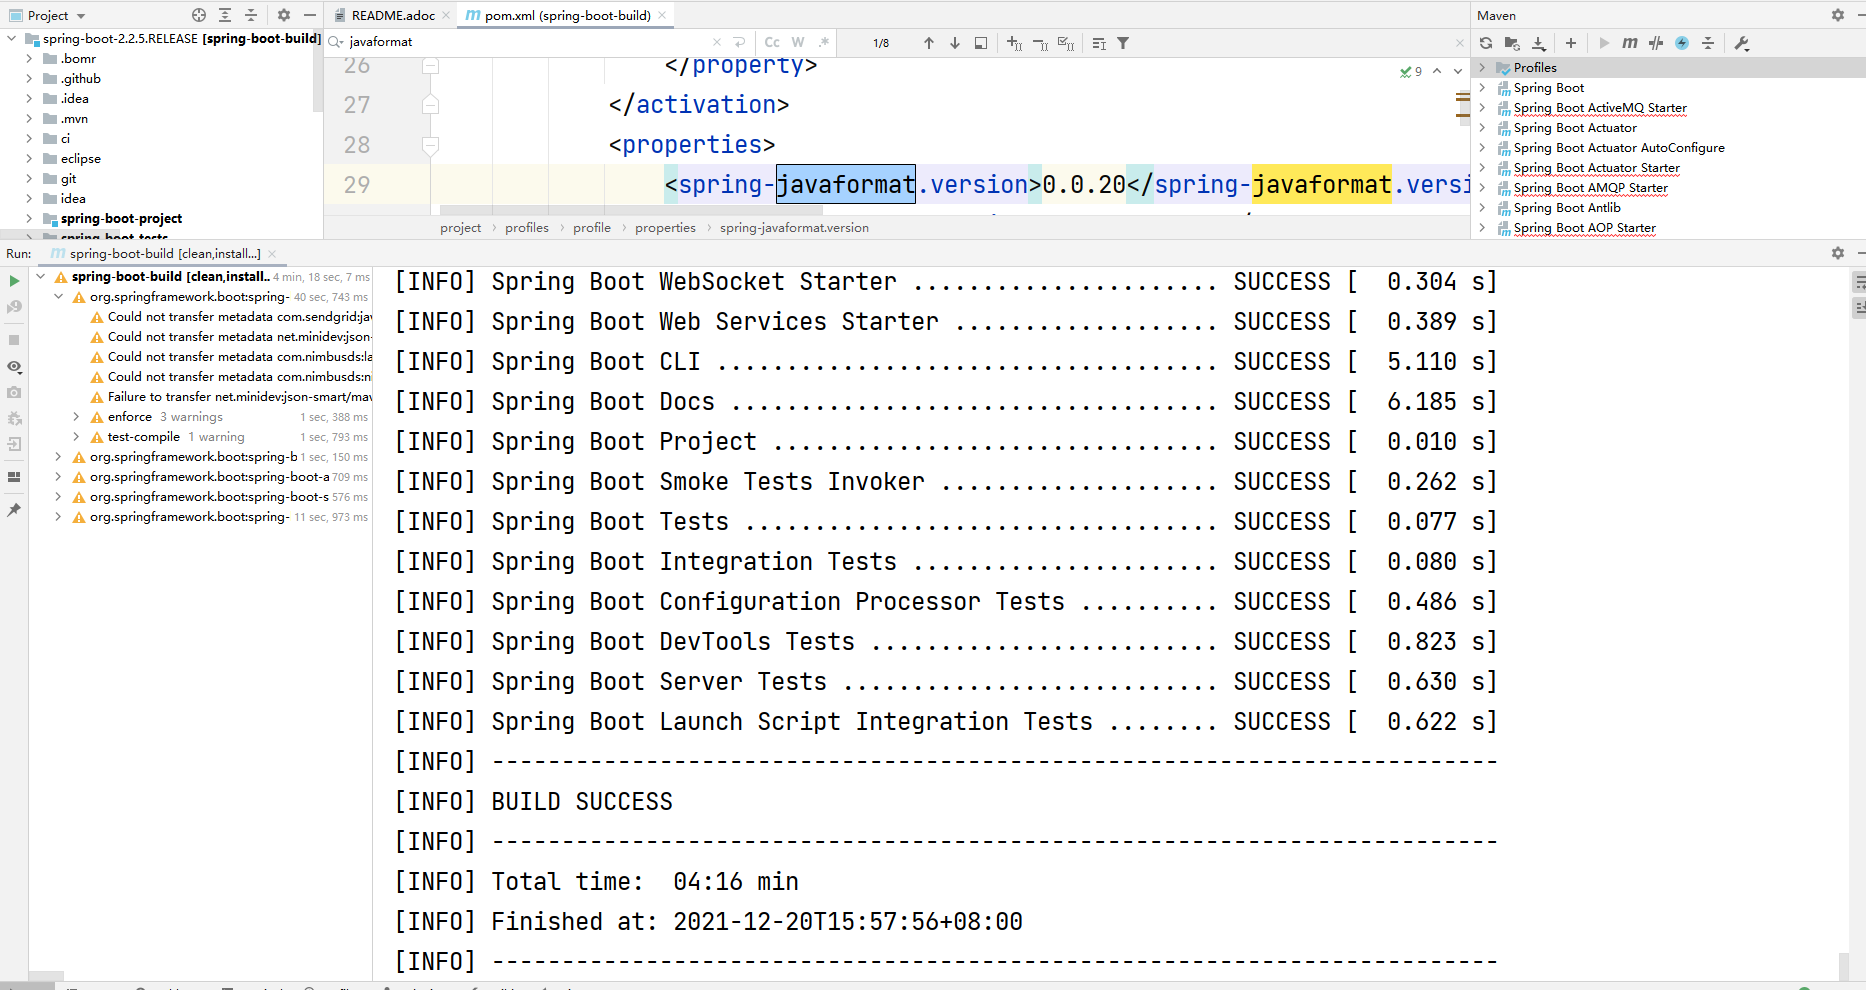
2.2.5 在执行编译命令就可以了
mvn clean install -DskipTests
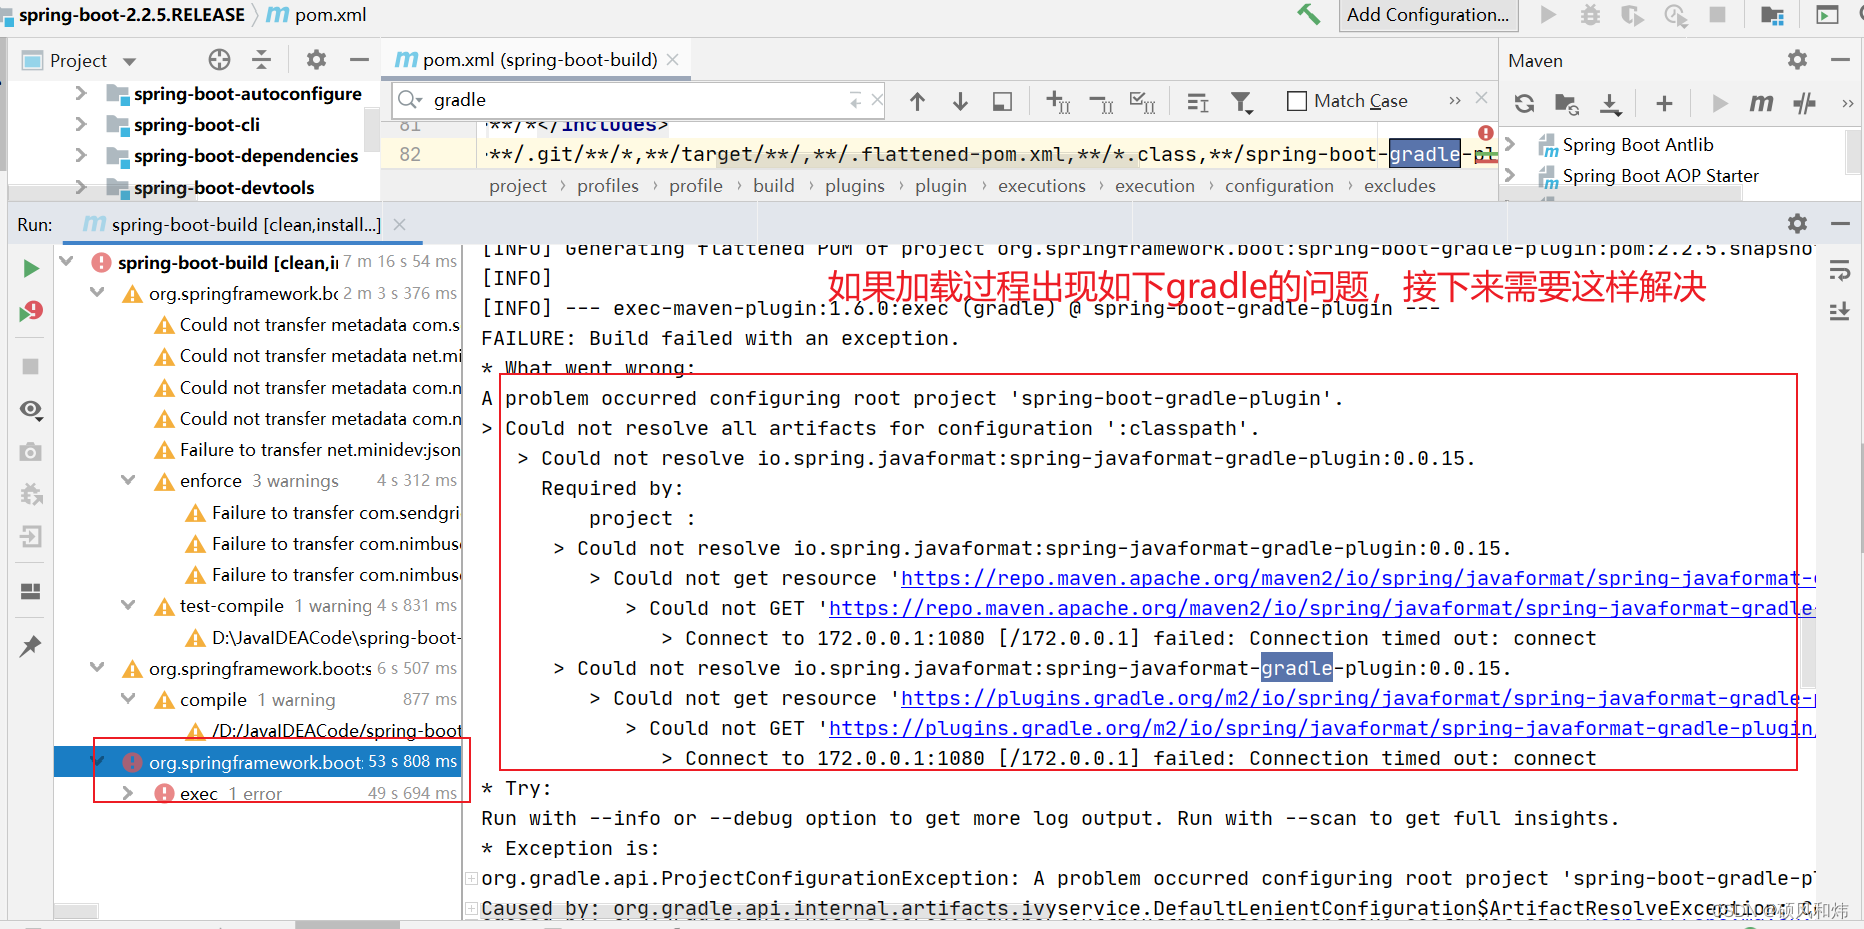
2.2.6 但是又出现了如下的问题(如果没有出现这个问题,直接跳过就可以了,出现问题的可以通过这个步骤来解决)
出现问题
FAILURE: Build failed with an exception.
* What went wrong:
A problem occurred configuring root project 'spring-boot-gradle-plugin'.
> Could not resolve all artifacts for configuration ':classpath'.
   > Could not resolve io.spring.javaformat:spring-javaformat-gradle-plugin:0.0.15.
     Required by:
         project :
      > Could not resolve io.spring.javaformat:spring-javaformat-gradle-plugin:0.0.15.
         > Could not get resource 'https://repo.maven.apache.org/maven2/io/spring/javaformat/spring-javaformat-gradle-plugin/0.0.15/spring-javaformat-gradle-plugin-0.0.15.pom'.
            > Could not GET 'https://repo.maven.apache.org/maven2/io/spring/javaformat/spring-javaformat-gradle-plugin/0.0.15/spring-javaformat-gradle-plugin-0.0.15.pom'.
               > Connect to 172.0.0.1:1080 [/172.0.0.1] failed: Connection timed out: connect
      > Could not resolve io.spring.javaformat:spring-javaformat-gradle-plugin:0.0.15.
         > Could not get resource 'https://plugins.gradle.org/m2/io/spring/javaformat/spring-javaformat-gradle-plugin/0.0.15/spring-javaformat-gradle-plugin-0.0.15.pom'.
            > Could not GET 'https://plugins.gradle.org/m2/io/spring/javaformat/spring-javaformat-gradle-plugin/0.0.15/spring-javaformat-gradle-plugin-0.0.15.pom'.
               > Connect to 172.0.0.1:1080 [/172.0.0.1] failed: Connection timed out: connect
* Try:
Run with --info or --debug option to get more log output. Run with --scan to get full insights.
* Exception is:

后面省略了更多的错误日志
....
解决方案
- 先执行下面的命令,但是又会出现一些问题,不要慌,继续向下走
mvn clean install -DskipTests -Pfast
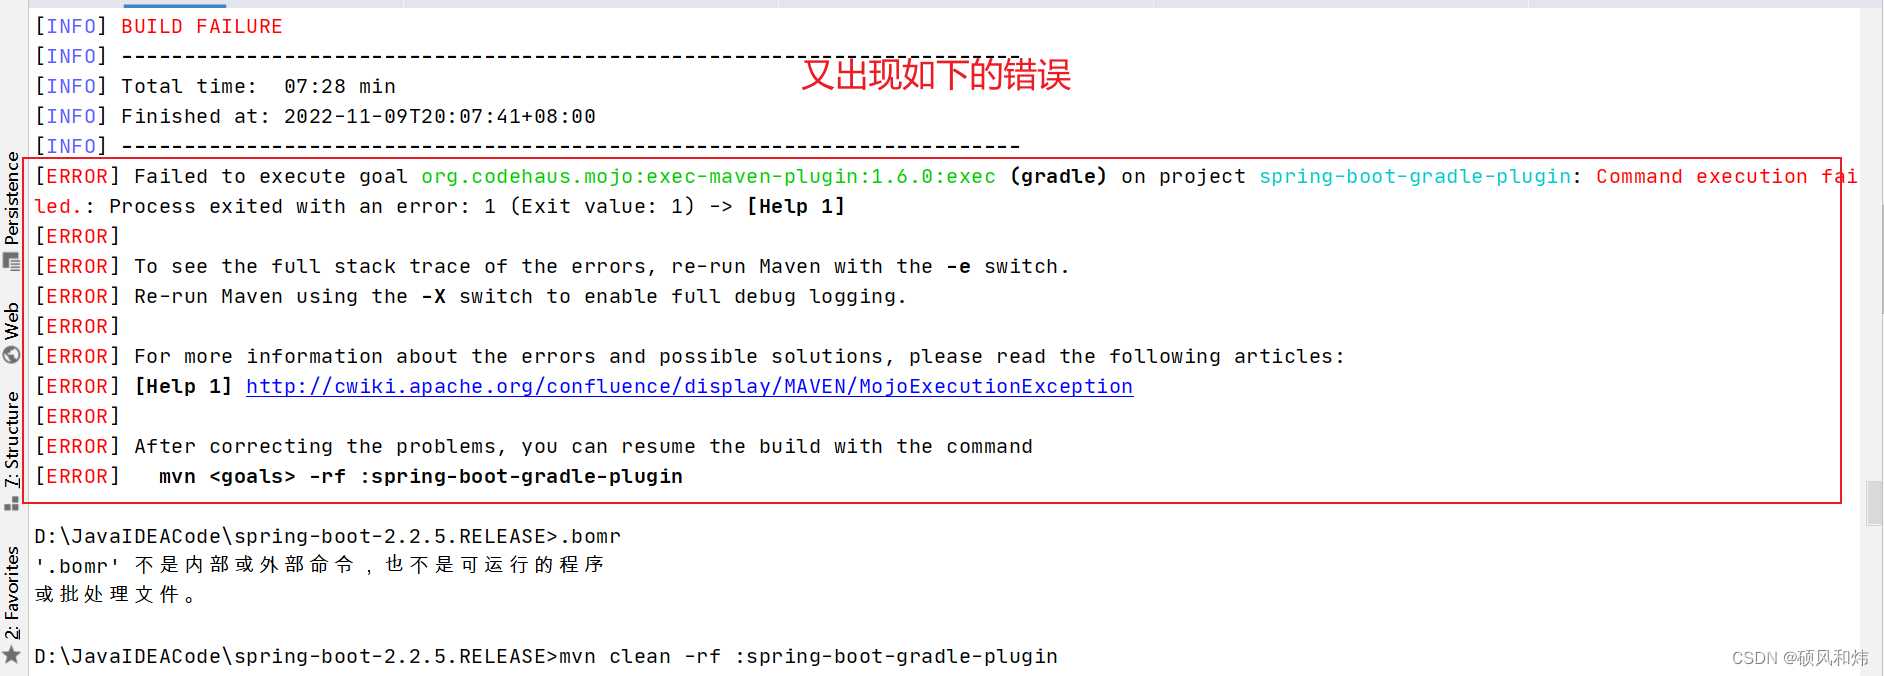
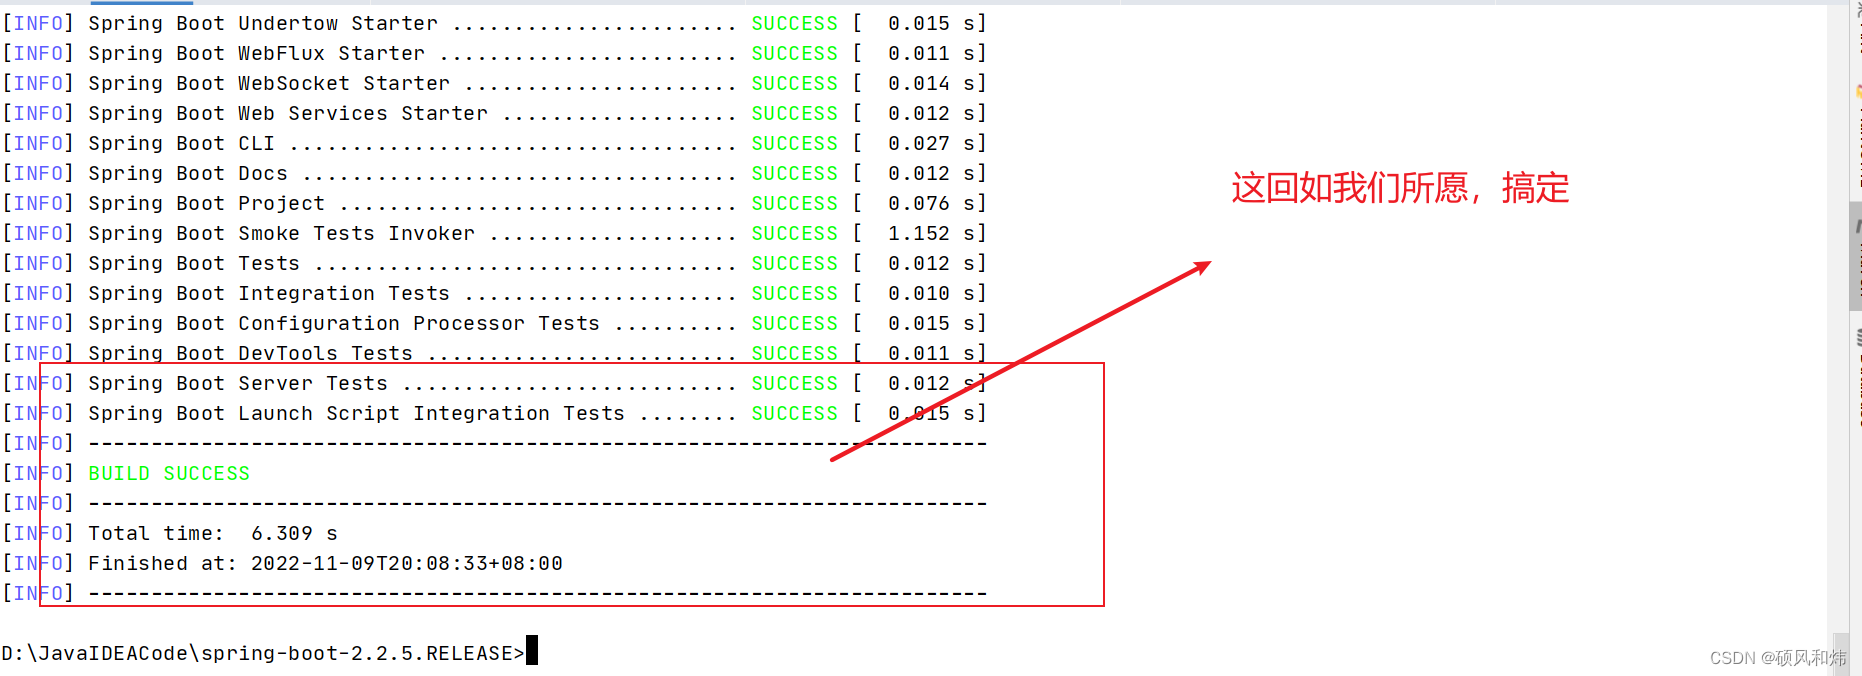
- 执行第2步骤命令,这回解决。
mvn clean -rf :spring-boot-gradle-plugin
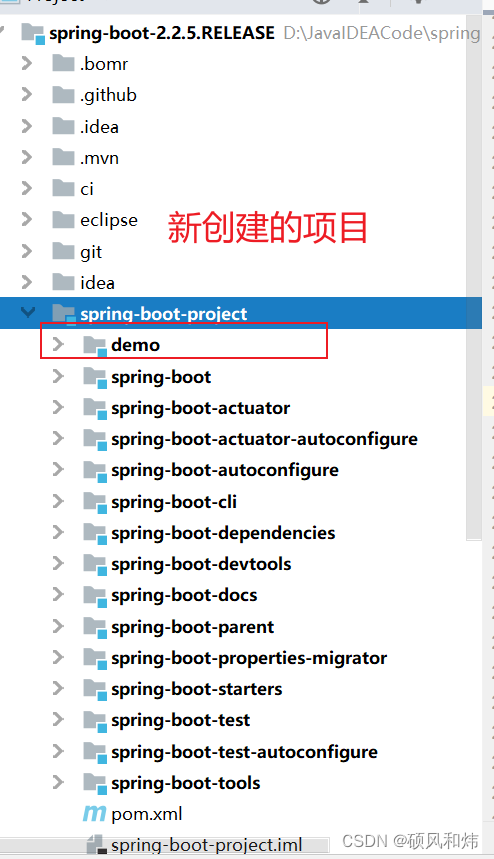
2.3 源码环境使用
2.3.1 源码已经编译好了,我们就可以在这个项目中来创建我们自己的SpringBoot项目了,我们在 spring-boot-project项目下创建 module
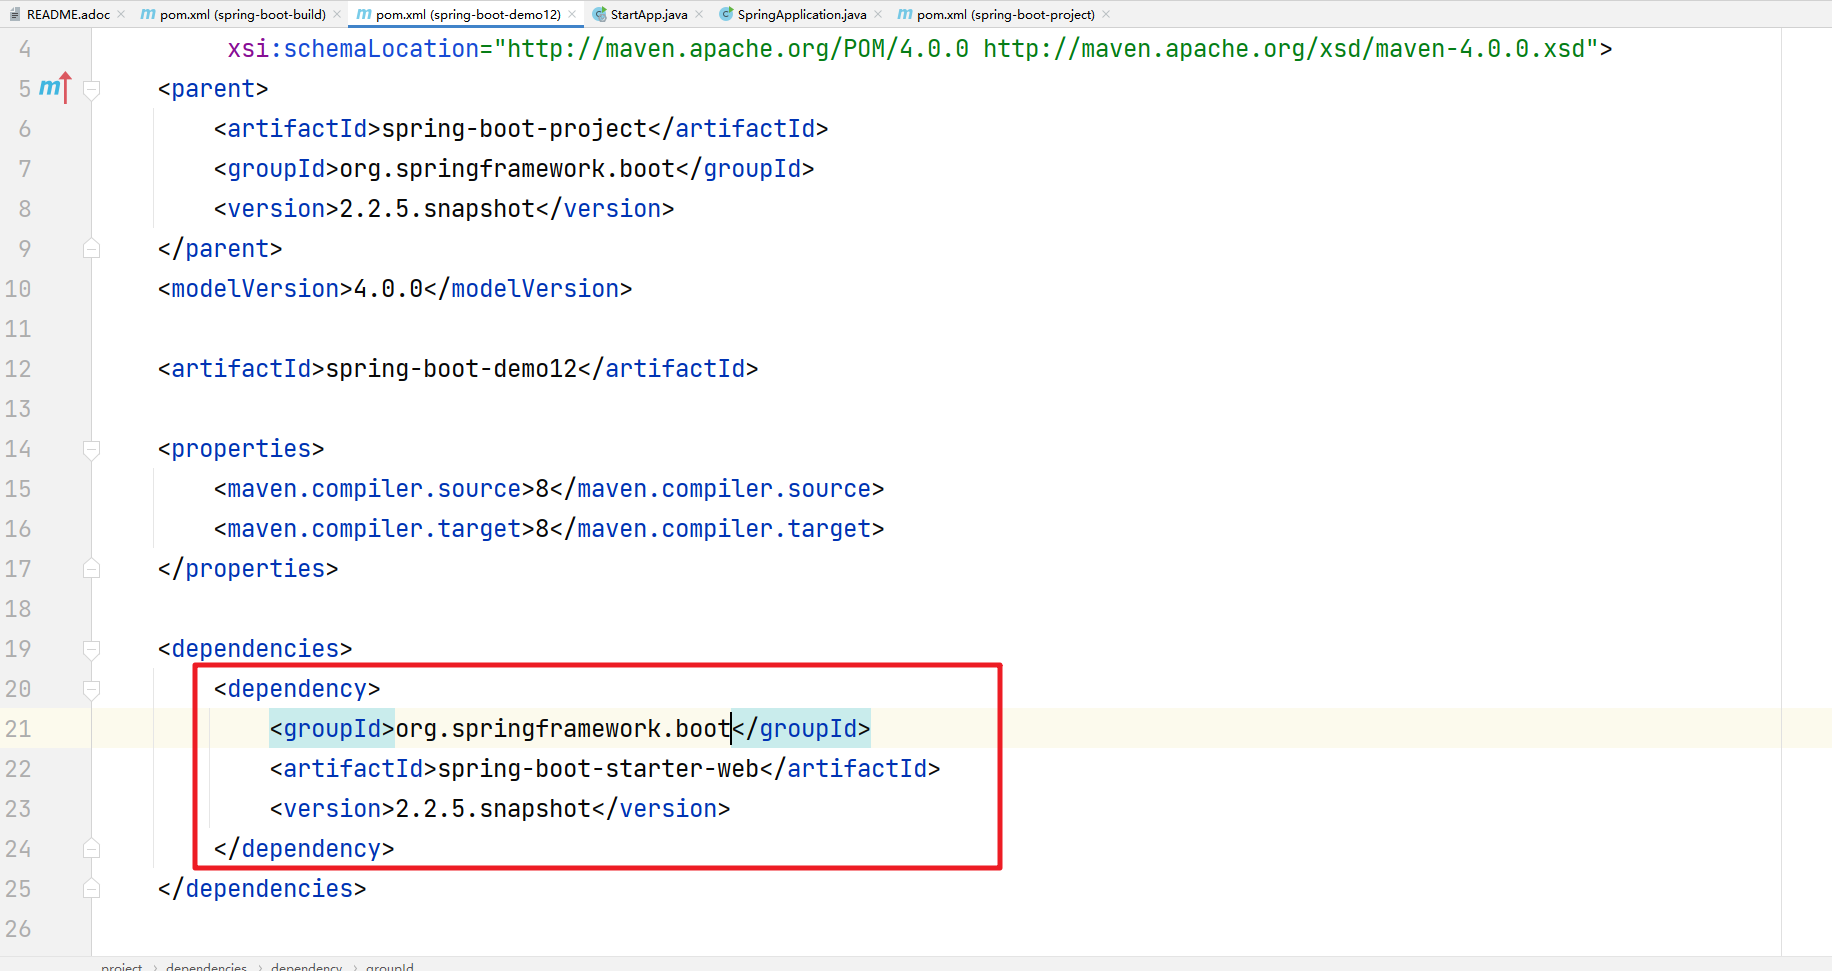
2.3.2 然后在我们的module中添加对应的start依赖
2.3.3 然后添加我们的启动类
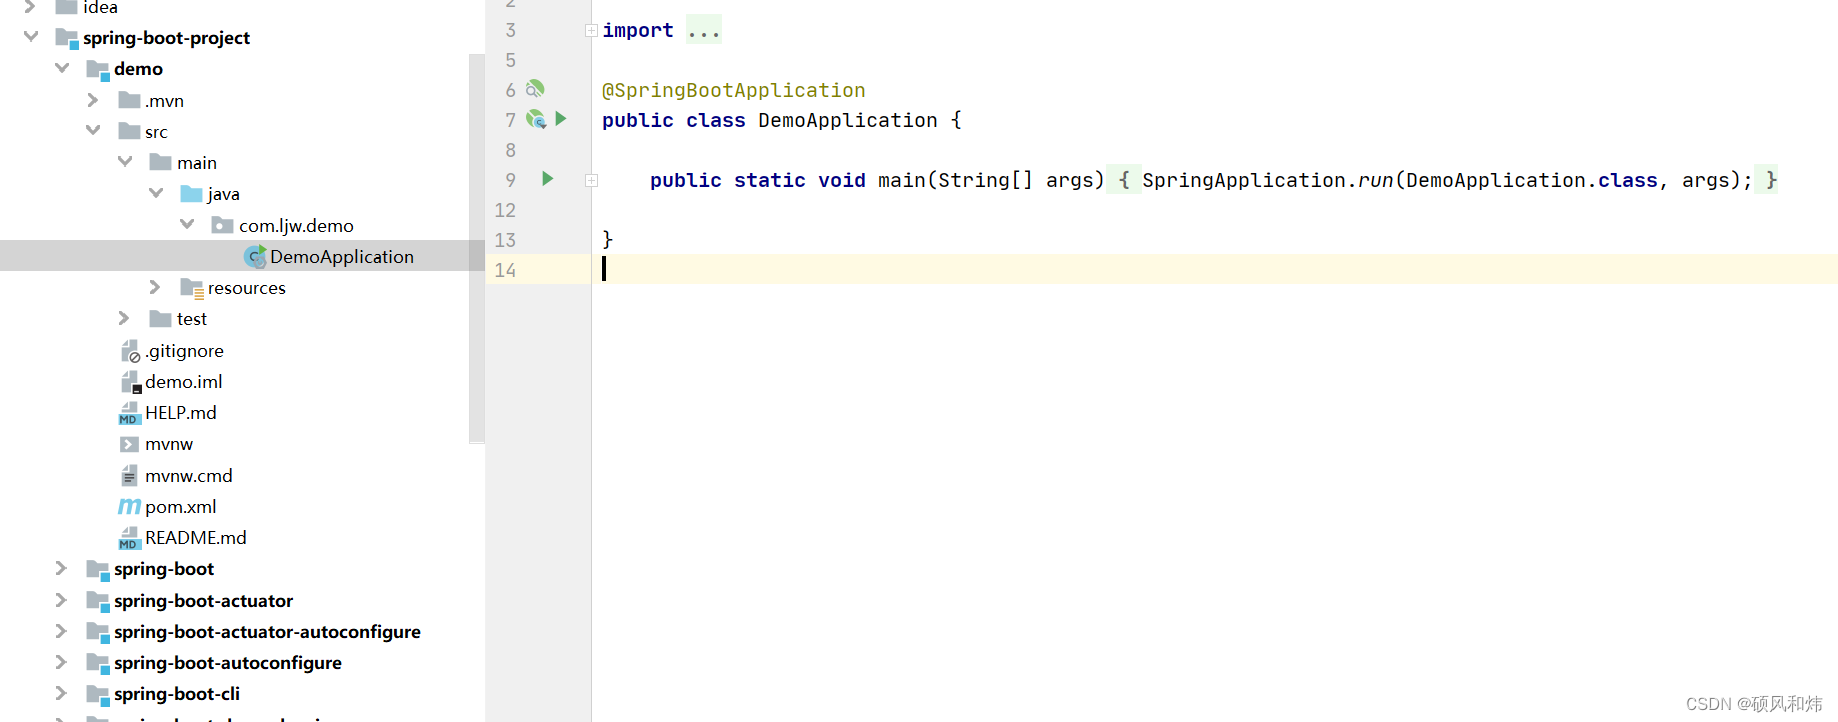
2.3.4 项目能够正常启动
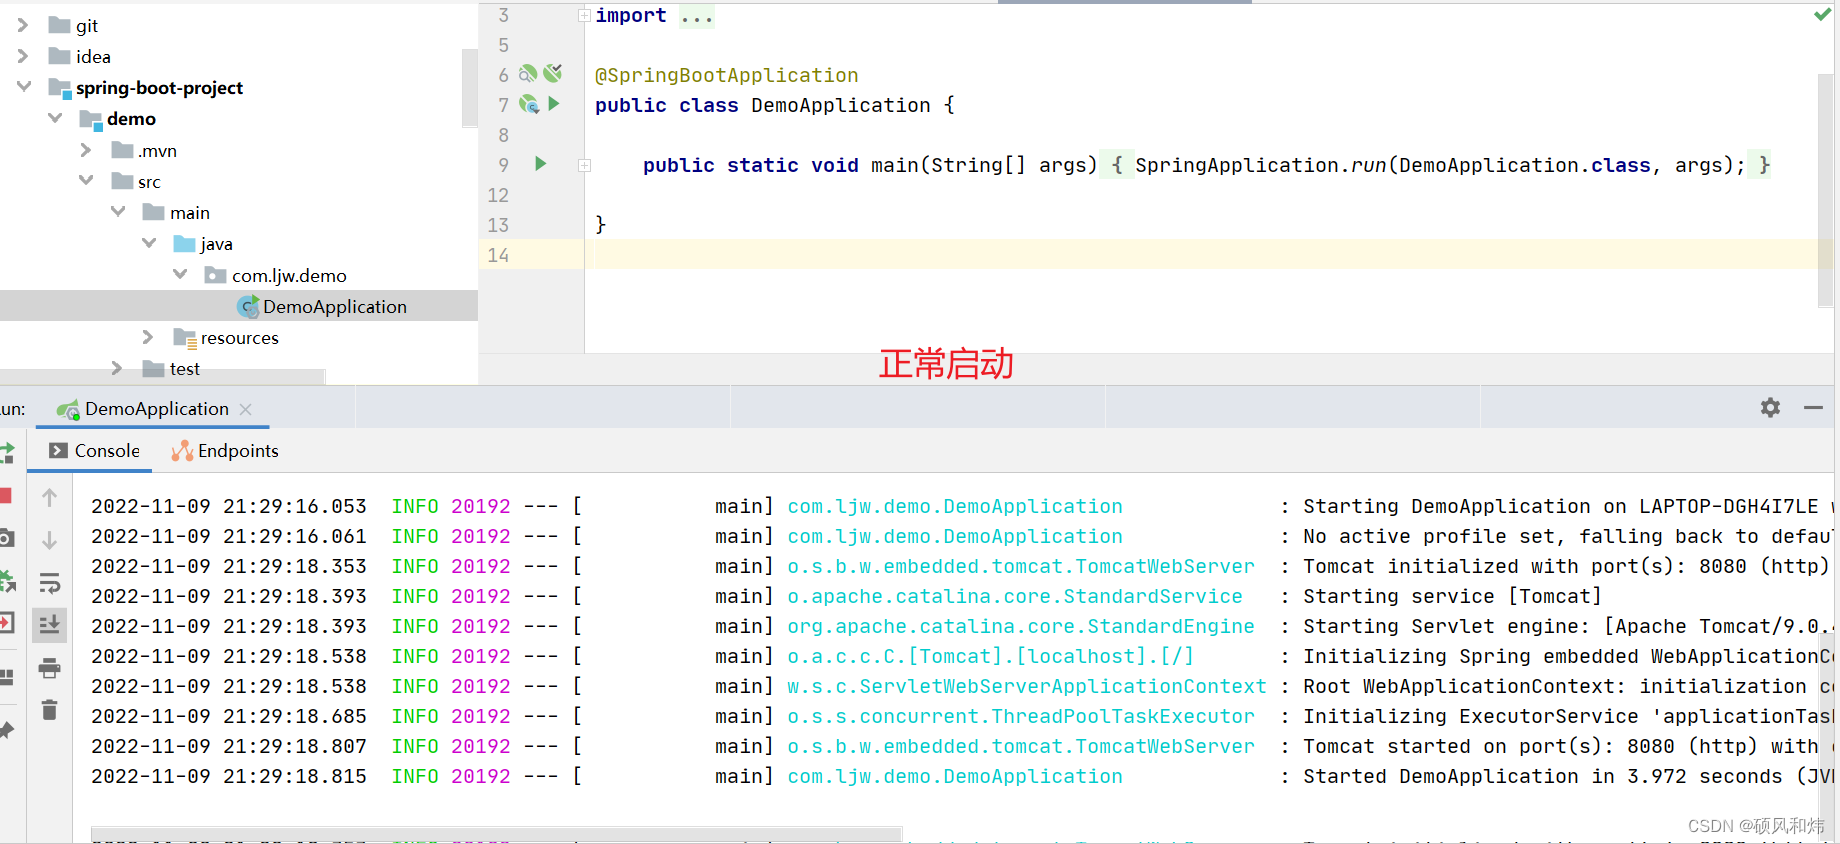
2.3.5 同时点击run方法进去,我们可以添加注释了:

三.拓展补充:在其它的项目中如果想要使用我们编译后的源码,怎么操作呢?我们也来学习一下具体的操作过程.
注意:SpringBoot的版本还是上面我们操作的版本
3.1 主要是关联上我们编译的源码。
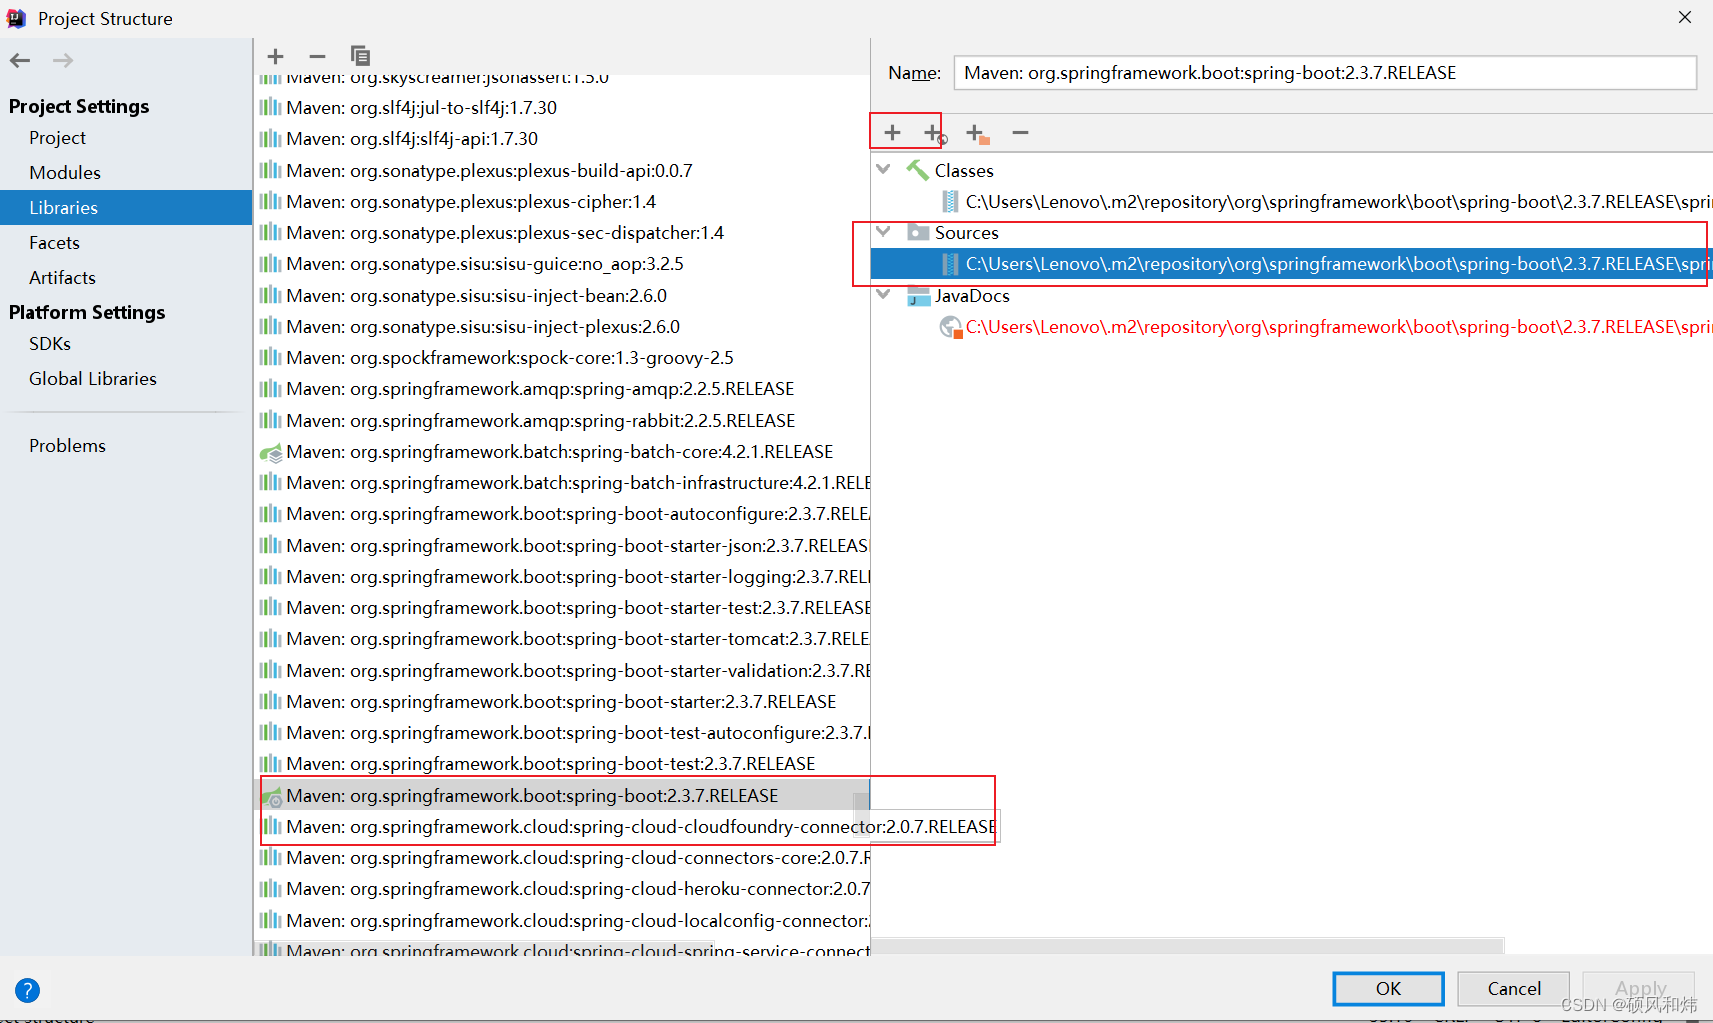
3.2 选择对应的版本
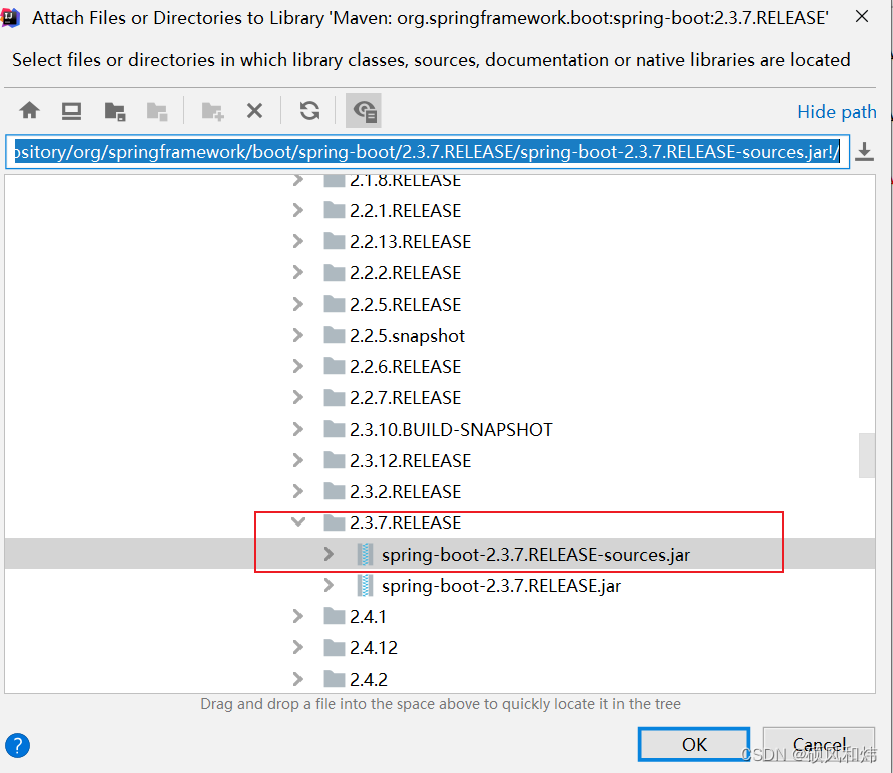
3.3 成功加载
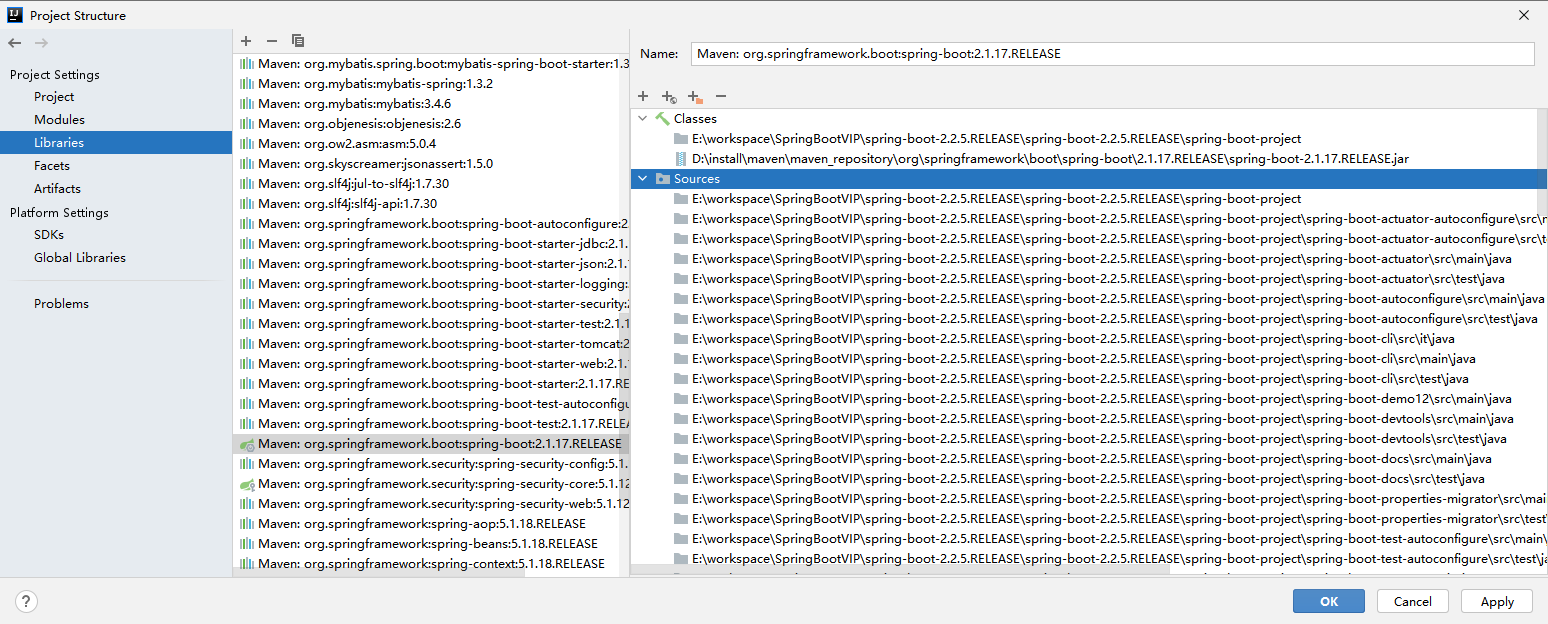
之后点击确定后可以继续修改源代码。
好了,到这里【IDEA中集成SpringBoot源码环境详细步骤讲解】就学习到这里,大家一定要动手实操一下,以后越来越需要我们看源码,了解底层原理了,这个就是看源码的第一关,我们一定要拿下它。后续关于SpringBoot的源码持续更新创作中。敬请期待。