目录
一、作用
建立请求URL和处理方法之间的对应关系
二、可标注位置
1.作用在类上
一级访问目录
2.作用在方法上
二级访问目录
作用在类上,访问类中的某个方法时,要在其映射路径之前加上类的映射路径
三、RequestMapping的属性
1.path
指定请求路径的url(在二级请求路径)
2.value
value属性和path属性是一样的(在一级请求路径)
例:
HelloController
import org.springframework.stereotype.Controller;
import org.springframework.web.bind.annotation.*;
/*
* 表现层控制器
* 接收前端请求
* */
@Controller
@RequestMapping(value = "/he")
public class HelloContoller {
//具体处理前端请求的方法
@RequestMapping(path = "/hello.do")
public String sayHello(){
System.out.println("方法执行了...");
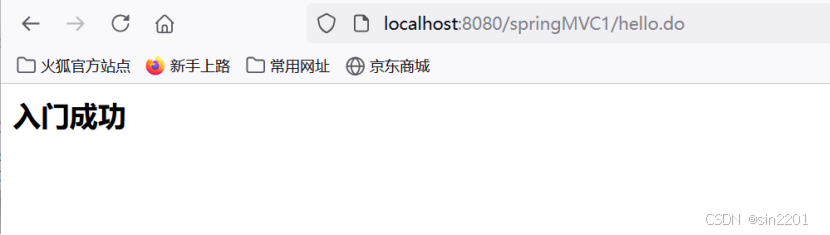
return "suc";
}
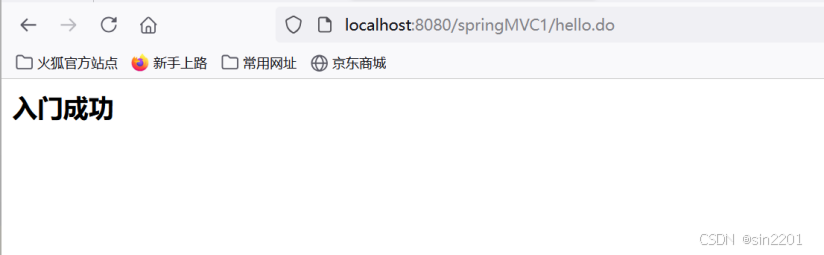
}suc.jsp
这个页面只有一句话:入门成功
只有这一个属性时,path或value可以省略不写
path/value
ctrl+左键进去path/value:
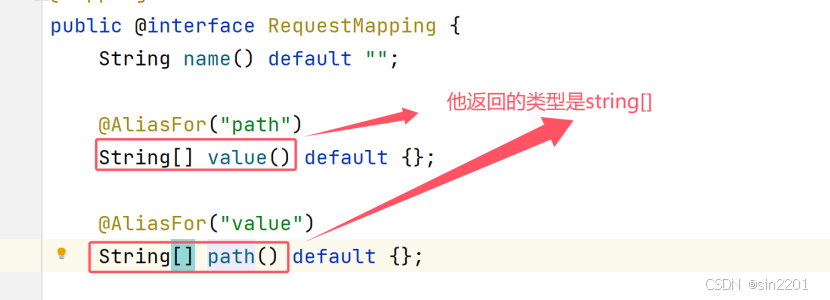
那么他们的值可以写成
@RequestMapping(value = {"/he","/ha"})然后重新运行: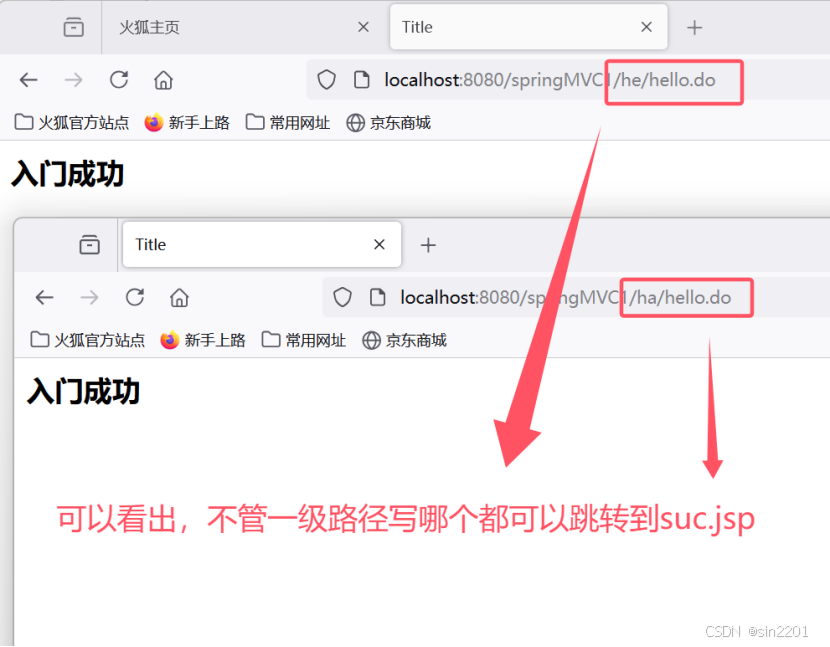
3.method
指定该方法的请求方式
RequestMethod.GET:用于获取资源,通常用于查询操作;
RequestMethod.POST:用于新建资源,通常用于新增操作;
RequestMethod.PUT:用于更新资源,通常用于修改操作;
RequestMethod.DELETE:用于删除资源,通常用于删除操作。
HelloController
import org.springframework.stereotype.Controller;
import org.springframework.web.bind.annotation.*;

/*
* 表现层控制器
* 接收前端请求
* */
@Controller
public class HelloContoller {
    //具体处理前端请求的方法
    @RequestMapping(path = "/hello.do",method = RequestMethod.GET)
    public String sayHello(){
        System.out.println("入门方法执行了...");
        return "suc";
    }
}
运行:
修改index.jsp
<%--
  Created by IntelliJ IDEA.
  User: lenovo
  Date: 2024/11/2
  Time: 14:29
  To change this template use File | Settings | File Templates.
--%>
<%@ page contentType="text/html;charset=UTF-8" language="java" %>
<html>
<head>
    <title>Title</title>
</head>
<body>
<h3>入门</h3>
<form action="hello.do" method="post">
    <input type="submit" value="提交">
</form>
</body>
</html>
再运行: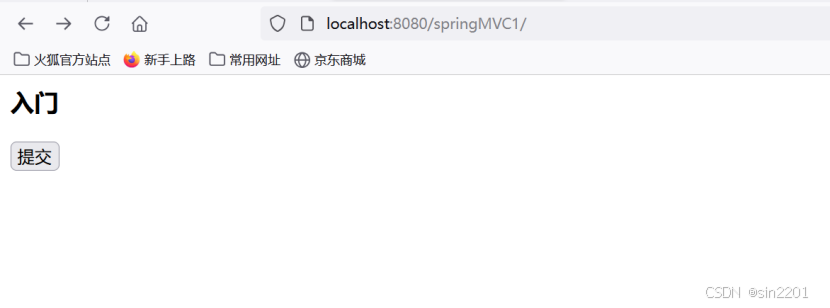
点提交,会出现405错误-----请求方式有问题

4.params
指定限制请求参数的条件
HelloController
import org.springframework.stereotype.Controller;
import org.springframework.web.bind.annotation.*;

/*
* 表现层控制器
* 接收前端请求
* */
@Controller
public class HelloContoller {
    @PostMapping(path = "/hello.do",params = "username")
    public String sayHello(){
        System.out.println("入门方法执行了...");
        return "suc";
    }
}
运行: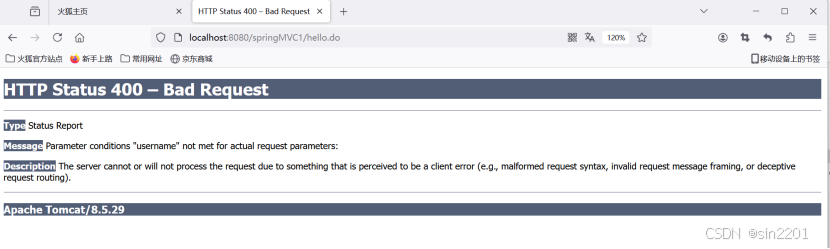
修改index.jsp
加了一行username的输入框
<%--
  Created by IntelliJ IDEA.
  User: lenovo
  Date: 2024/11/2
  Time: 14:29
  To change this template use File | Settings | File Templates.
--%>
<%@ page contentType="text/html;charset=UTF-8" language="java" %>
<html>
<head>
    <title>Title</title>
</head>
<body>
<h3>入门</h3>
<form action="hello.do" method="post">
    用户名:<input type="text" id="username" name="username">
    <input type="submit" value="提交">
</form>
</body>
</html>
在重新运行
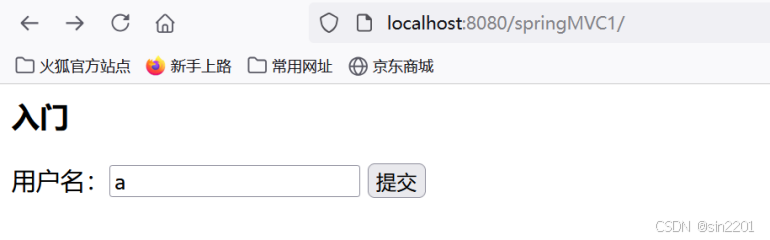
之后再点提交
params
ctrl+左键进去params,返回的是一个数组

所以刚才的 @PostMapping(path = "/hello.do",params = "username") 可以写成 @PostMapping(path = "/hello.do",params = {"username","password"})
然后再修改index.jsp
<%--
  Created by IntelliJ IDEA.
  User: lenovo
  Date: 2024/11/2
  Time: 14:29
  To change this template use File | Settings | File Templates.
--%>
<%@ page contentType="text/html;charset=UTF-8" language="java" %>
<html>
<head>
    <title>Title</title>
</head>
<body>
<h3>入门</h3>
<form action="hello.do" method="post">
    用户名:<input type="text" id="username" name="username">
    密码:<input type="password" id="password" name="password">
    <input type="submit" value="提交">
</form>
</body>
</html>
运行
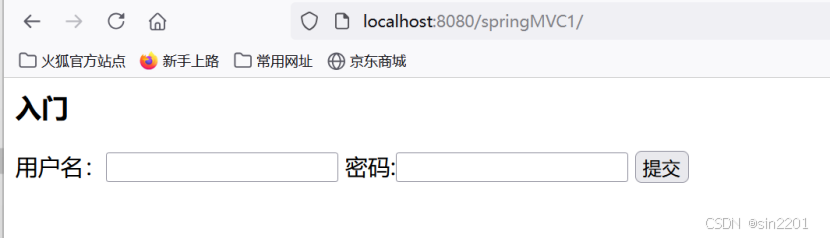
输入用户名和密码,点提交: