一、下载依赖
在使用vue/cli创建项目时下载vue router和vuex
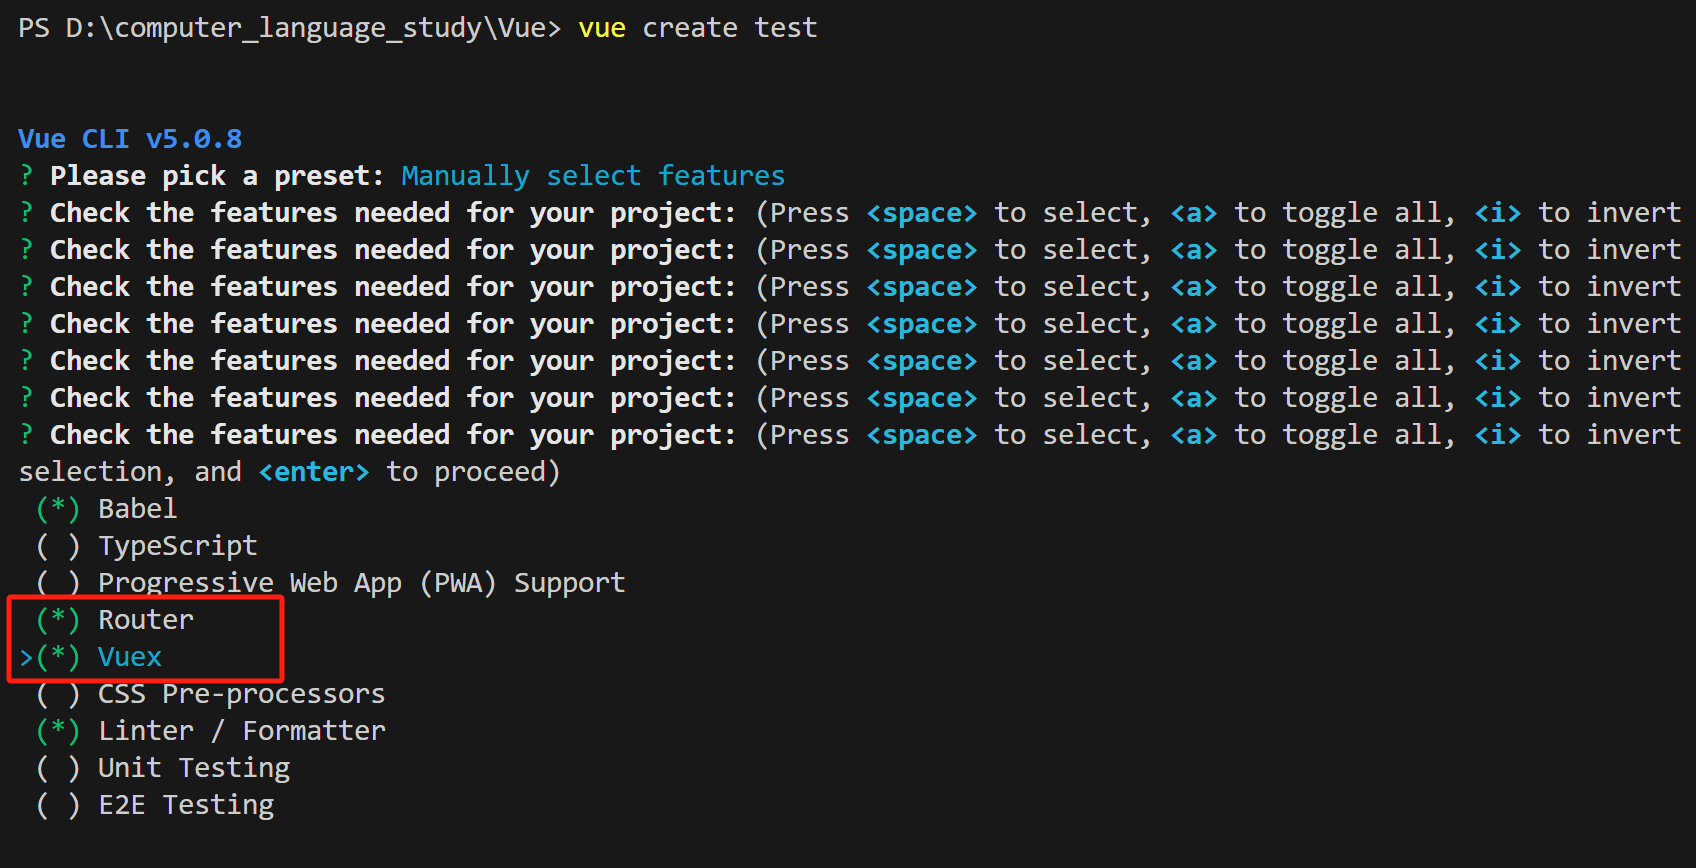
或则创建一个简单的项目后再下载vue router和vuex
npm i vuex
npm install vue-router
当然要注意好自己的vue版本下载这两个
二、Vue-Router
1、路由模式
我是通过vue/cli下载配置了vue-router,生成项目后,src下会有一个router的文件夹,里面的index.js文件内容为
import Vue from 'vue'
import VueRouter from 'vue-router'
import HomeView from '../views/HomeView.vue'

Vue.use(VueRouter)

const routes = [
  {
    path: '/',
    name: 'home',
    component: HomeView
  },
  {
    path: '/about',
    name: 'about',
    // route level code-splitting
    // this generates a separate chunk (about.[hash].js) for this route
    // which is lazy-loaded when the route is visited.
    component: () => import(/* webpackChunkName: "about" */ '../views/AboutView.vue')
  }
]

const router = new VueRouter({
  mode: 'history',
  base: process.env.BASE_URL,
  routes
})

export default router
const router = new VueRouter({
mode: 'history',
base: process.env.BASE_URL,
routes
})
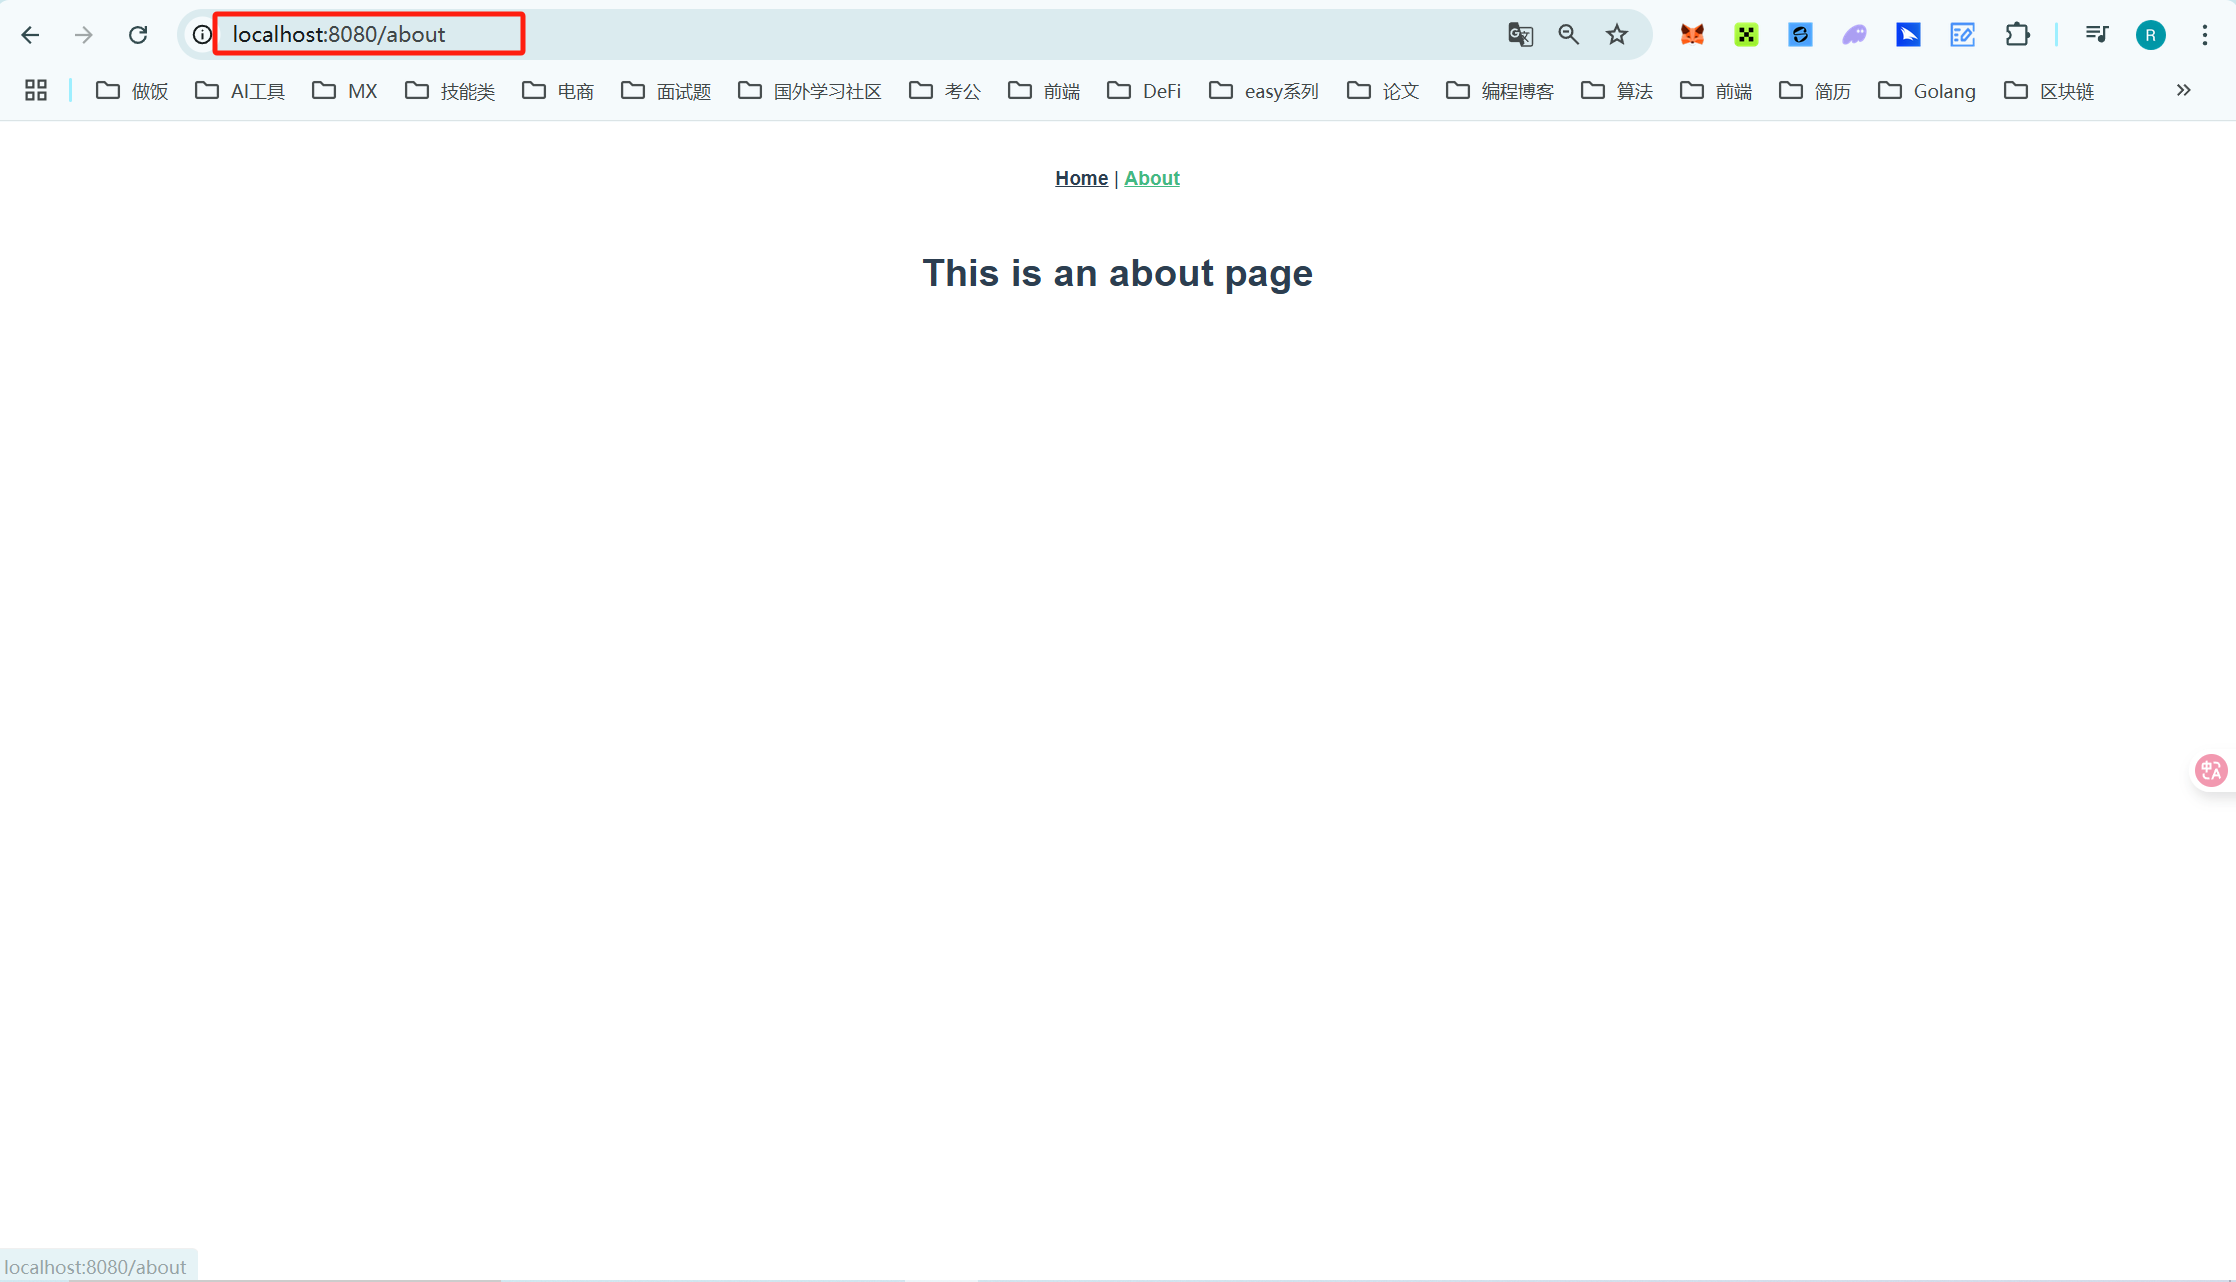
这段代码使得路由为history模式,它默认的为hash模式,这两个的区别如下
这是history模式下路由,好处在于更美观
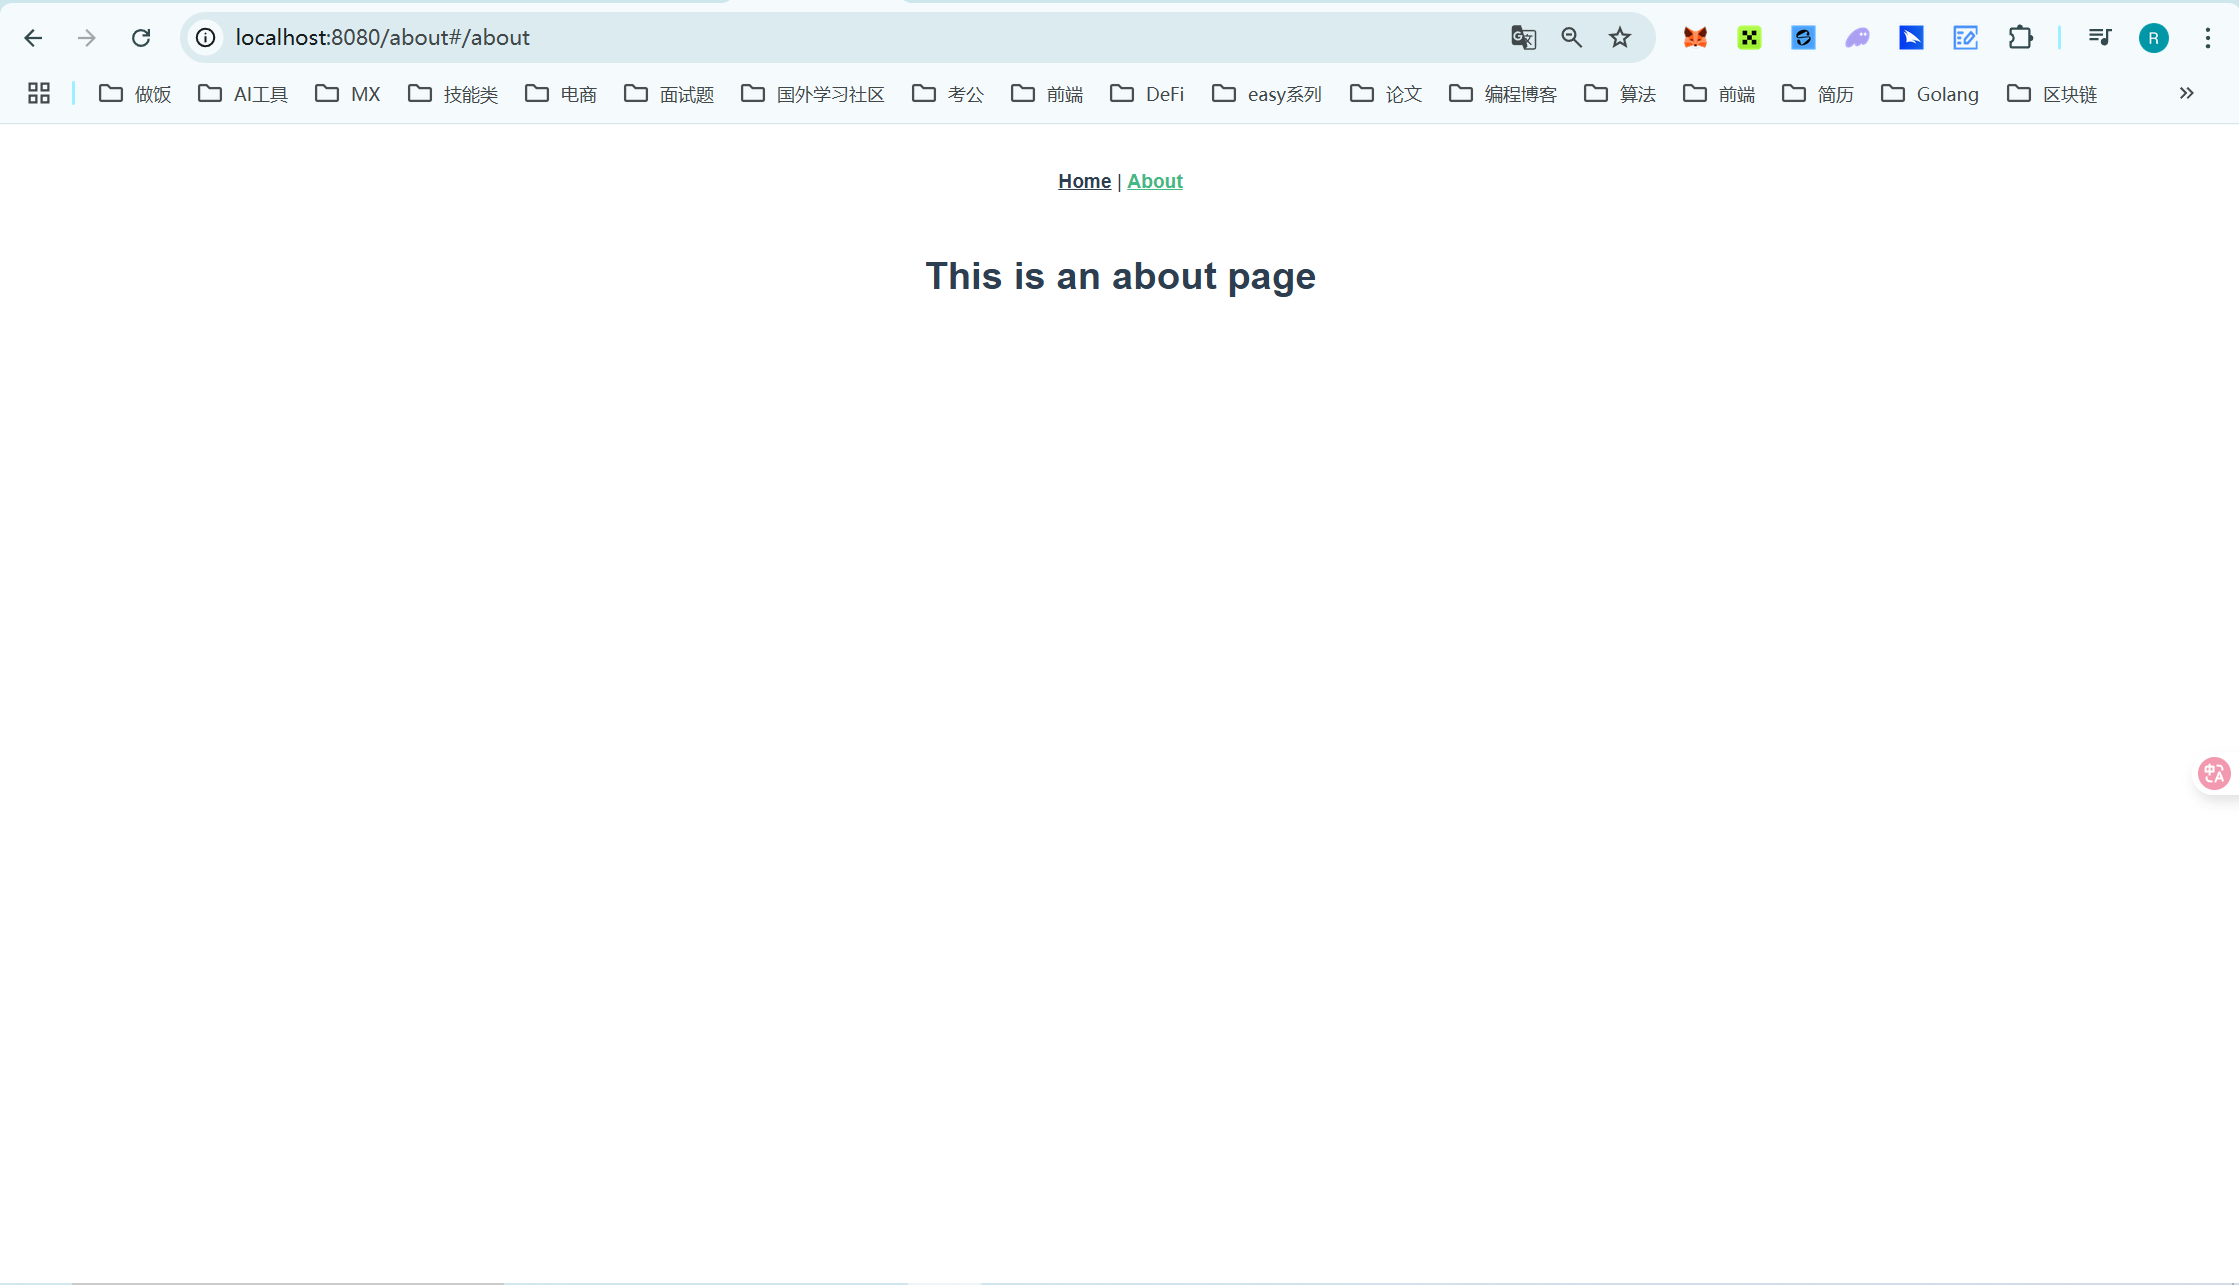
这是hash模式下的路由,比history多了一个#号,好处在于兼容性更好
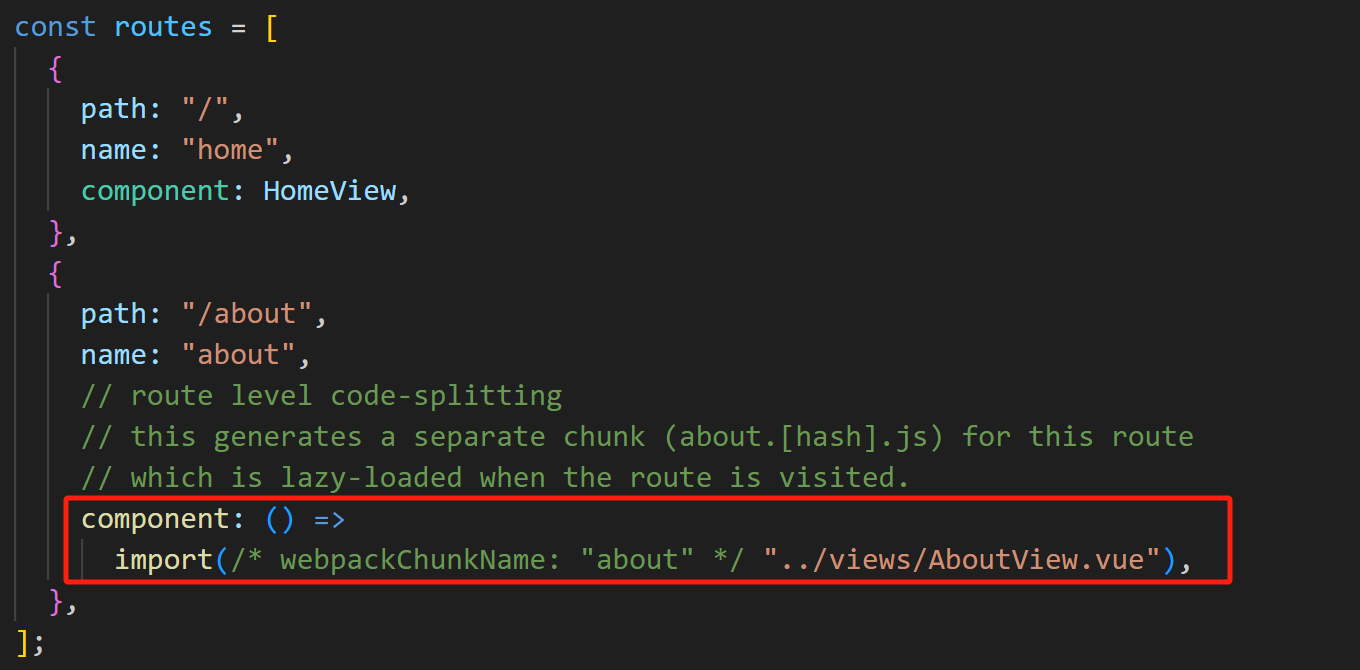
2、路由组件配置方式
通过import方式导入组件
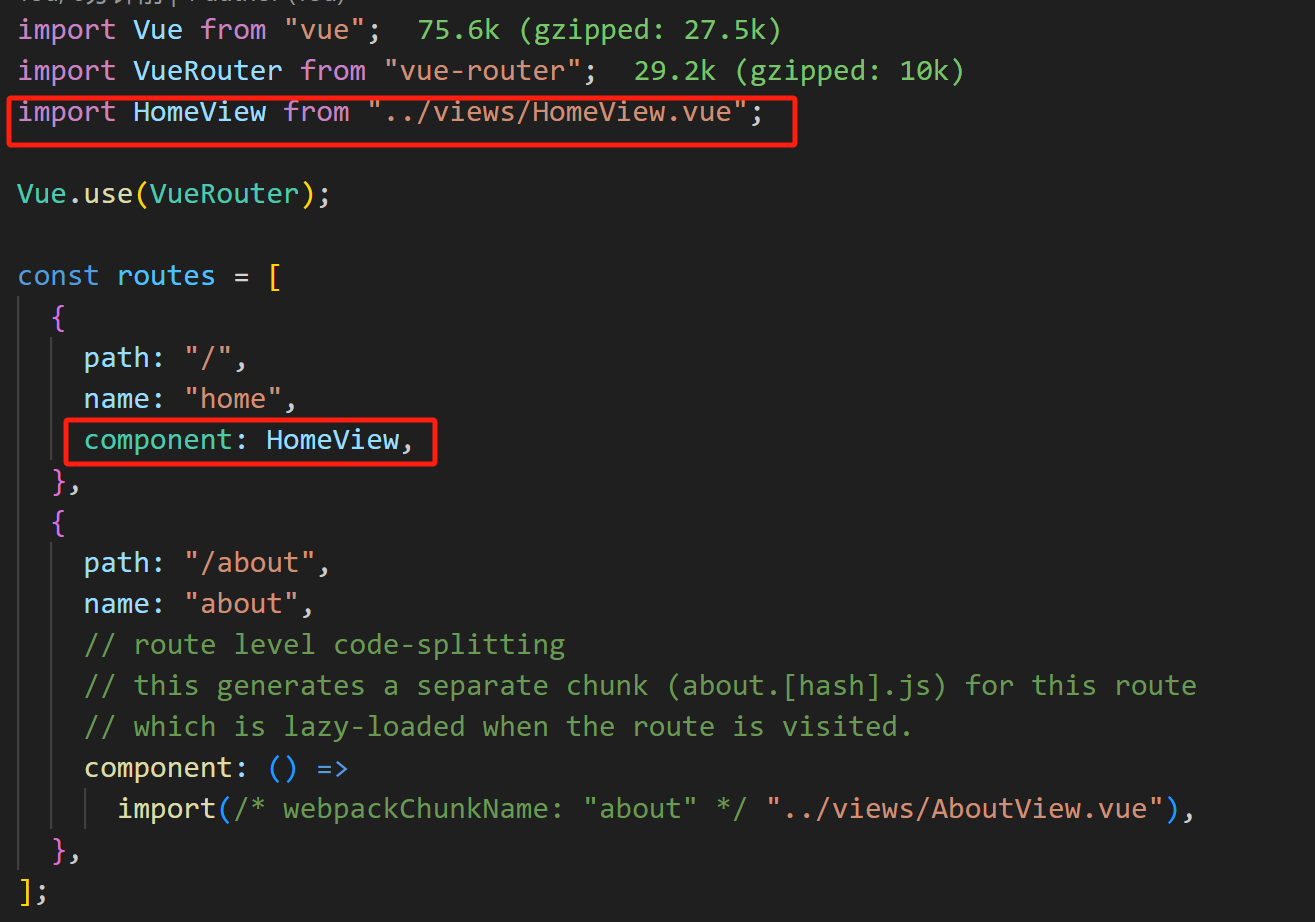
通过异步的方式,并且配置一个webpack的注释,为了在使用webpack打包的时候能够将多个组件统一打包的一个处理
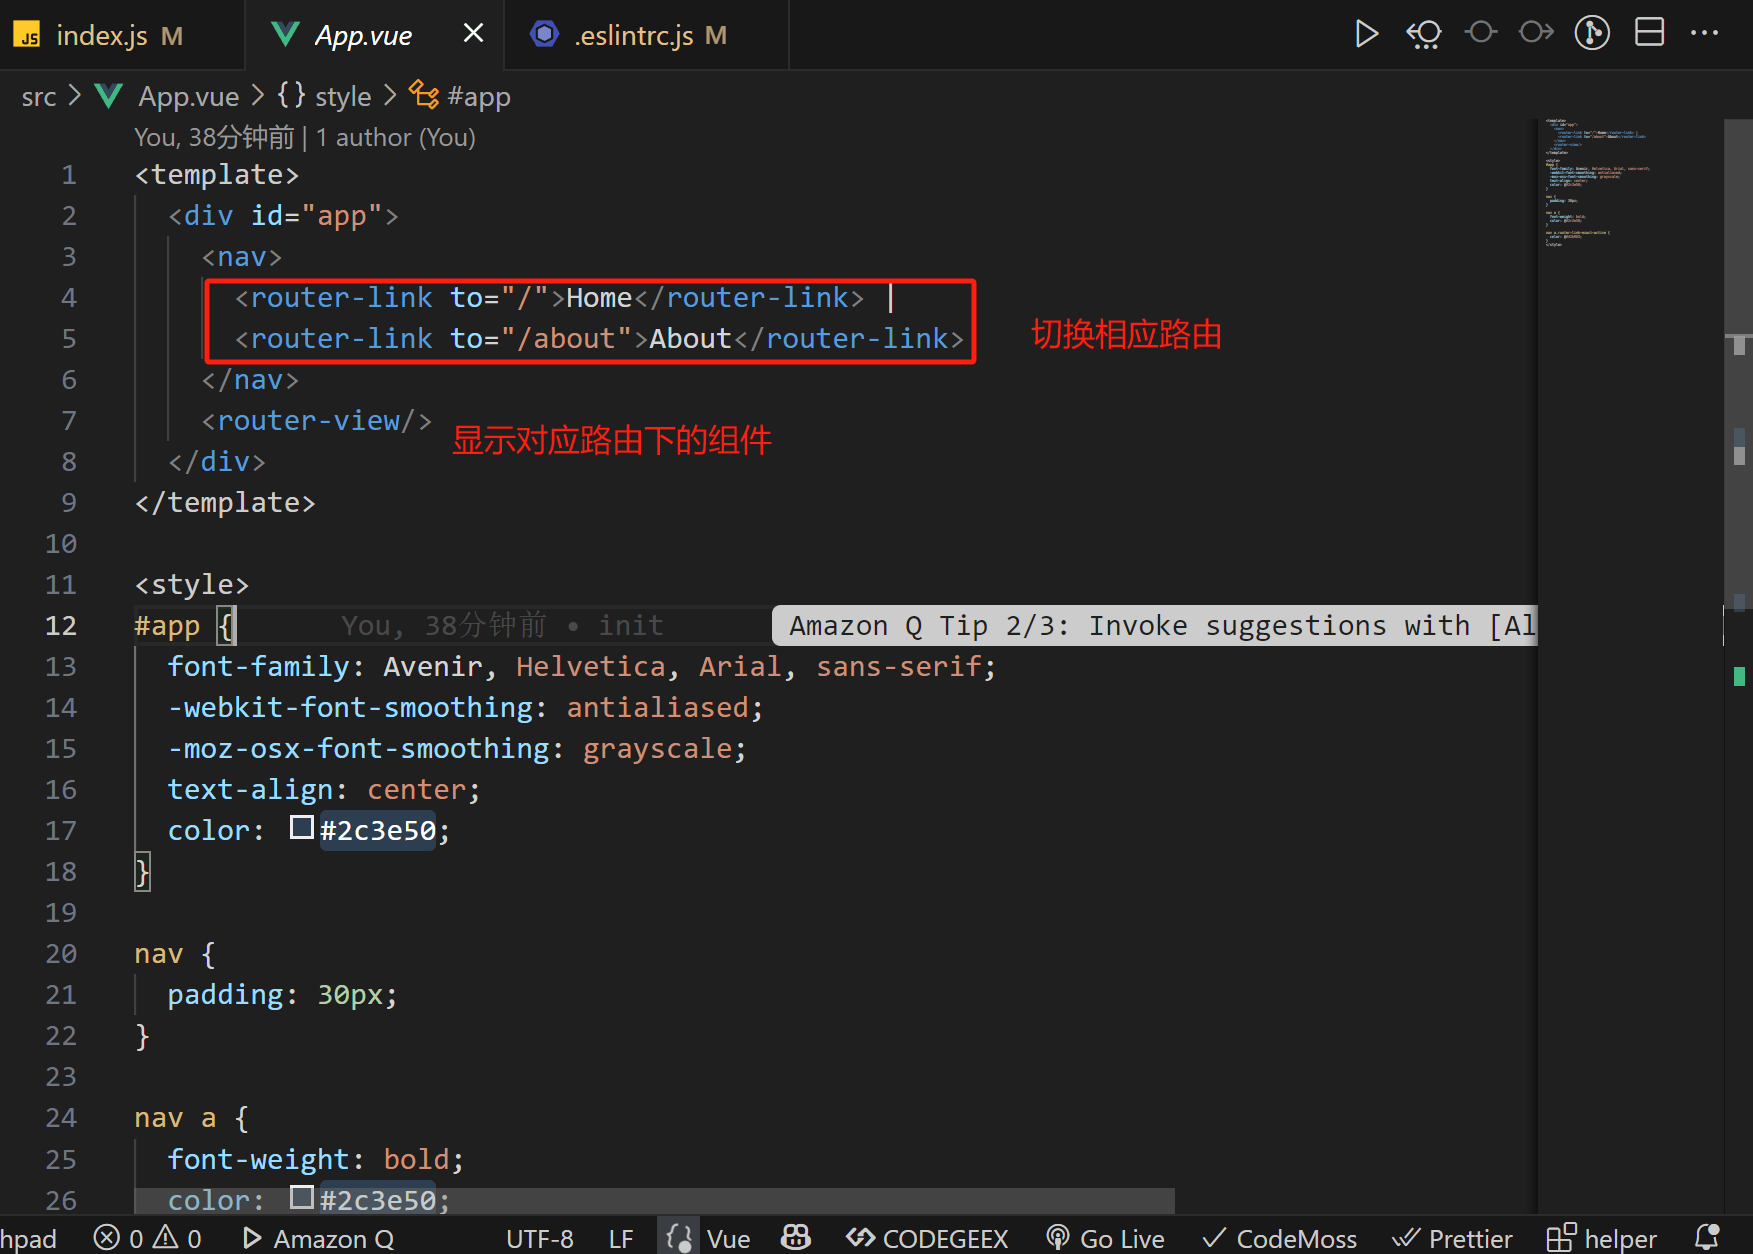
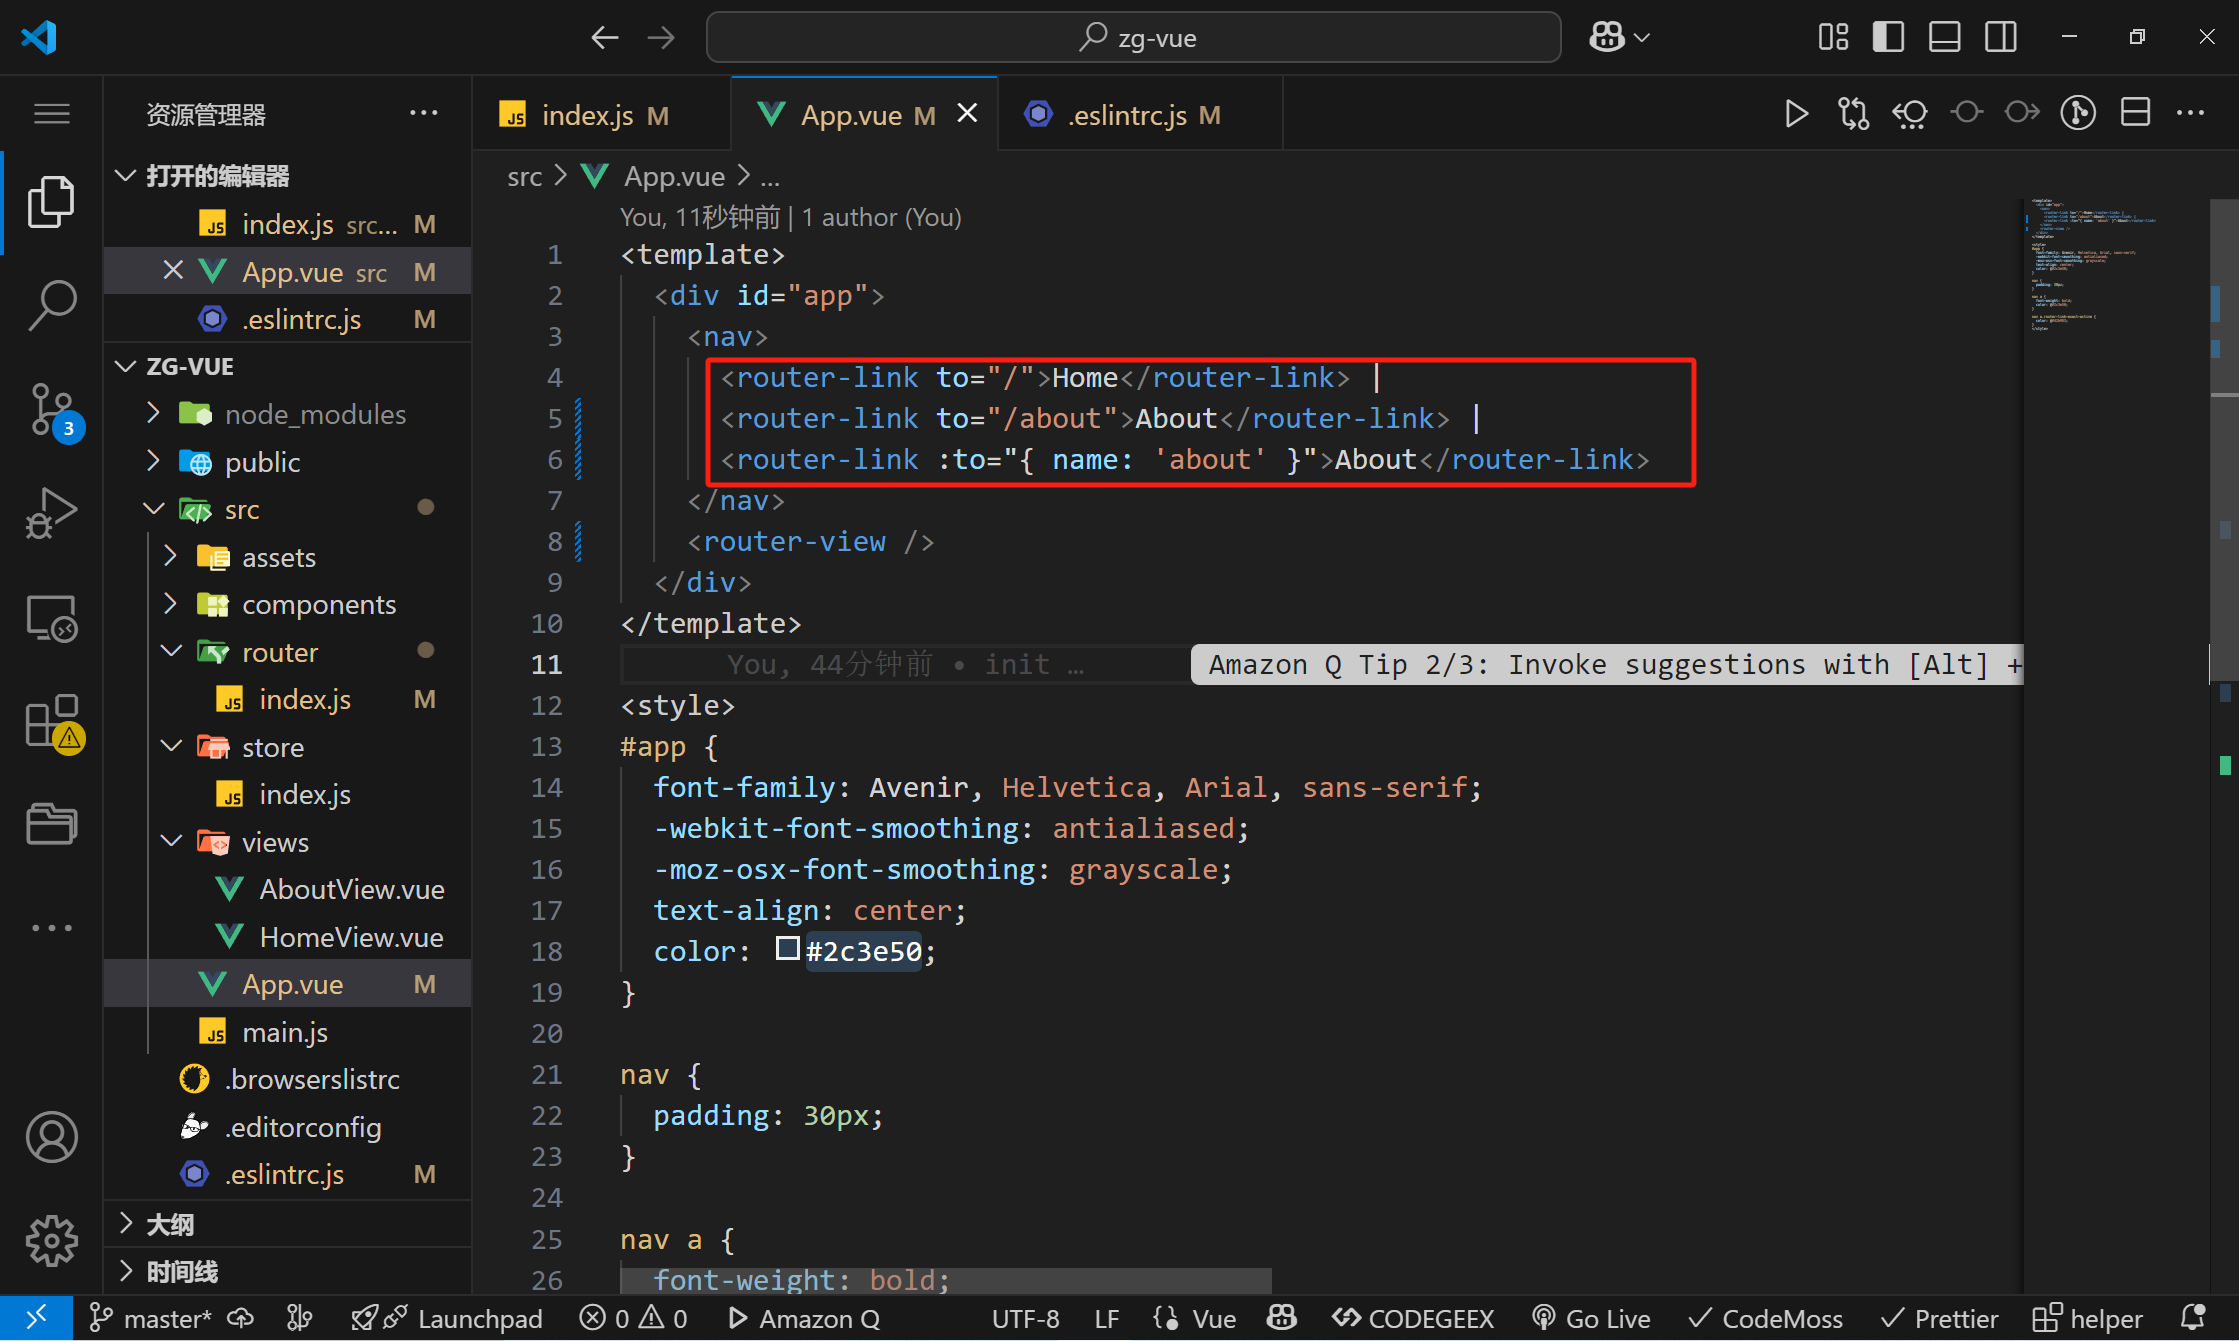
3、通过路由切换并显示组件的方式
path形式
name形式
4、动态路由
动态路由的实现方式样例
router/index.js

router/index.js
import Vue from "vue";
import VueRouter from "vue-router";
import HomeView from "../views/HomeView.vue";
import VideoView from "../views/VideoView.vue";
Vue.use(VueRouter);
const routes = [
{
path: "/",
name: "home",
component: HomeView,
},
{
path: "/about",
name: "about",
// route level code-splitting
// this generates a separate chunk (about.[hash].js) for this route
// which is lazy-loaded when the route is visited.
component: () =>
import(/* webpackChunkName: "about" */ "../views/AboutView.vue"),
},
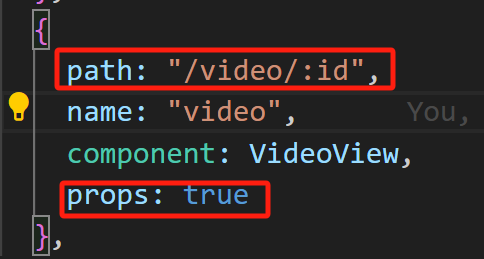
{
path: "/video/:id",
name: "video",
component: VideoView,
props: true
},
];
const router = new VueRouter({
mode: "history",
base: process.env.BASE_URL,
routes,
});
export default router;
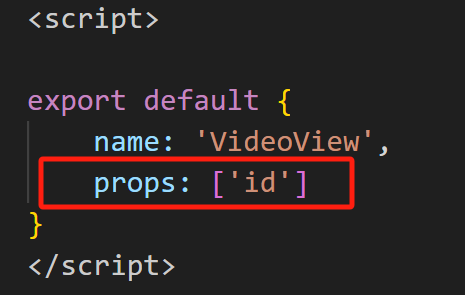
views/VideoView.js
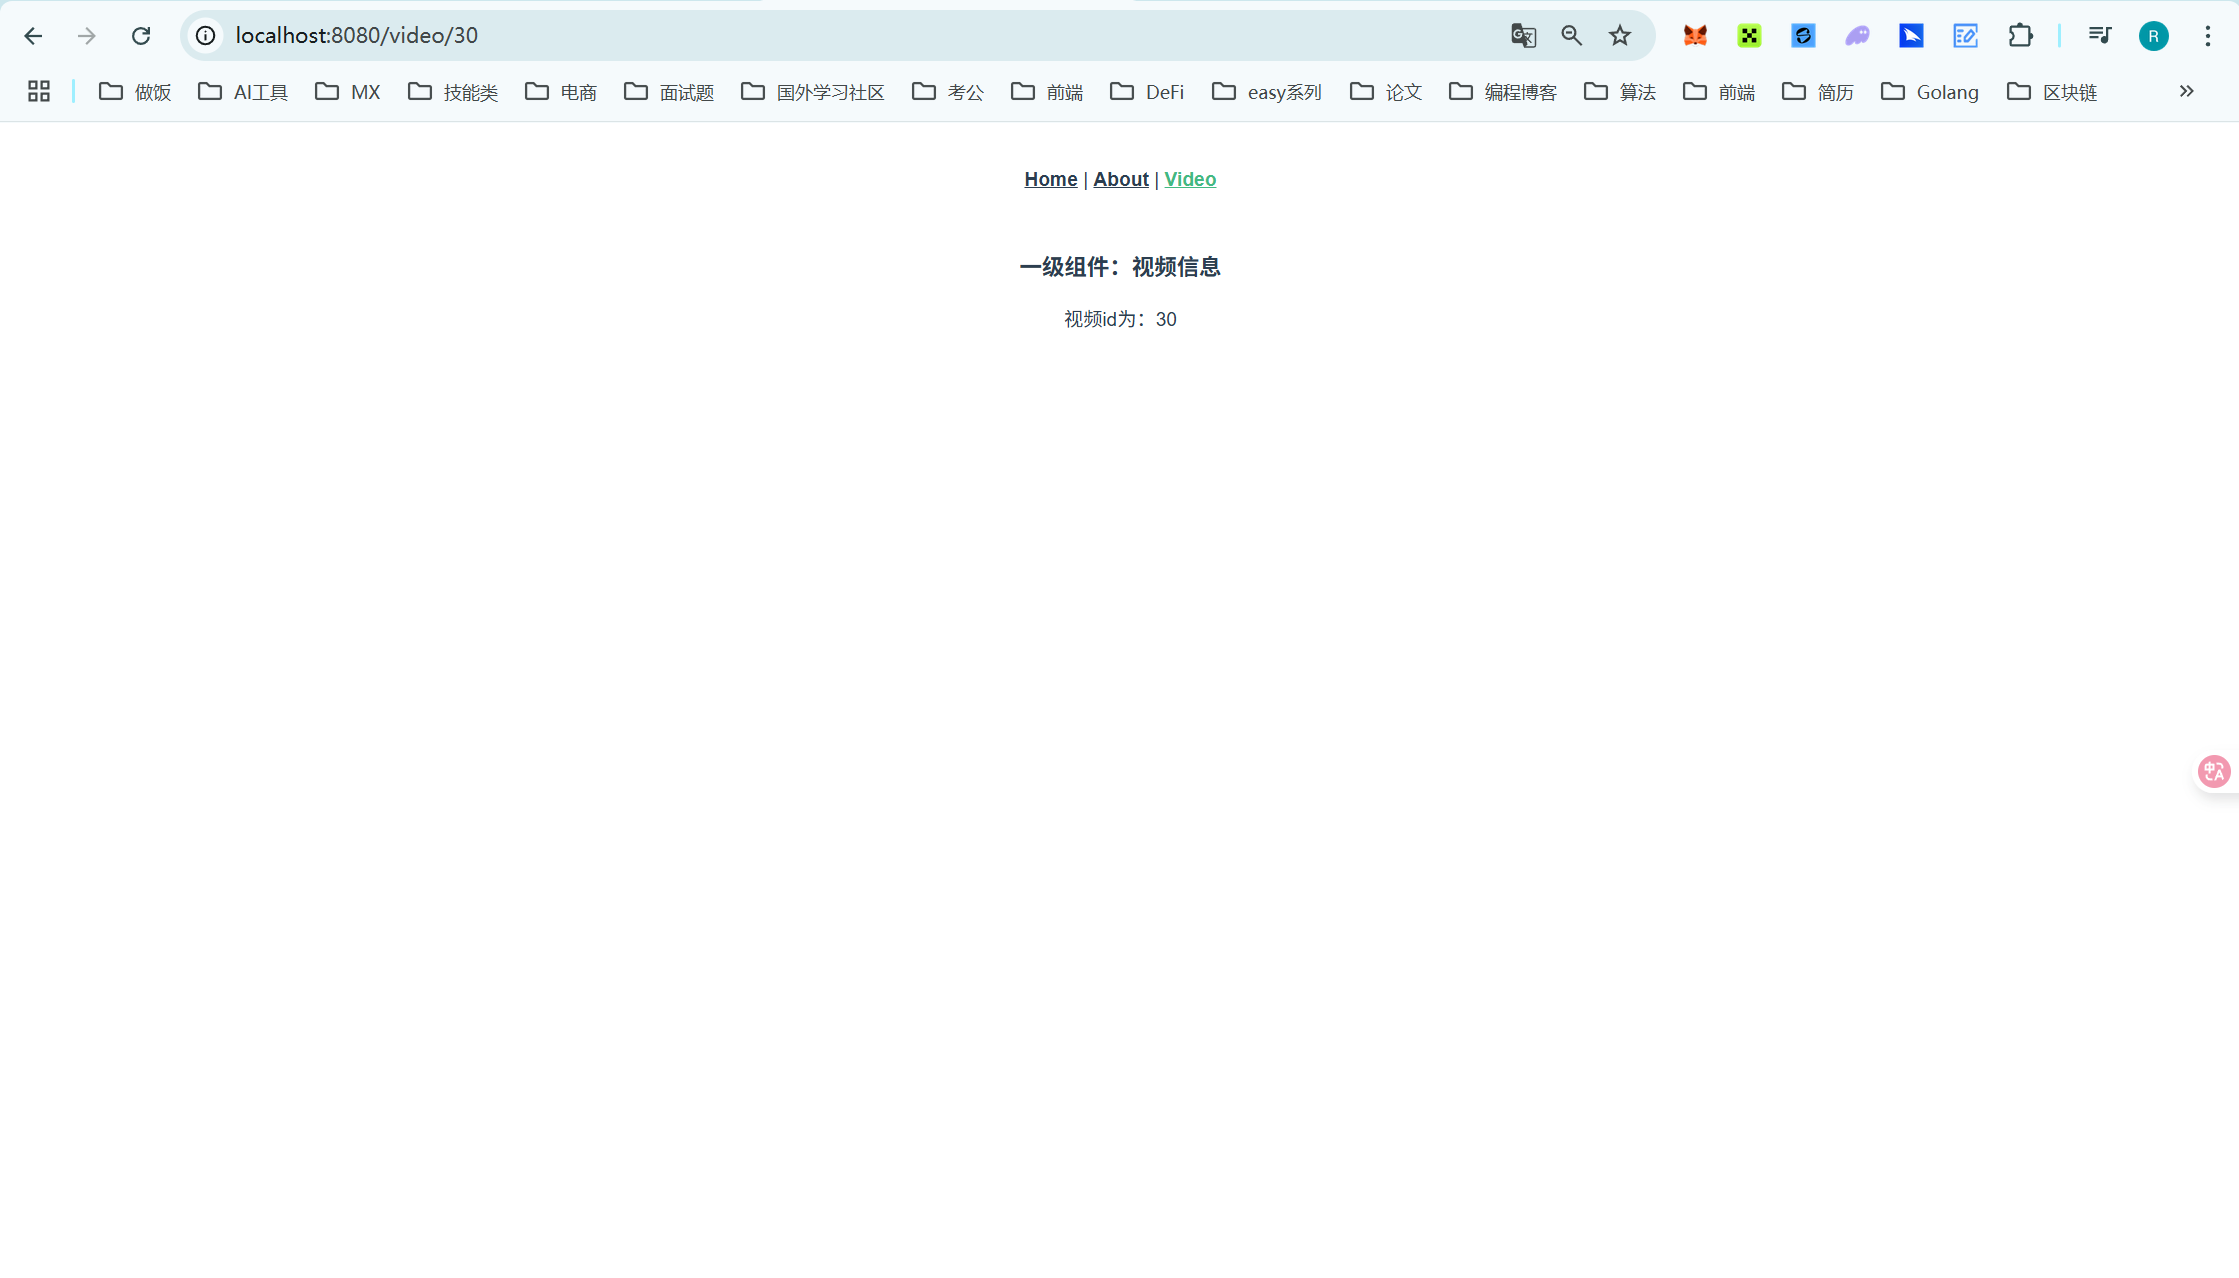
<template>
    <div>
        <h3>一级组件:视频信息</h3>
        <p>视频id为:{{id}}</p>
    </div>
</template>

<script>

export default {
    name: 'VideoView',
    props: ['id']
}
</script>

<style scoped>

</style>
App.js
<template>
  <div id="app">
    <nav>
      <router-link to="/">Home</router-link> |
      <router-link to="/about">About</router-link> |
      <!-- <router-link to="/video/30">Video</router-link> -->
      <router-link :to="{ name: 'video', params: { id: 30 } }">Video</router-link>
    </nav>
    <router-view />
  </div>
</template>

<style>
#app {
  font-family: Avenir, Helvetica, Arial, sans-serif;
  -webkit-font-smoothing: antialiased;
  -moz-osx-font-smoothing: grayscale;
  text-align: center;
  color: #2c3e50;
}

nav {
  padding: 30px;
}

nav a {
  font-weight: bold;
  color: #2c3e50;
}

nav a.router-link-exact-active {
  color: #42b983;
}
</style>
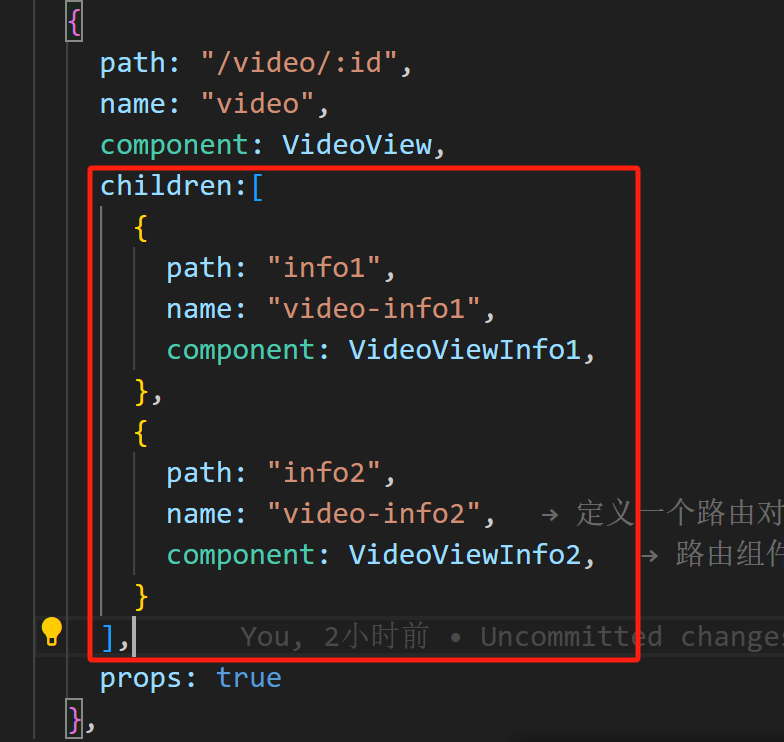
5、嵌套路由
router/index.js
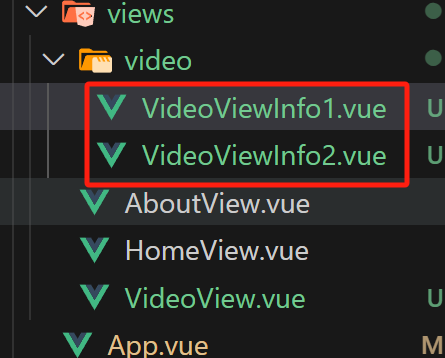
VideoView.vue
VideoViewInfo1.vue和VideoViewInfo2.vue
router/index.js
import Vue from "vue";
import VueRouter from "vue-router";
import HomeView from "../views/HomeView.vue";
import VideoView from "../views/VideoView.vue";
import VideoViewInfo1 from "../views/video/VideoViewInfo1.vue";
import VideoViewInfo2 from "../views/video/VideoViewInfo2.vue";
Vue.use(VueRouter);

const routes = [
  {
    path: "/",
    name: "home",
    component: HomeView,
  },
  {
    path: "/about",
    name: "about",
    // route level code-splitting
    // this generates a separate chunk (about.[hash].js) for this route
    // which is lazy-loaded when the route is visited.
    component: () =>
      import(/* webpackChunkName: "about" */ "../views/AboutView.vue"),
  },
  {
    path: "/video/:id",
    name: "video",
    component: VideoView,
    children:[
      {
        path: "info1",
        name: "video-info1",
        component: VideoViewInfo1,
      },
      {
        path: "info2",
        name: "video-info2",
        component: VideoViewInfo2,
      }
    ],
    props: true
  },
];

const router = new VueRouter({
  mode: "history",
  base: process.env.BASE_URL,
  routes,
});

export default router;
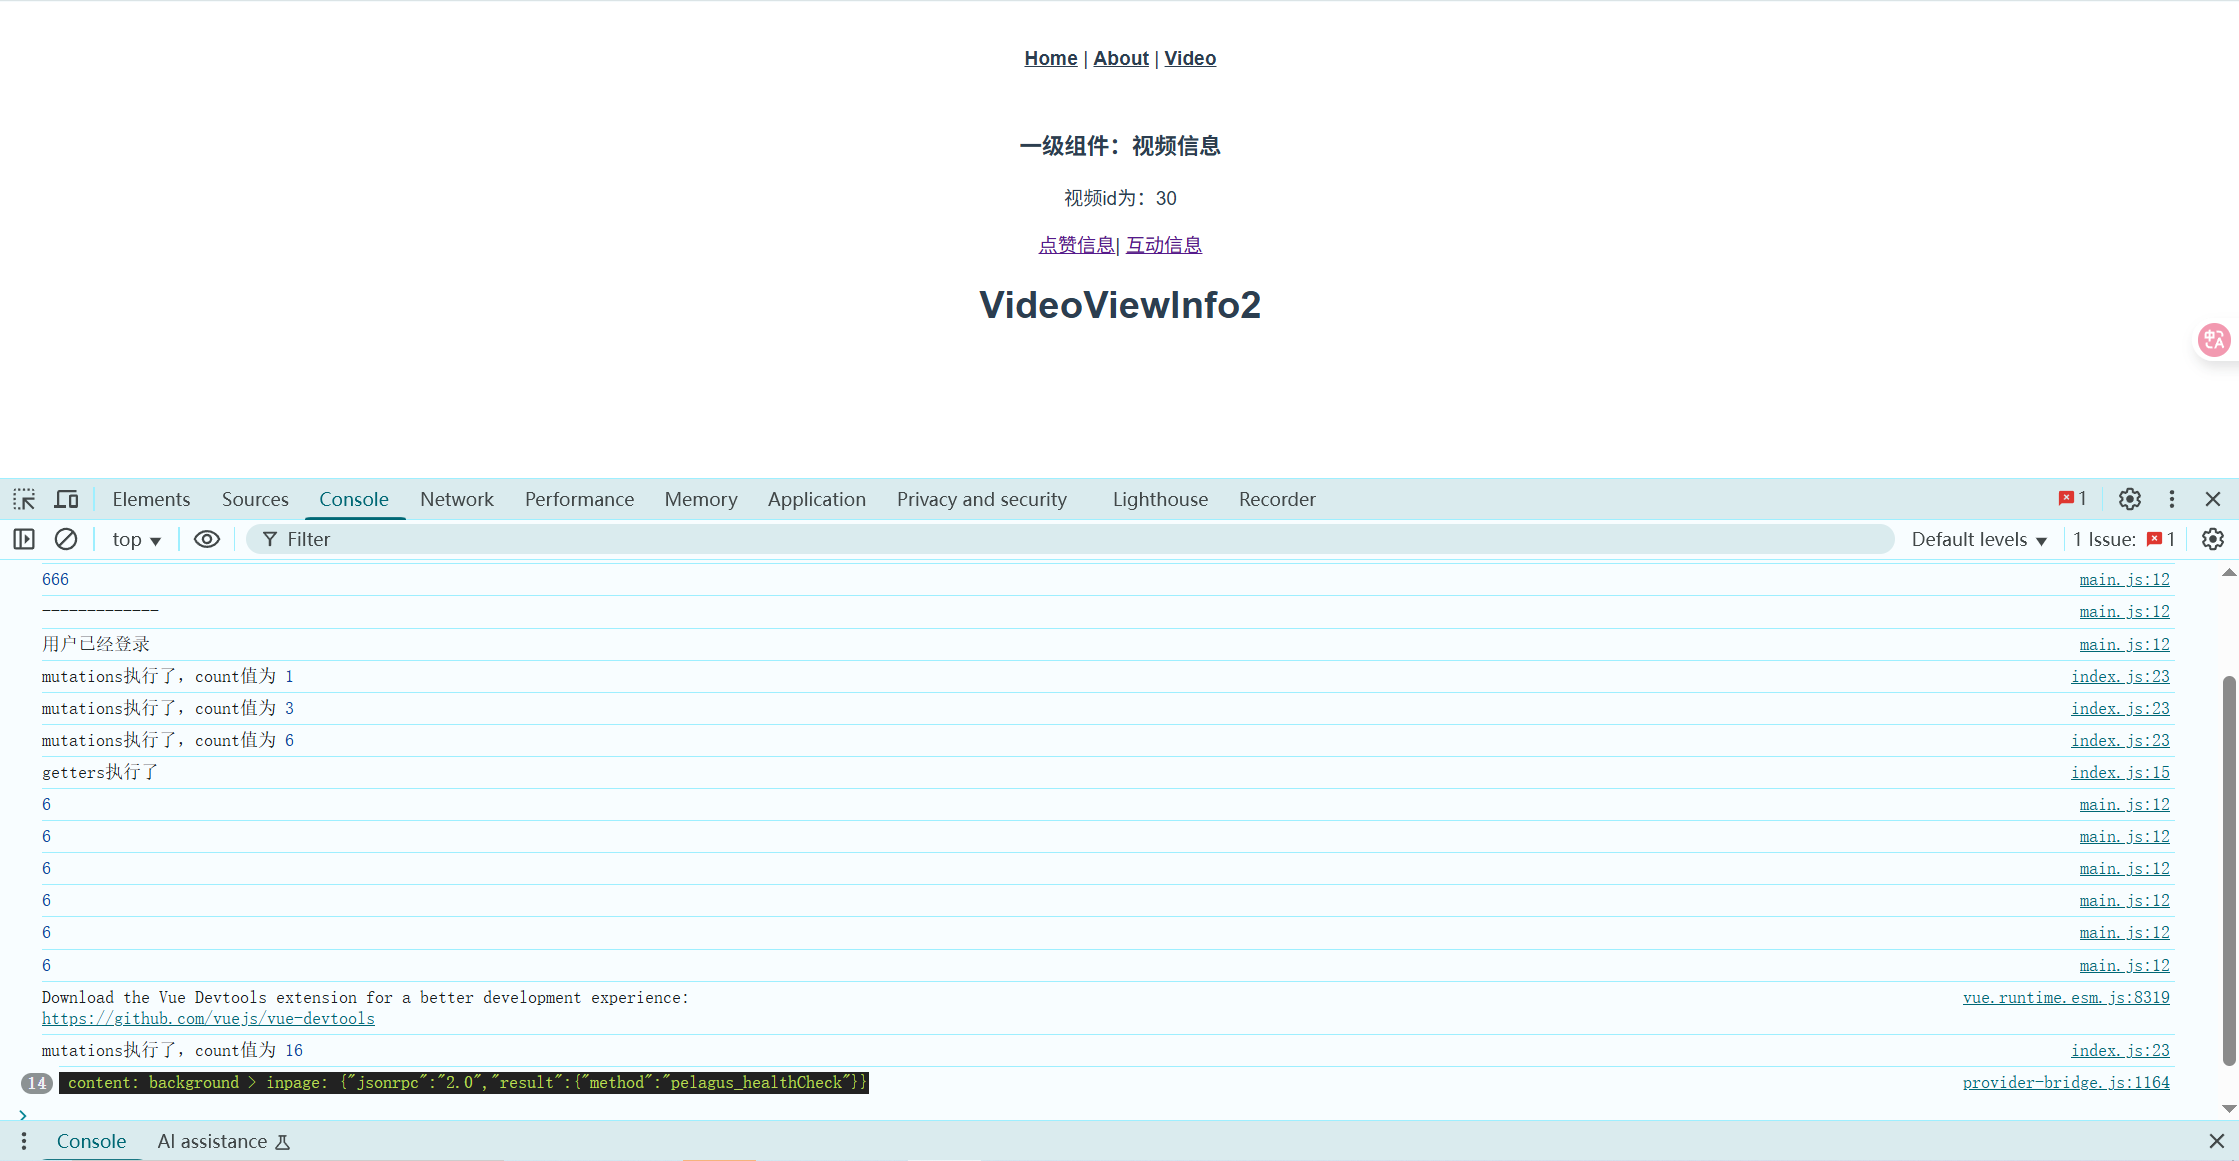
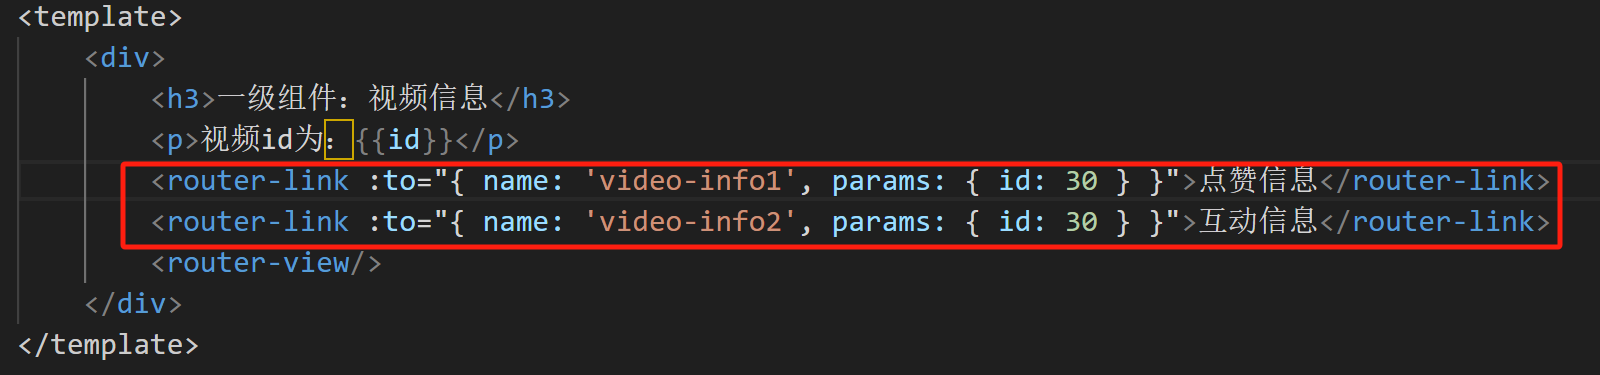
VideoView.vue
<template>
    <div>
        <h3>一级组件:视频信息</h3>
        <p>视频id为:{{id}}</p>
        <router-link :to="{ name: 'video-info1', params: { id: 30 } }">点赞信息</router-link>|
        <router-link :to="{ name: 'video-info2', params: { id: 30 } }">互动信息</router-link>
        <router-view/>
    </div>
</template>

<script>

export default {
    name: 'VideoView',
    props: ['id']
}
</script>

<style scoped>

</style>
VideoViewInfo1.vue和VideoViewInfo2.vue
<template>
<div>
  <h1>VideoViewInfo1</h1>
</div>
</template>

<script>

export default {
name: 'VideoViewInfo1',
}
</script>

<style scoped>

</style>
<template>
<div>
<h1>VideoViewInfo2</h1>
</div>
</template>
<script>
export default {
name: 'VideoViewInfo2',
}
</script>
<style scoped>
</style>
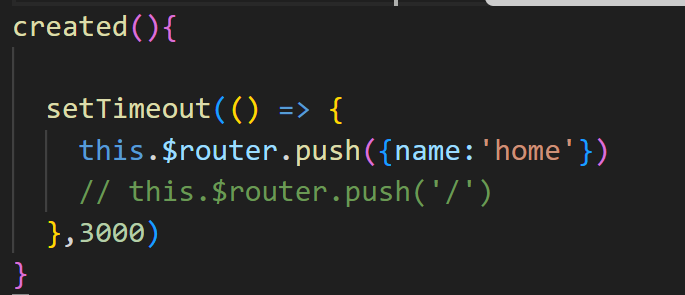
6、编程式导航
页面应用自己跳转,例如登录信息过期了,自动跳转到登录页
VideoViewInfo1.vue
<template>
<div>
  <h1>VideoViewInfo1</h1>
</div>
</template>

<script>

export default {
name: 'VideoViewInfo1',
created(){

  setTimeout(() => {
    this.$router.push({name:'home'})
    // this.$router.push('/')
  },3000)
}
}
</script>

<style scoped>

</style>
$router一般是用来路由相关操作
7、路由传参与导航守卫
路由传参
VideoViewInfo1.vue
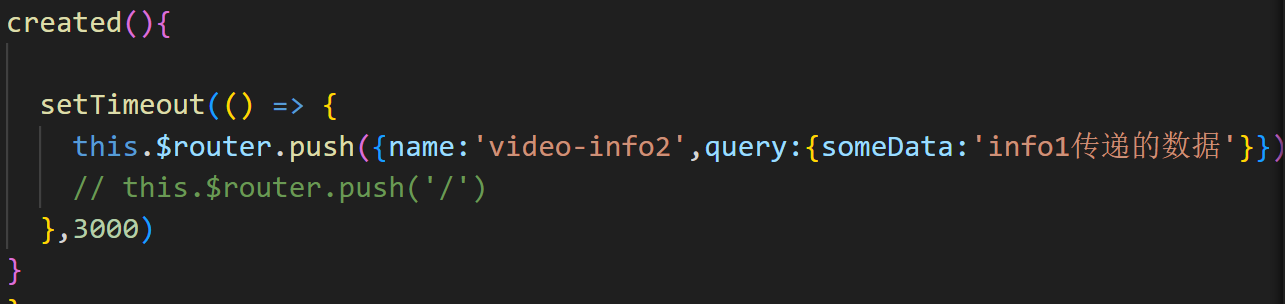
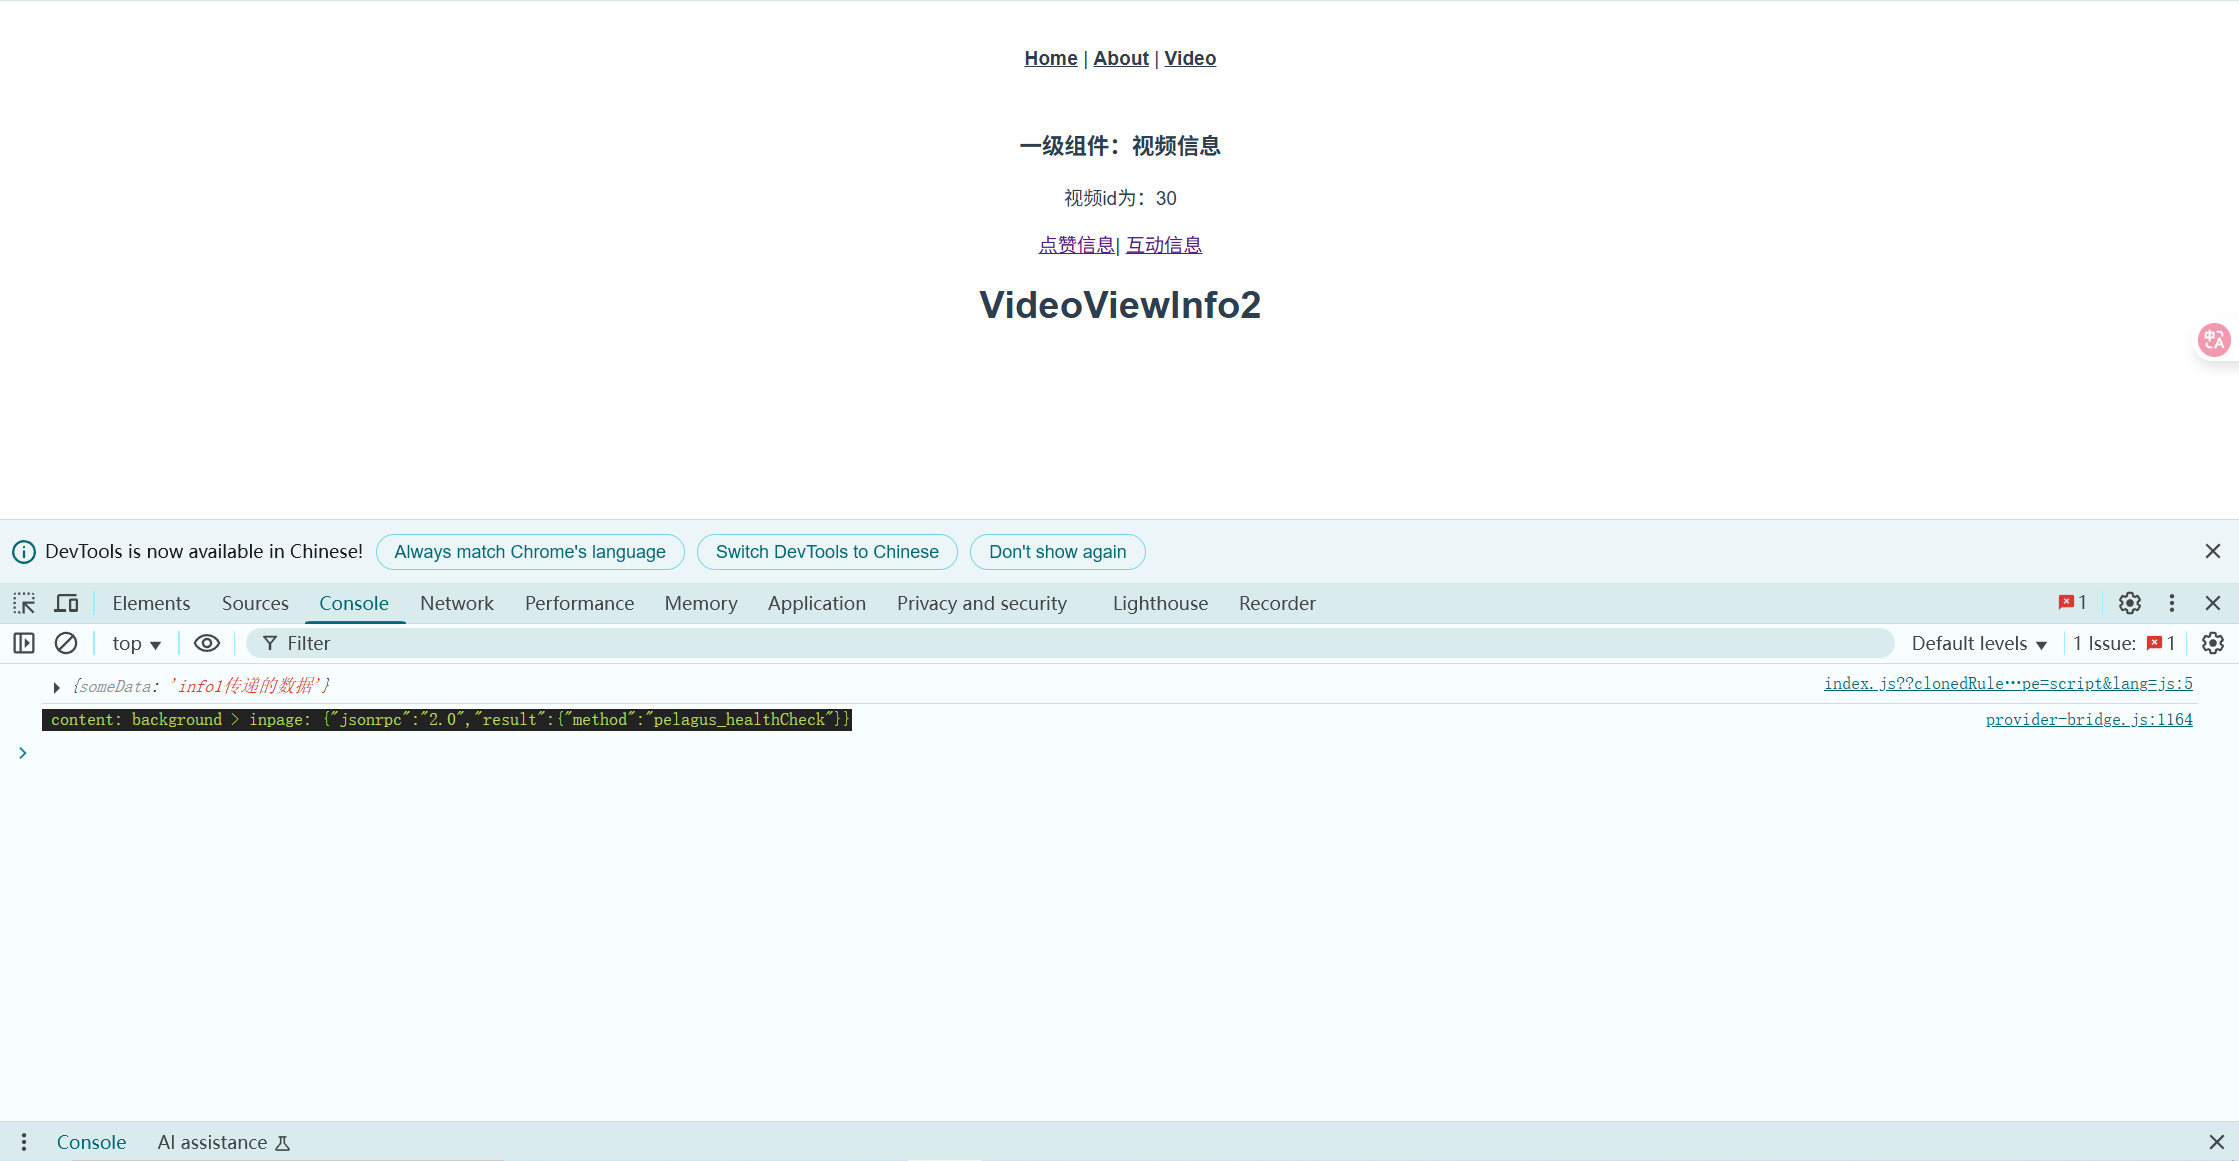
VideoViewInfo2.vue

VideoViewInfo2接收到了VideoViewInfo1发送的数据
VideoViewInfo1.vue
<template>
<div>
  <h1>VideoViewInfo1</h1>
</div>
</template>

<script>

export default {
name: 'VideoViewInfo1',
created(){

  setTimeout(() => {
    this.$router.push({name:'video-info2',query:{someData:'info1传递的数据'}})
    // this.$router.push('/')
  },3000)
}
}
</script>

<style scoped>

</style>
VideoViewInfo2.vue
<template>
<div>
<h1>VideoViewInfo2</h1>
</div>
</template>
<script>
export default {
name: 'VideoViewInfo2',
created(){
console.log(this.$route.query)
}
}
</script>
<style scoped>
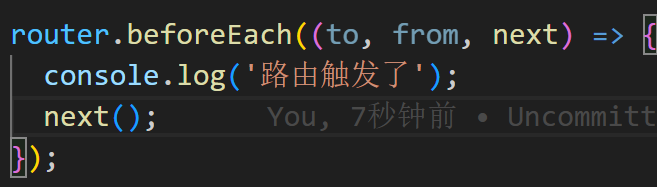
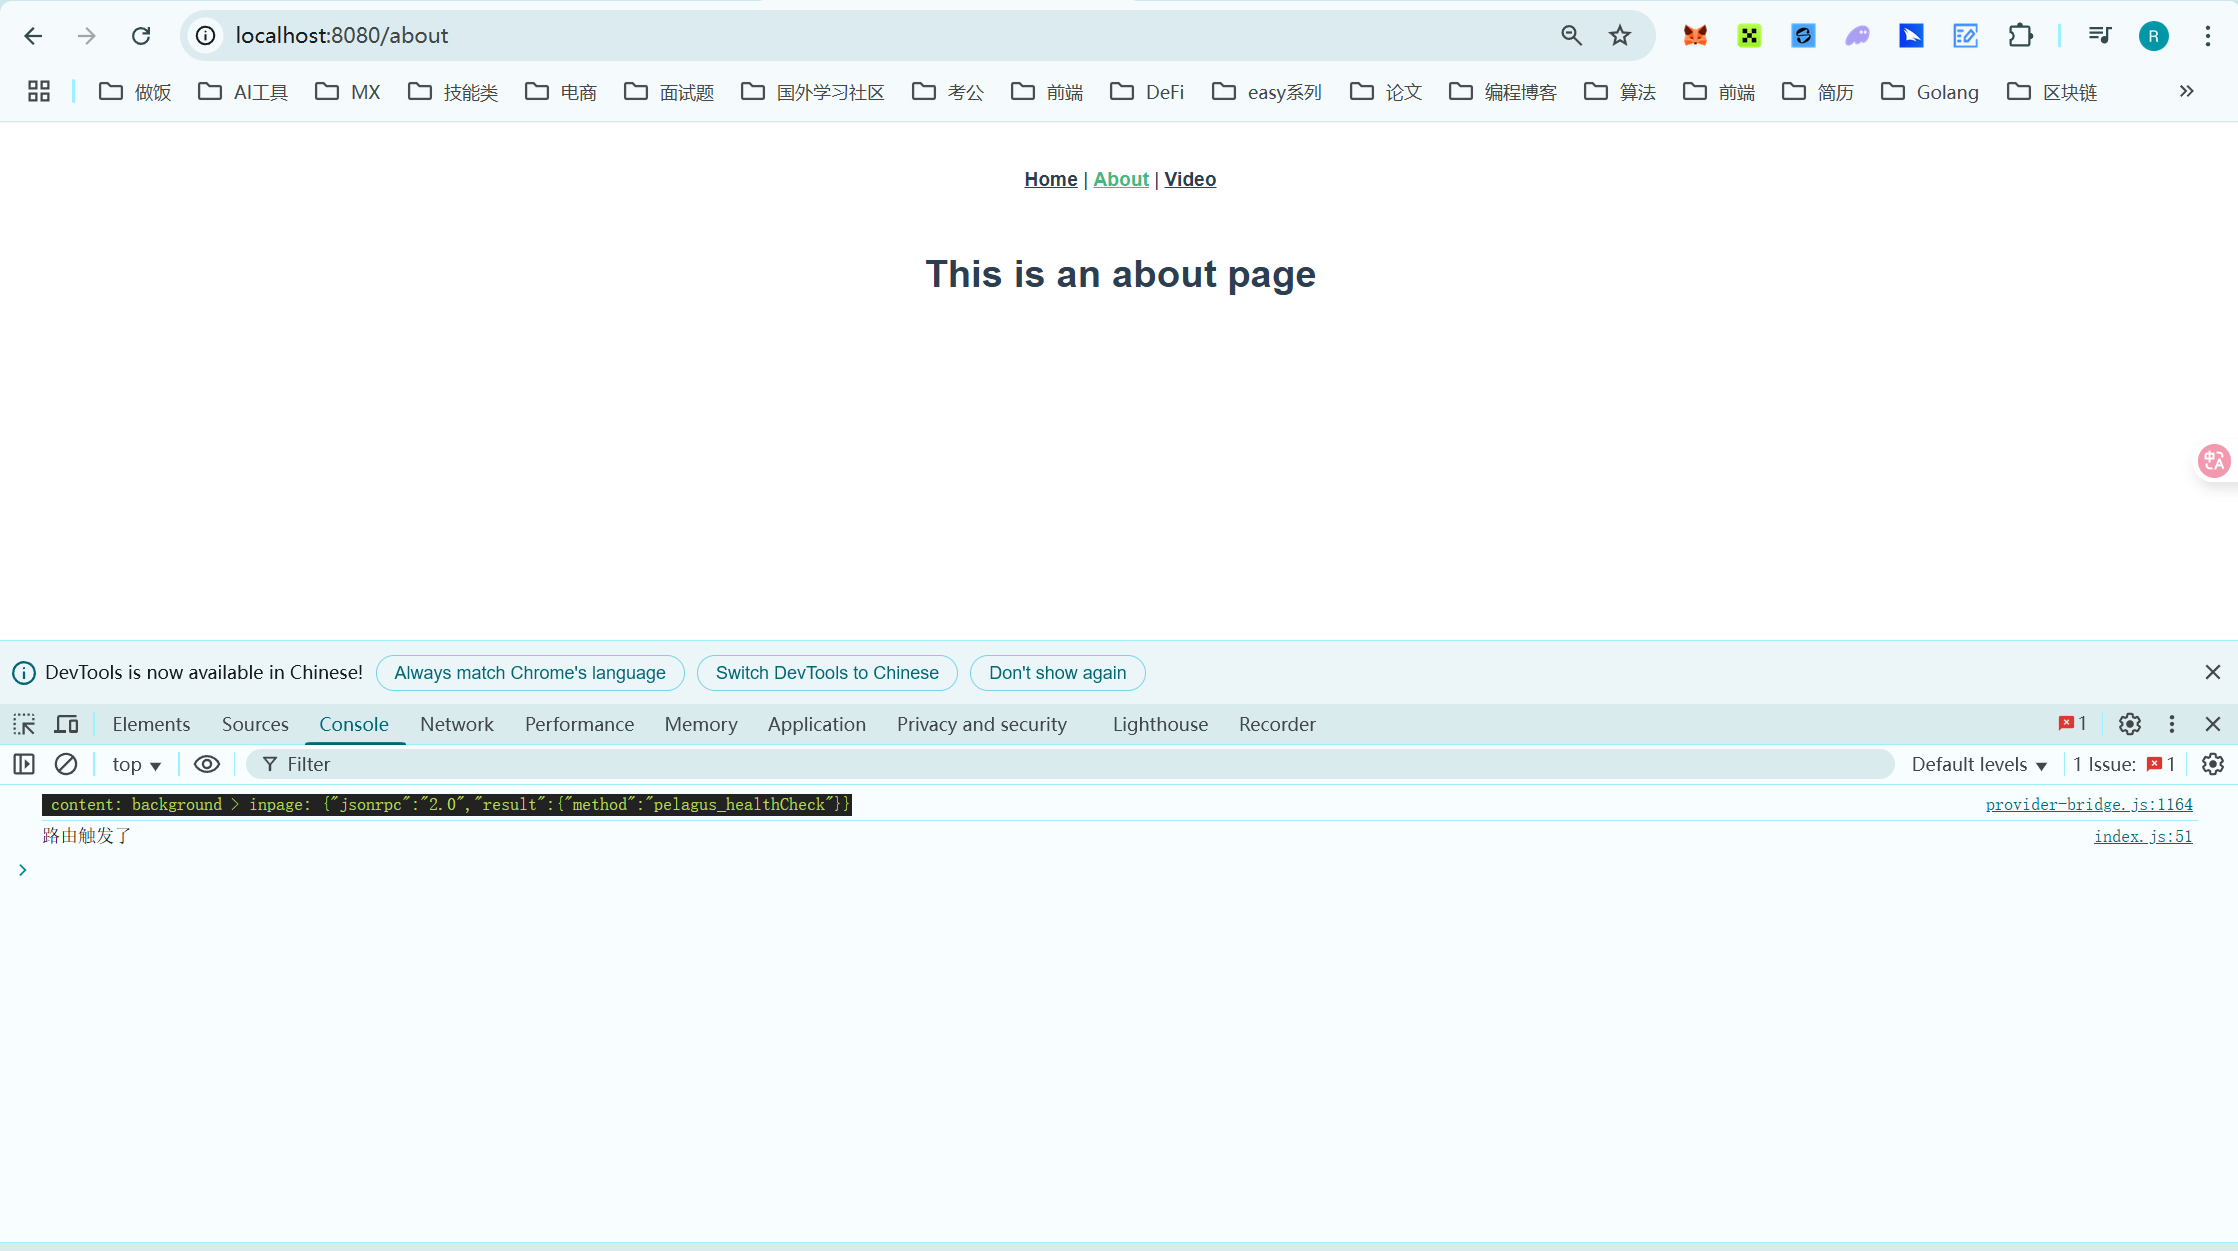
</style>导航守卫
以下的beforeEach为全局导航守卫,对路由跳转前进行一些操作,如果没有执行到next()函数时,组件不会进行任何渲染,即不写next()就不进行组件的渲染
router/index.js
import Vue from "vue";
import VueRouter from "vue-router";
import HomeView from "../views/HomeView.vue";
import VideoView from "../views/VideoView.vue";
import VideoViewInfo1 from "../views/video/VideoViewInfo1.vue";
import VideoViewInfo2 from "../views/video/VideoViewInfo2.vue";
Vue.use(VueRouter);

const routes = [
  {
    path: "/",
    name: "home",
    component: HomeView,
  },
  {
    path: "/about",
    name: "about",
    // route level code-splitting
    // this generates a separate chunk (about.[hash].js) for this route
    // which is lazy-loaded when the route is visited.
    component: () =>
      import(/* webpackChunkName: "about" */ "../views/AboutView.vue"),
  },
  {
    path: "/video/:id",
    name: "video",
    component: VideoView,
    children:[
      {
        path: "info1",
        name: "video-info1",
        component: VideoViewInfo1,
      },
      {
        path: "info2",
        name: "video-info2",
        component: VideoViewInfo2,
      }
    ],
    props: true
  },
];

const router = new VueRouter({
  mode: "history",
  base: process.env.BASE_URL,
  routes,
});

router.beforeEach((to, from, next) => {
  console.log('路由触发了');
  next();
});

export default router;
三、Vuex
Vuex是一个全局管理工具,统一的数据存储方式
state是一个存储全局数据的地方
mutation是一个修改全局数据的地方
actions是处理异步mutation的情况的地方
getter是一个全局的计算属性
module是一个对state的进一步封装,就比如说这些状态属性是全部关于用户的,那些属性是全部关于商品的
store/index.js
import Vue from 'vue'
import Vuex from 'vuex'

Vue.use(Vuex)

export default new Vuex.Store({
  state(){
    return {
      loginStatus:'用户已经登录',
      count:0
    }
  },
  getters: {
    len (state) {
      console.log('getters执行了')
      return state.loginStatus.length
    }

  },
  mutations: {
    changeCount (state, num) {
      state.count += num
      console.log('mutations执行了,count值为', state.count)
    }
  },
  actions: {
    delayChangeCount (store, num) {
      setTimeout(() => {
        store.commit('changeCount', num)
      }, 3000)
    }
  },
  modules: {

    a: {
      state:{
        count: 666
      },
      mutations: {
        changeCount(state, num) {
          state.count += num
        }
      }
    },
    b:{
      state: {
        count: 0
      },
      mutations: {
        changeCount(state, num) {
          state.count += num
        }
     }
  }
  }
})
VideoViewInfo2.vue
<template>
<div>
  <h1>VideoViewInfo2</h1>
</div>
</template>

<script>

export default {
name: 'VideoViewInfo2',
created(){

   //module使用
   console.log(this.$store.state.a.count)
   console.log("-------------")
  //state使用
  console.log(this.$store.state.loginStatus)

  this.handler();
},
methods: {
  handler(){
    //mutations使用
    this.$store.commit('changeCount',1)
    this.$store.commit('changeCount',2)
    //actions使用
    this.$store.dispatch('delayChangeCount',10)
    //mutations使用
    this.$store.commit('changeCount',3)
    //getters使用
    console.log(this.$store.getters.len)
    console.log(this.$store.getters.len)
    console.log(this.$store.getters.len)
    console.log(this.$store.getters.len)
    console.log(this.$store.getters.len)
    console.log(this.$store.getters.len)

  }
}
}
</script>

<style scoped>

</style>