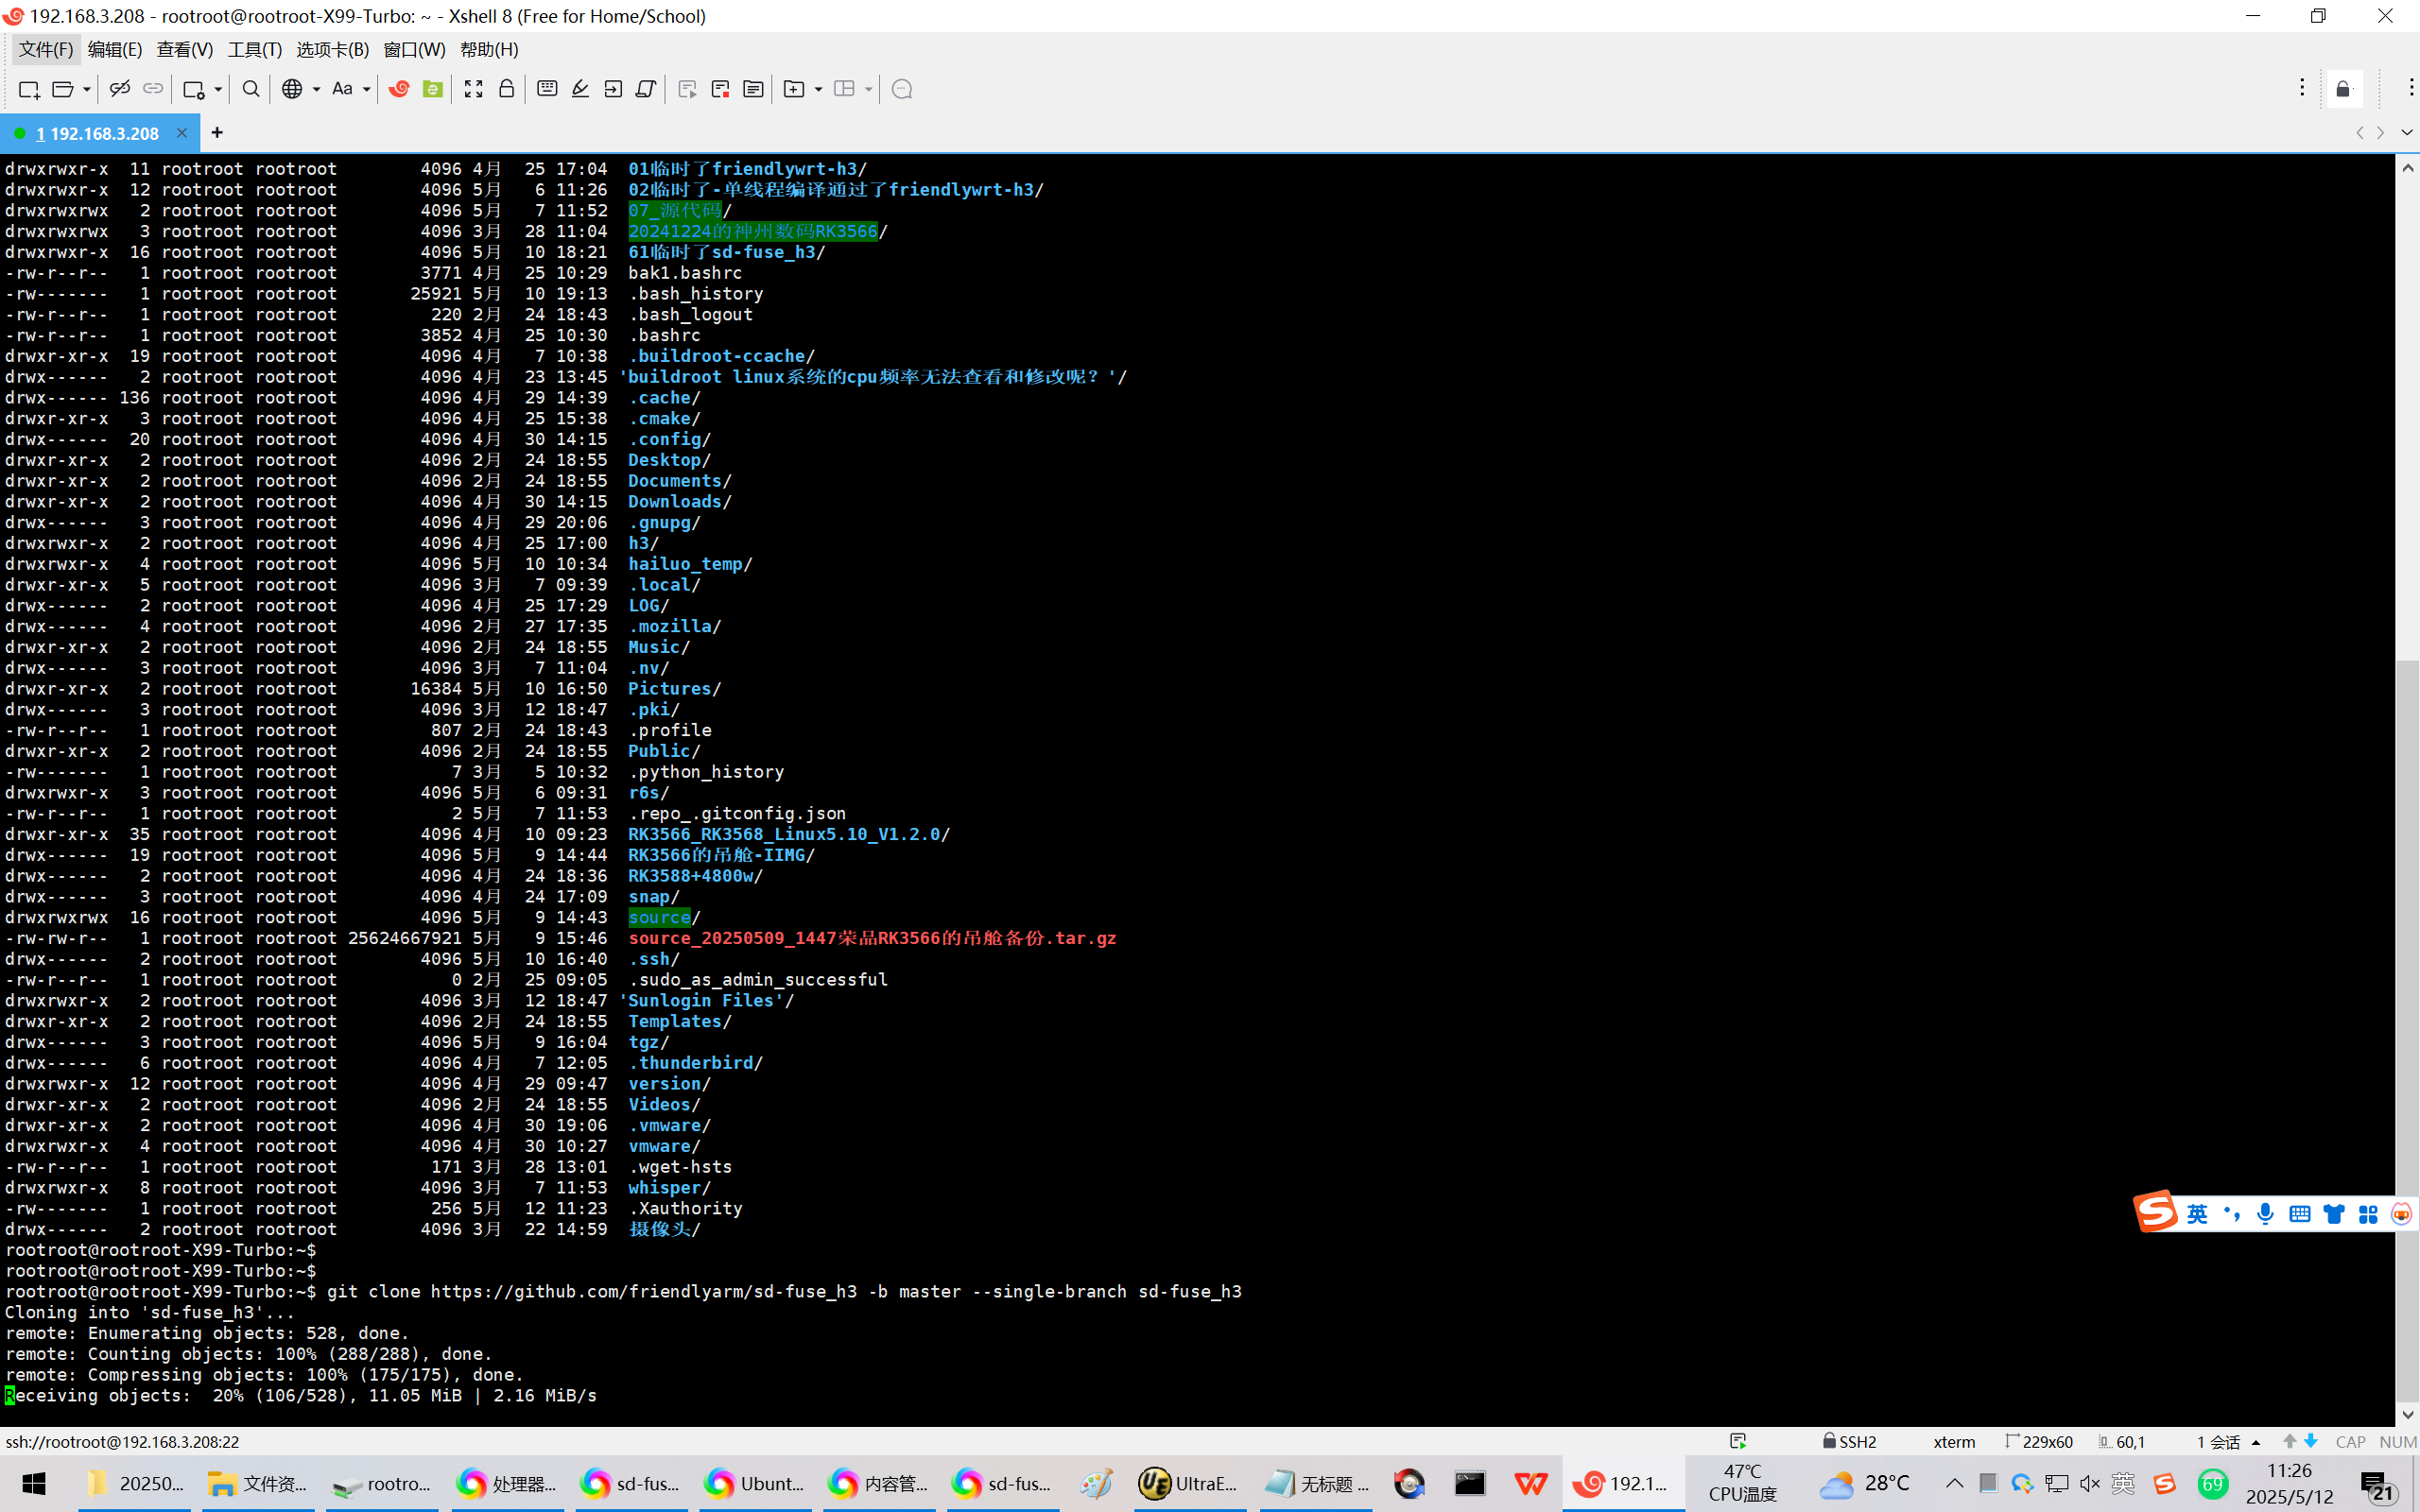
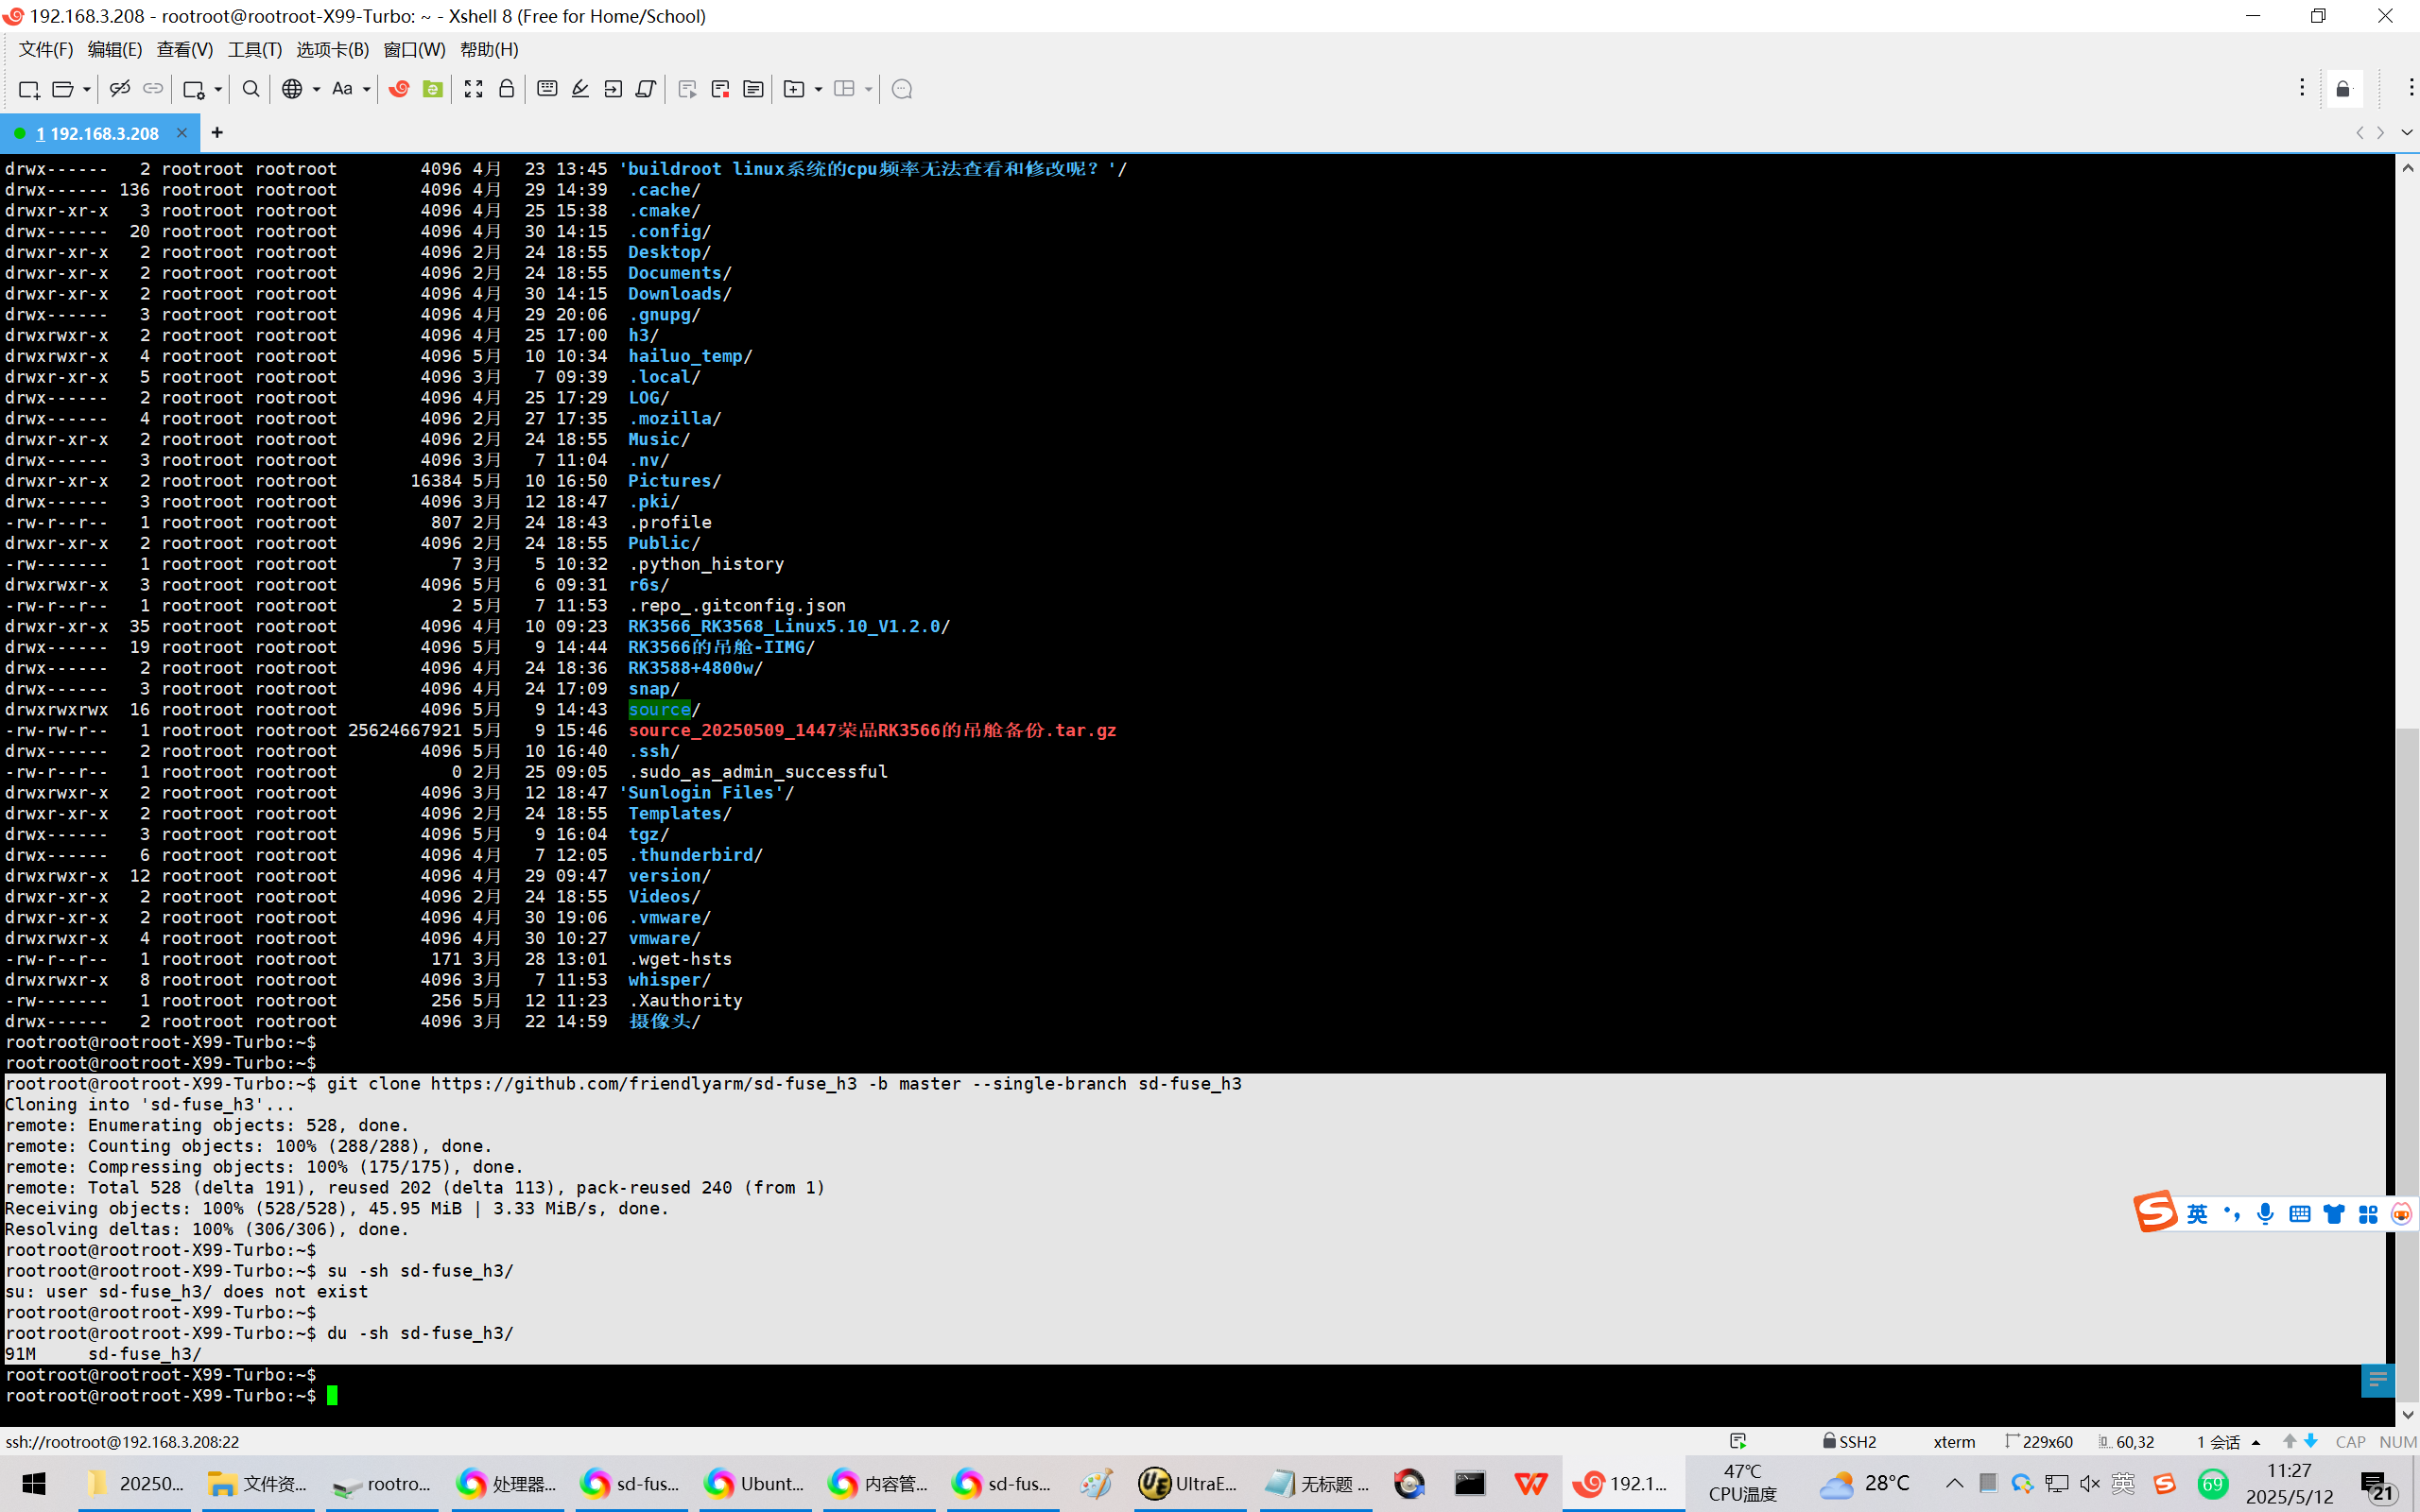
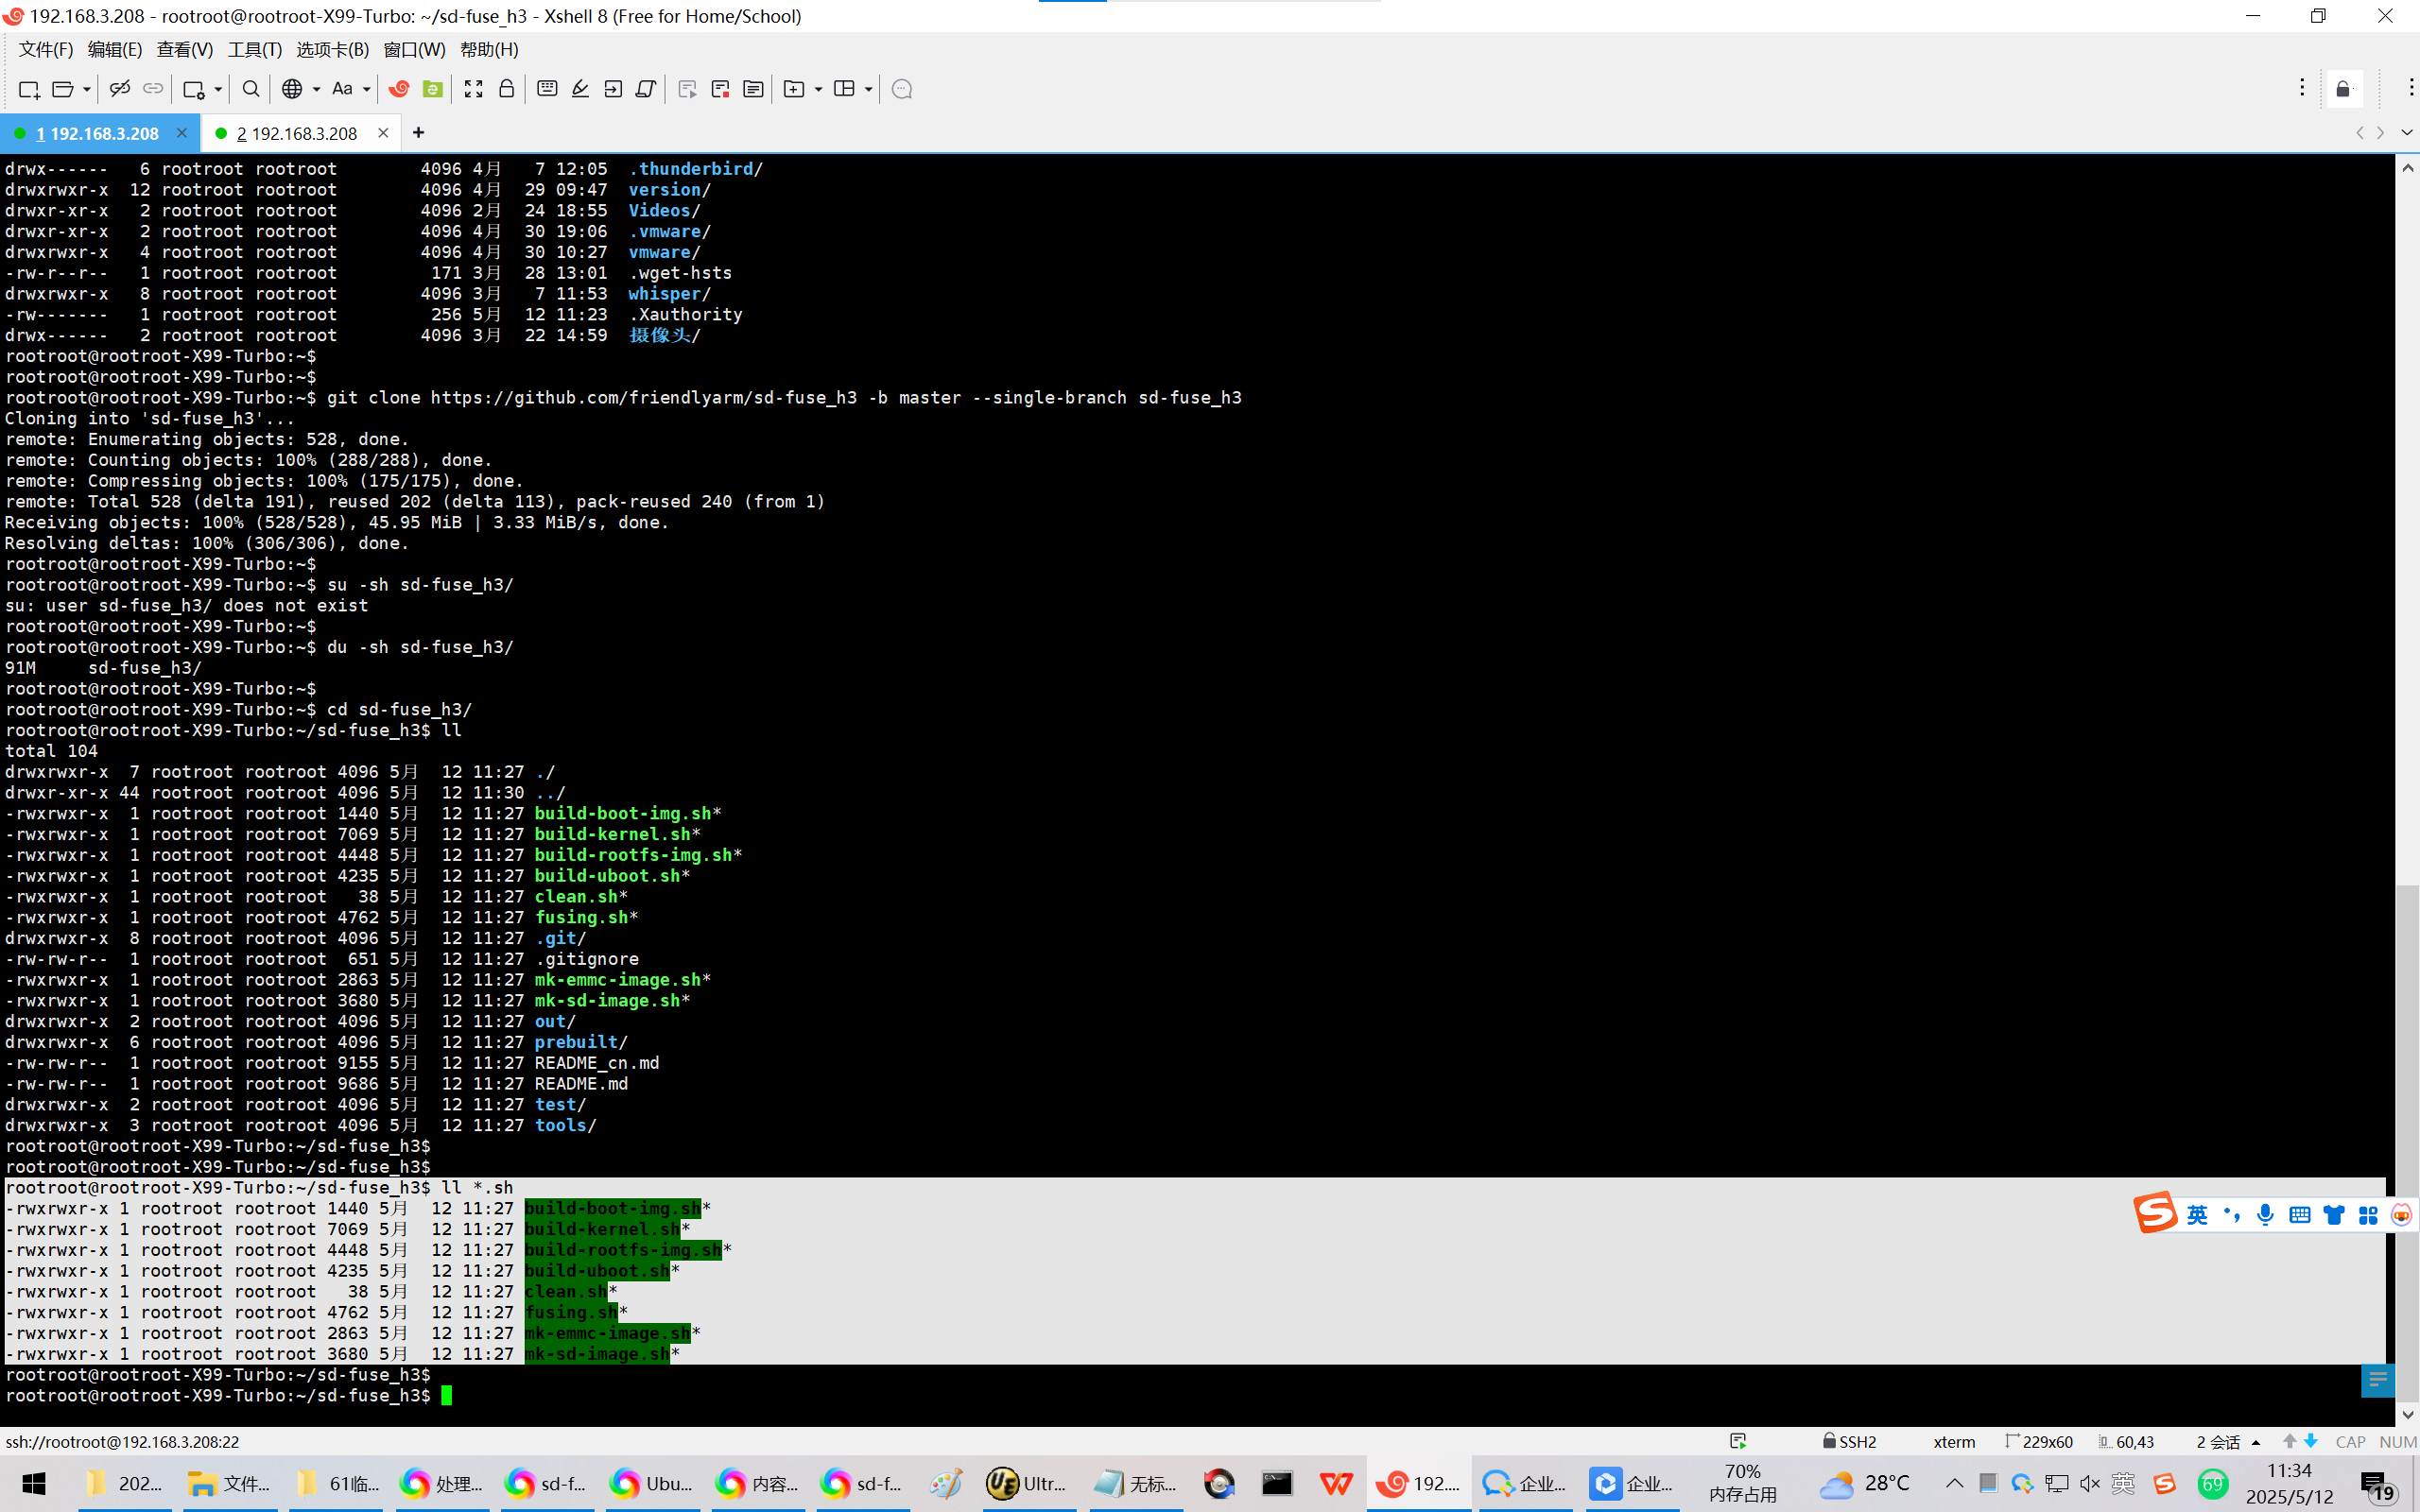
rootroot@rootroot-X99-Turbo:~$ git clone https://github.com/friendlyarm/sd-fuse_h3 -b master --single-branch sd-fuse_h3
rootroot@rootroot-X99-Turbo:~$ cd sd-fuse_h3/
rootroot@rootroot-X99-Turbo:~/sd-fuse_h3$ tar zxvf friendlycore-jammy-images.tgz
rootroot@rootroot-X99-Turbo:~/sd-fuse_h3$ mkdir friendlycore-jammy/rootfs
rootroot@rootroot-X99-Turbo:~/sd-fuse_h3$ ./tools/extract-rootfs-tar.sh rootfs.tar.gz friendlycore-jammy/rootfs
rootroot@rootroot-X99-Turbo:~/sd-fuse_h3$ sudo ./build-rootfs-img.sh friendlycore-jammy/rootfs friendlycore-jammy
rootroot@rootroot-X99-Turbo:~/sd-fuse_h3$ ./mk-emmc-image.sh friendlycore-jammy autostart=yes
20250511重新打包NanoPi NEO core开发板在Ubuntu core22.04.3系统下刷eMMC的固件
2025/5/10 18:52
缘起:千辛万苦/千难万险,在 Ubuntu core22.04.3系统上适配好了 移远的4G模块EC200A-CN。
现在想把它打包成为一个整包,设计到更改的地方有:
Z:\sd-fuse_h3\friendlycore-jammy\boot.img
Z:\sd-fuse_h3\friendlycore-jammy\rootfs.img
在NanoPi NEO core开发板上,使用ubuntu core16.04.2调通了 移远的4G模块EC200A-CN。h3-eflasher-friendlycore-xenial-4.14-armhf-20210618.img.gz
ubunt core20.04上也通了。h3-eflasher-friendlycore-focal-4.14-armhf-20250402.img.gz
最新的h3-eflasher-friendlycore-jammy-4.14-armhf-20250402.img就异常了。h3-eflasher-friendlycore-jammy-4.14-armhf-20250402.img.gz
Y:\BaiduNetdiskDownload\20250423的FriendlyElec-H3\01_系统固件\02_SD卡刷机固件(SD-to-eMMC)
由于是去年做好的/调通的。今天再搞的时候,发现 Ubuntu core22.04.3系统 异常的时候,就搞得自己都差点怀疑人生了!
不是同样的搞法吗?
使用 Win32DiskImager.exe 写入32GB的卡固件:h3-eflasher-friendlycore-jammy-4.14-armhf-20250402.img
然后替换掉zImage和boot.img。
保险起见,还可以替换掉dtb。当然适配 移远的4G模块EC200A-CN 只改动了driver,没有涉及到DTS。
查档之后,还是决定先回滚/回退到ubuntu core16.04.2上再次调通了/复现了。【确认硬件没有问题^_】
然后ubunt core20.04上也通了。
最后发现Ubuntu core22.04.3系统确实异常了。
1、打包BOOT.IMG的时候。必须使用 TF卡启动的BOOT分区才可以?
2、ubuntu16.04可以通过EC200A-CN上网,到了ubuntu core 22.04.2就不能上网了?拿不到IP地址。可能是啥原因?
据悉,友善之臂【陈工】只在ubuntu core16.04.2上调通过移远的4G模块EC20。
1、下载sd-fuse_h3,91M,不到1分钟。
https://github.com/friendlyarm/sd-fuse_h3/blob/master/README_cn.md#%E5%A6%82%E4%BD%95%E4%BD%BF%E7%94%A8
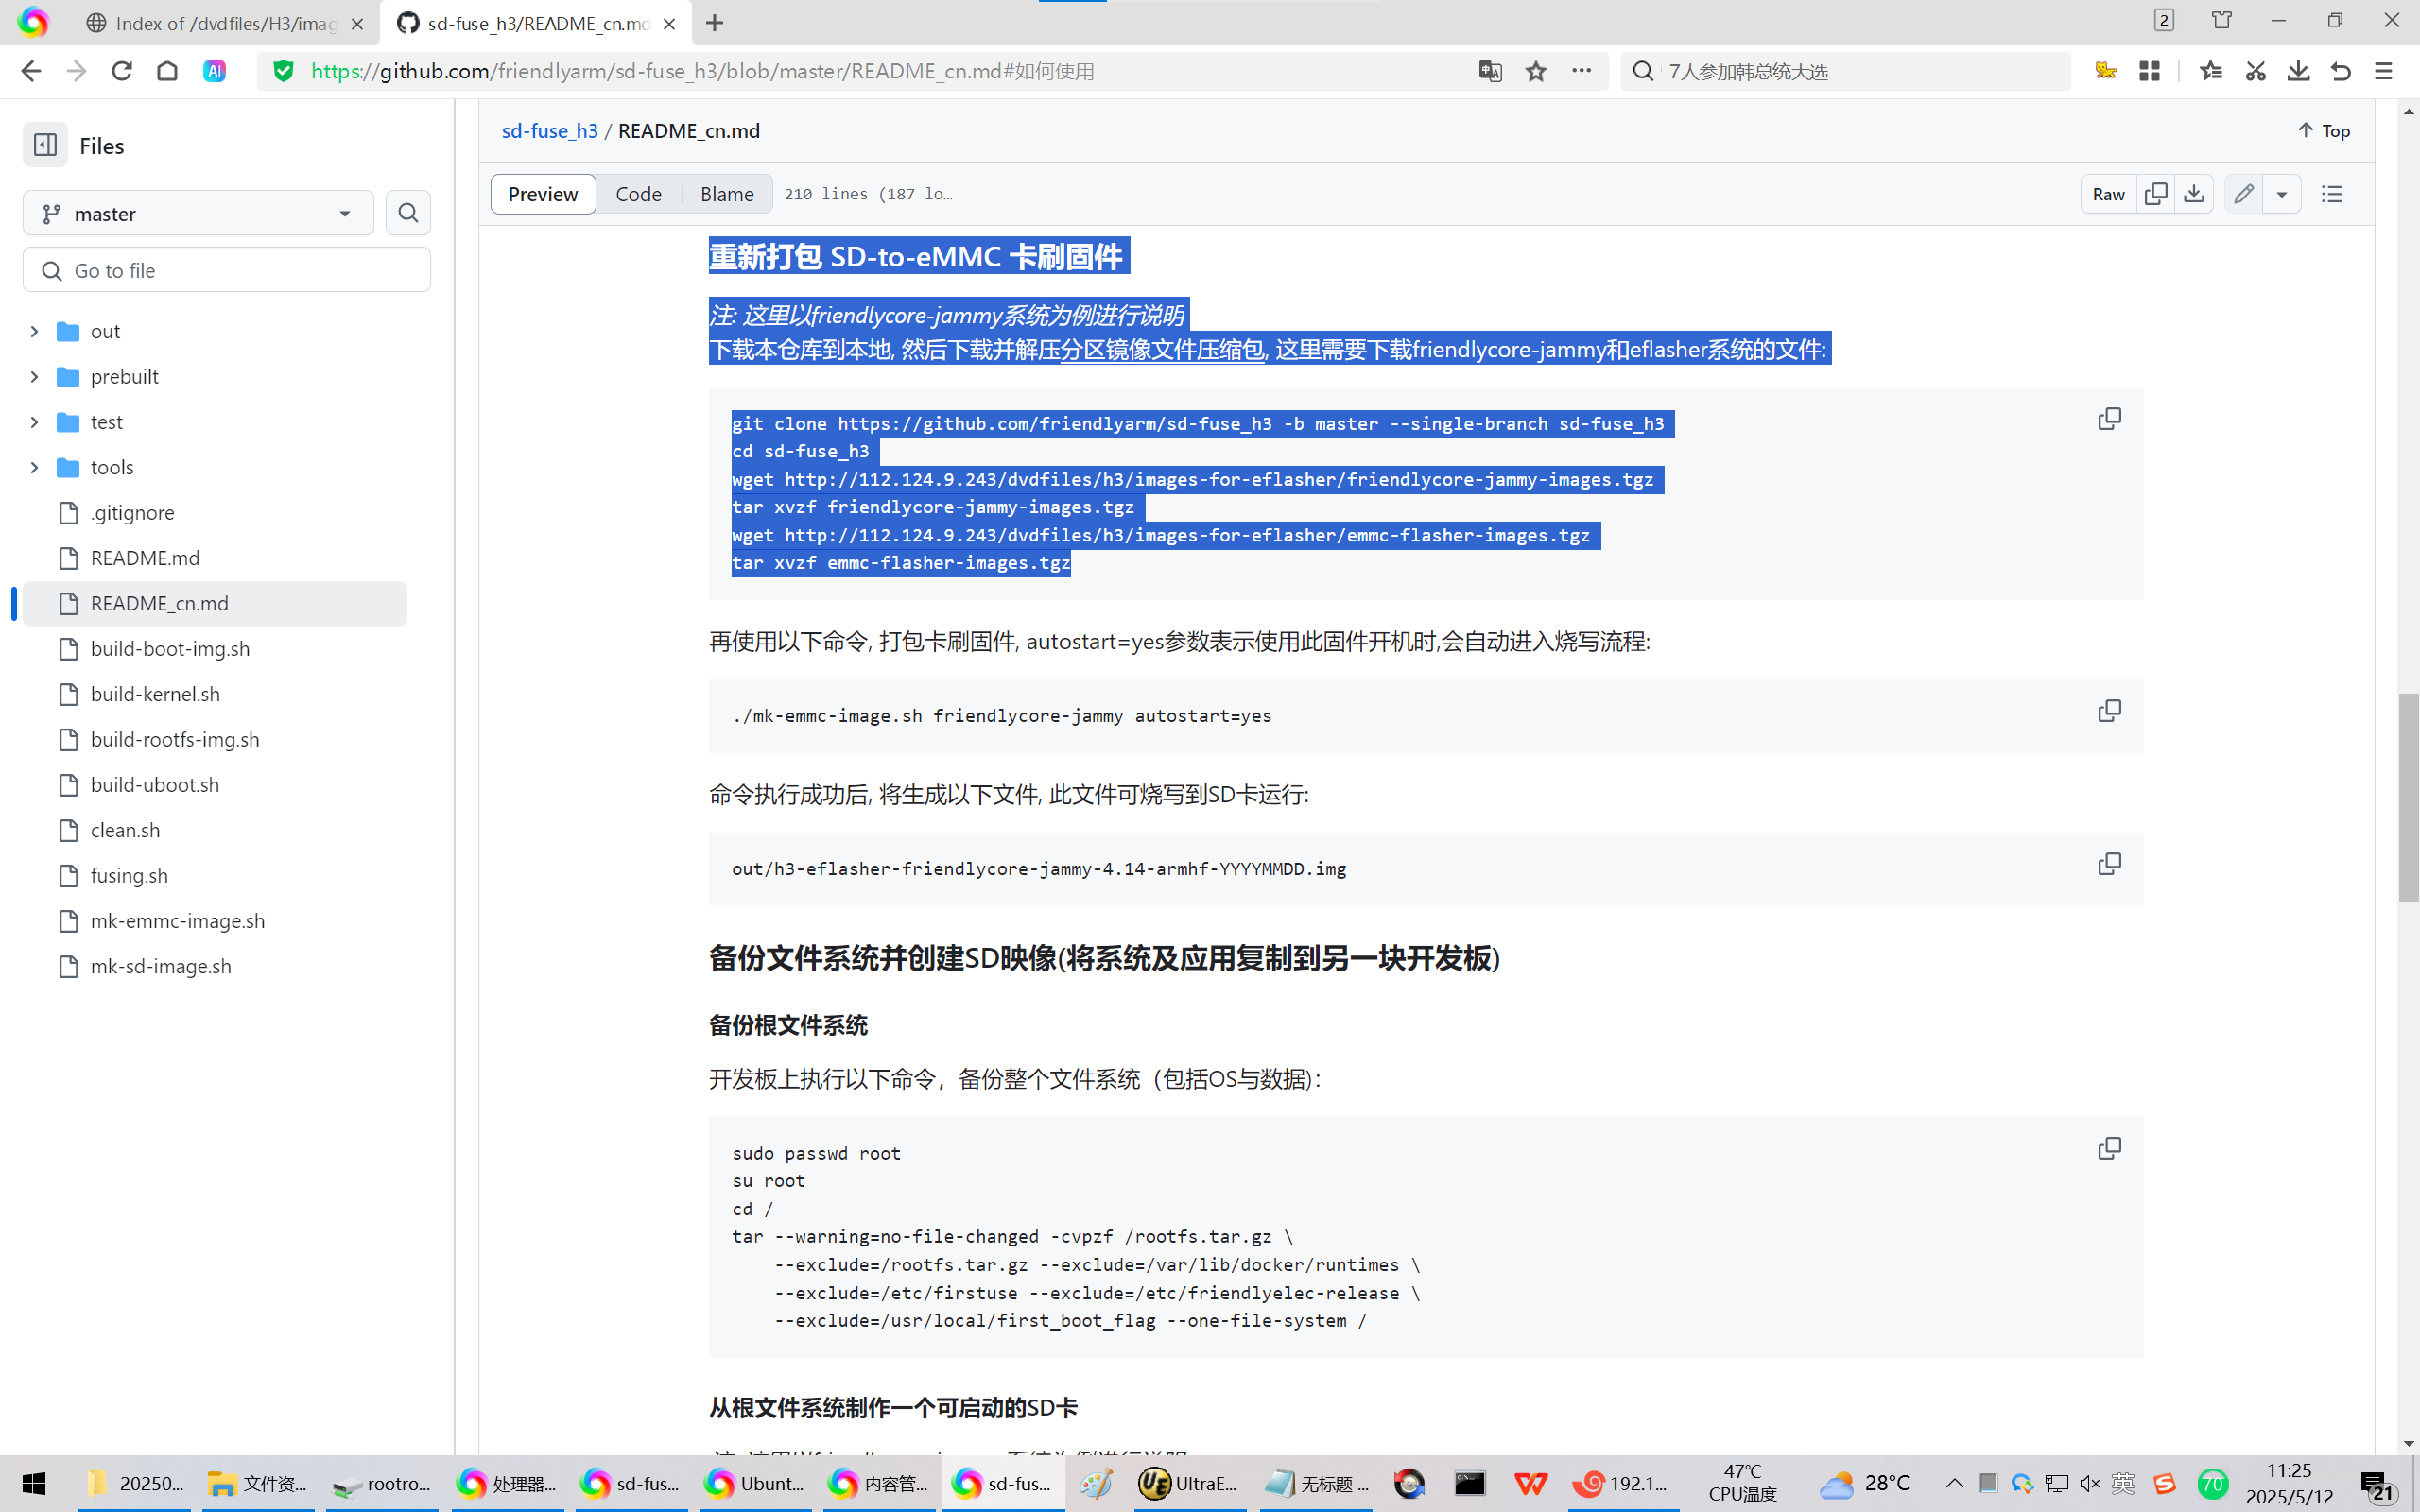
重新打包SD卡运行固件
注: 这里以friendlycore-jammy系统为例进行说明
下载本仓库到本地, 然后下载并解压friendlycore-jammy系统的分区镜像文件压缩包, 由于http服务器带宽的关系, wget命令可能会比较慢, 推荐从网盘上下载同名的文件:
git clone https://github.com/friendlyarm/sd-fuse_h3 -b master --single-branch sd-fuse_h3
cd sd-fuse_h3
wget http://112.124.9.243/dvdfiles/h3/images-for-eflasher/friendlycore-jammy-images.tgz
tar xvzf friendlycore-jammy-images.tgz
解压后, 会得到一个名为friendlycore-jammy的目录, 可以根据项目需要, 对目录里的文件进行修改, 例如把rootfs.img替换成自已修改过的文件系统镜像, 或者自已编译的内核和uboot等, 准备就绪后, 输入如下命令将系统映像写入到SD卡 (其中/dev/sdX是你的SD卡设备名):
sudo ./fusing.sh /dev/sdX friendlycore-jammy
或者, 打包成可用于SD卡烧写的单一镜像文件:
./mk-sd-image.sh friendlycore-jammy
命令执行成功后, 将生成以下文件, 此文件可烧写到SD卡运行:
out/h3-sd-friendlycore-jammy-4.14-armhf-YYYYMMDD.img
rootroot@rootroot-X99-Turbo:~$
rootroot@rootroot-X99-Turbo:~$
rootroot@rootroot-X99-Turbo:~$ git clone https://github.com/friendlyarm/sd-fuse_h3 -b master --single-branch sd-fuse_h3
Cloning into 'sd-fuse_h3'...
remote: Enumerating objects: 528, done.
remote: Counting objects: 100% (288/288), done.
remote: Compressing objects: 100% (175/175), done.
remote: Total 528 (delta 191), reused 202 (delta 113), pack-reused 240 (from 1)
Receiving objects: 100% (528/528), 45.95 MiB | 3.33 MiB/s, done.
Resolving deltas: 100% (306/306), done.
rootroot@rootroot-X99-Turbo:~$
rootroot@rootroot-X99-Turbo:~$ su -sh sd-fuse_h3/
su: user sd-fuse_h3/ does not exist
rootroot@rootroot-X99-Turbo:~$
rootroot@rootroot-X99-Turbo:~$ du -sh sd-fuse_h3/
91M sd-fuse_h3/
rootroot@rootroot-X99-Turbo:~$
rootroot@rootroot-X99-Turbo:~$ cd sd-fuse_h3/
rootroot@rootroot-X99-Turbo:~/sd-fuse_h3$ ll
total 104
drwxrwxr-x 7 rootroot rootroot 4096 5月 12 11:27 ./
drwxr-xr-x 44 rootroot rootroot 4096 5月 12 11:30 ../
-rwxrwxr-x 1 rootroot rootroot 1440 5月 12 11:27 build-boot-img.sh*
-rwxrwxr-x 1 rootroot rootroot 7069 5月 12 11:27 build-kernel.sh*
-rwxrwxr-x 1 rootroot rootroot 4448 5月 12 11:27 build-rootfs-img.sh*
-rwxrwxr-x 1 rootroot rootroot 4235 5月 12 11:27 build-uboot.sh*
-rwxrwxr-x 1 rootroot rootroot 38 5月 12 11:27 clean.sh*
-rwxrwxr-x 1 rootroot rootroot 4762 5月 12 11:27 fusing.sh*
drwxrwxr-x 8 rootroot rootroot 4096 5月 12 11:27 .git/
-rw-rw-r-- 1 rootroot rootroot 651 5月 12 11:27 .gitignore
-rwxrwxr-x 1 rootroot rootroot 2863 5月 12 11:27 mk-emmc-image.sh*
-rwxrwxr-x 1 rootroot rootroot 3680 5月 12 11:27 mk-sd-image.sh*
drwxrwxr-x 2 rootroot rootroot 4096 5月 12 11:27 out/
drwxrwxr-x 6 rootroot rootroot 4096 5月 12 11:27 prebuilt/
-rw-rw-r-- 1 rootroot rootroot 9155 5月 12 11:27 README_cn.md
-rw-rw-r-- 1 rootroot rootroot 9686 5月 12 11:27 README.md
drwxrwxr-x 2 rootroot rootroot 4096 5月 12 11:27 test/
drwxrwxr-x 3 rootroot rootroot 4096 5月 12 11:27 tools/
rootroot@rootroot-X99-Turbo:~/sd-fuse_h3$
rootroot@rootroot-X99-Turbo:~/sd-fuse_h3$
rootroot@rootroot-X99-Turbo:~/sd-fuse_h3$ ll *.sh
-rwxrwxr-x 1 rootroot rootroot 1440 5月 12 11:27 build-boot-img.sh*
-rwxrwxr-x 1 rootroot rootroot 7069 5月 12 11:27 build-kernel.sh*
-rwxrwxr-x 1 rootroot rootroot 4448 5月 12 11:27 build-rootfs-img.sh*
-rwxrwxr-x 1 rootroot rootroot 4235 5月 12 11:27 build-uboot.sh*
-rwxrwxr-x 1 rootroot rootroot 38 5月 12 11:27 clean.sh*
-rwxrwxr-x 1 rootroot rootroot 4762 5月 12 11:27 fusing.sh*
-rwxrwxr-x 1 rootroot rootroot 2863 5月 12 11:27 mk-emmc-image.sh*
-rwxrwxr-x 1 rootroot rootroot 3680 5月 12 11:27 mk-sd-image.sh*
rootroot@rootroot-X99-Turbo:~/sd-fuse_h3$
rootroot@rootroot-X99-Turbo:~/sd-fuse_h3$
2、修改boot.img【非本文重点】
先生成zImage,然后使用 h3-sd-friendlycore-jammy-4.14-armhf-20250402.img 的BOOT分区打包zImage成为boot.img备用。
h3-sd-friendlycore-xenial-4.14-armhf-20210618.img
h3-sd-friendlycore-focal-4.14-armhf-20250402.img
h3-sd-friendlycore-jammy-4.14-armhf-20250402.img
参考资料:
https://blog.csdn.net/wb4916/article/details/137545148?spm=1011.2415.3001.5331
20240409在全志H3平台的Nano Pi NEO CORE开发板运行的Ubuntu Core更新boot.img(eMMC启动)
3、文件系统rootfs.img的更新
由于使用apt安装了一些必备软件/程序,在根目录/已经加入了拨号程序quectel-CM。
https://github.com/friendlyarm/sd-fuse_h3/blob/master/README_cn.md#%E5%A6%82%E4%BD%95%E4%BD%BF%E7%94%A8
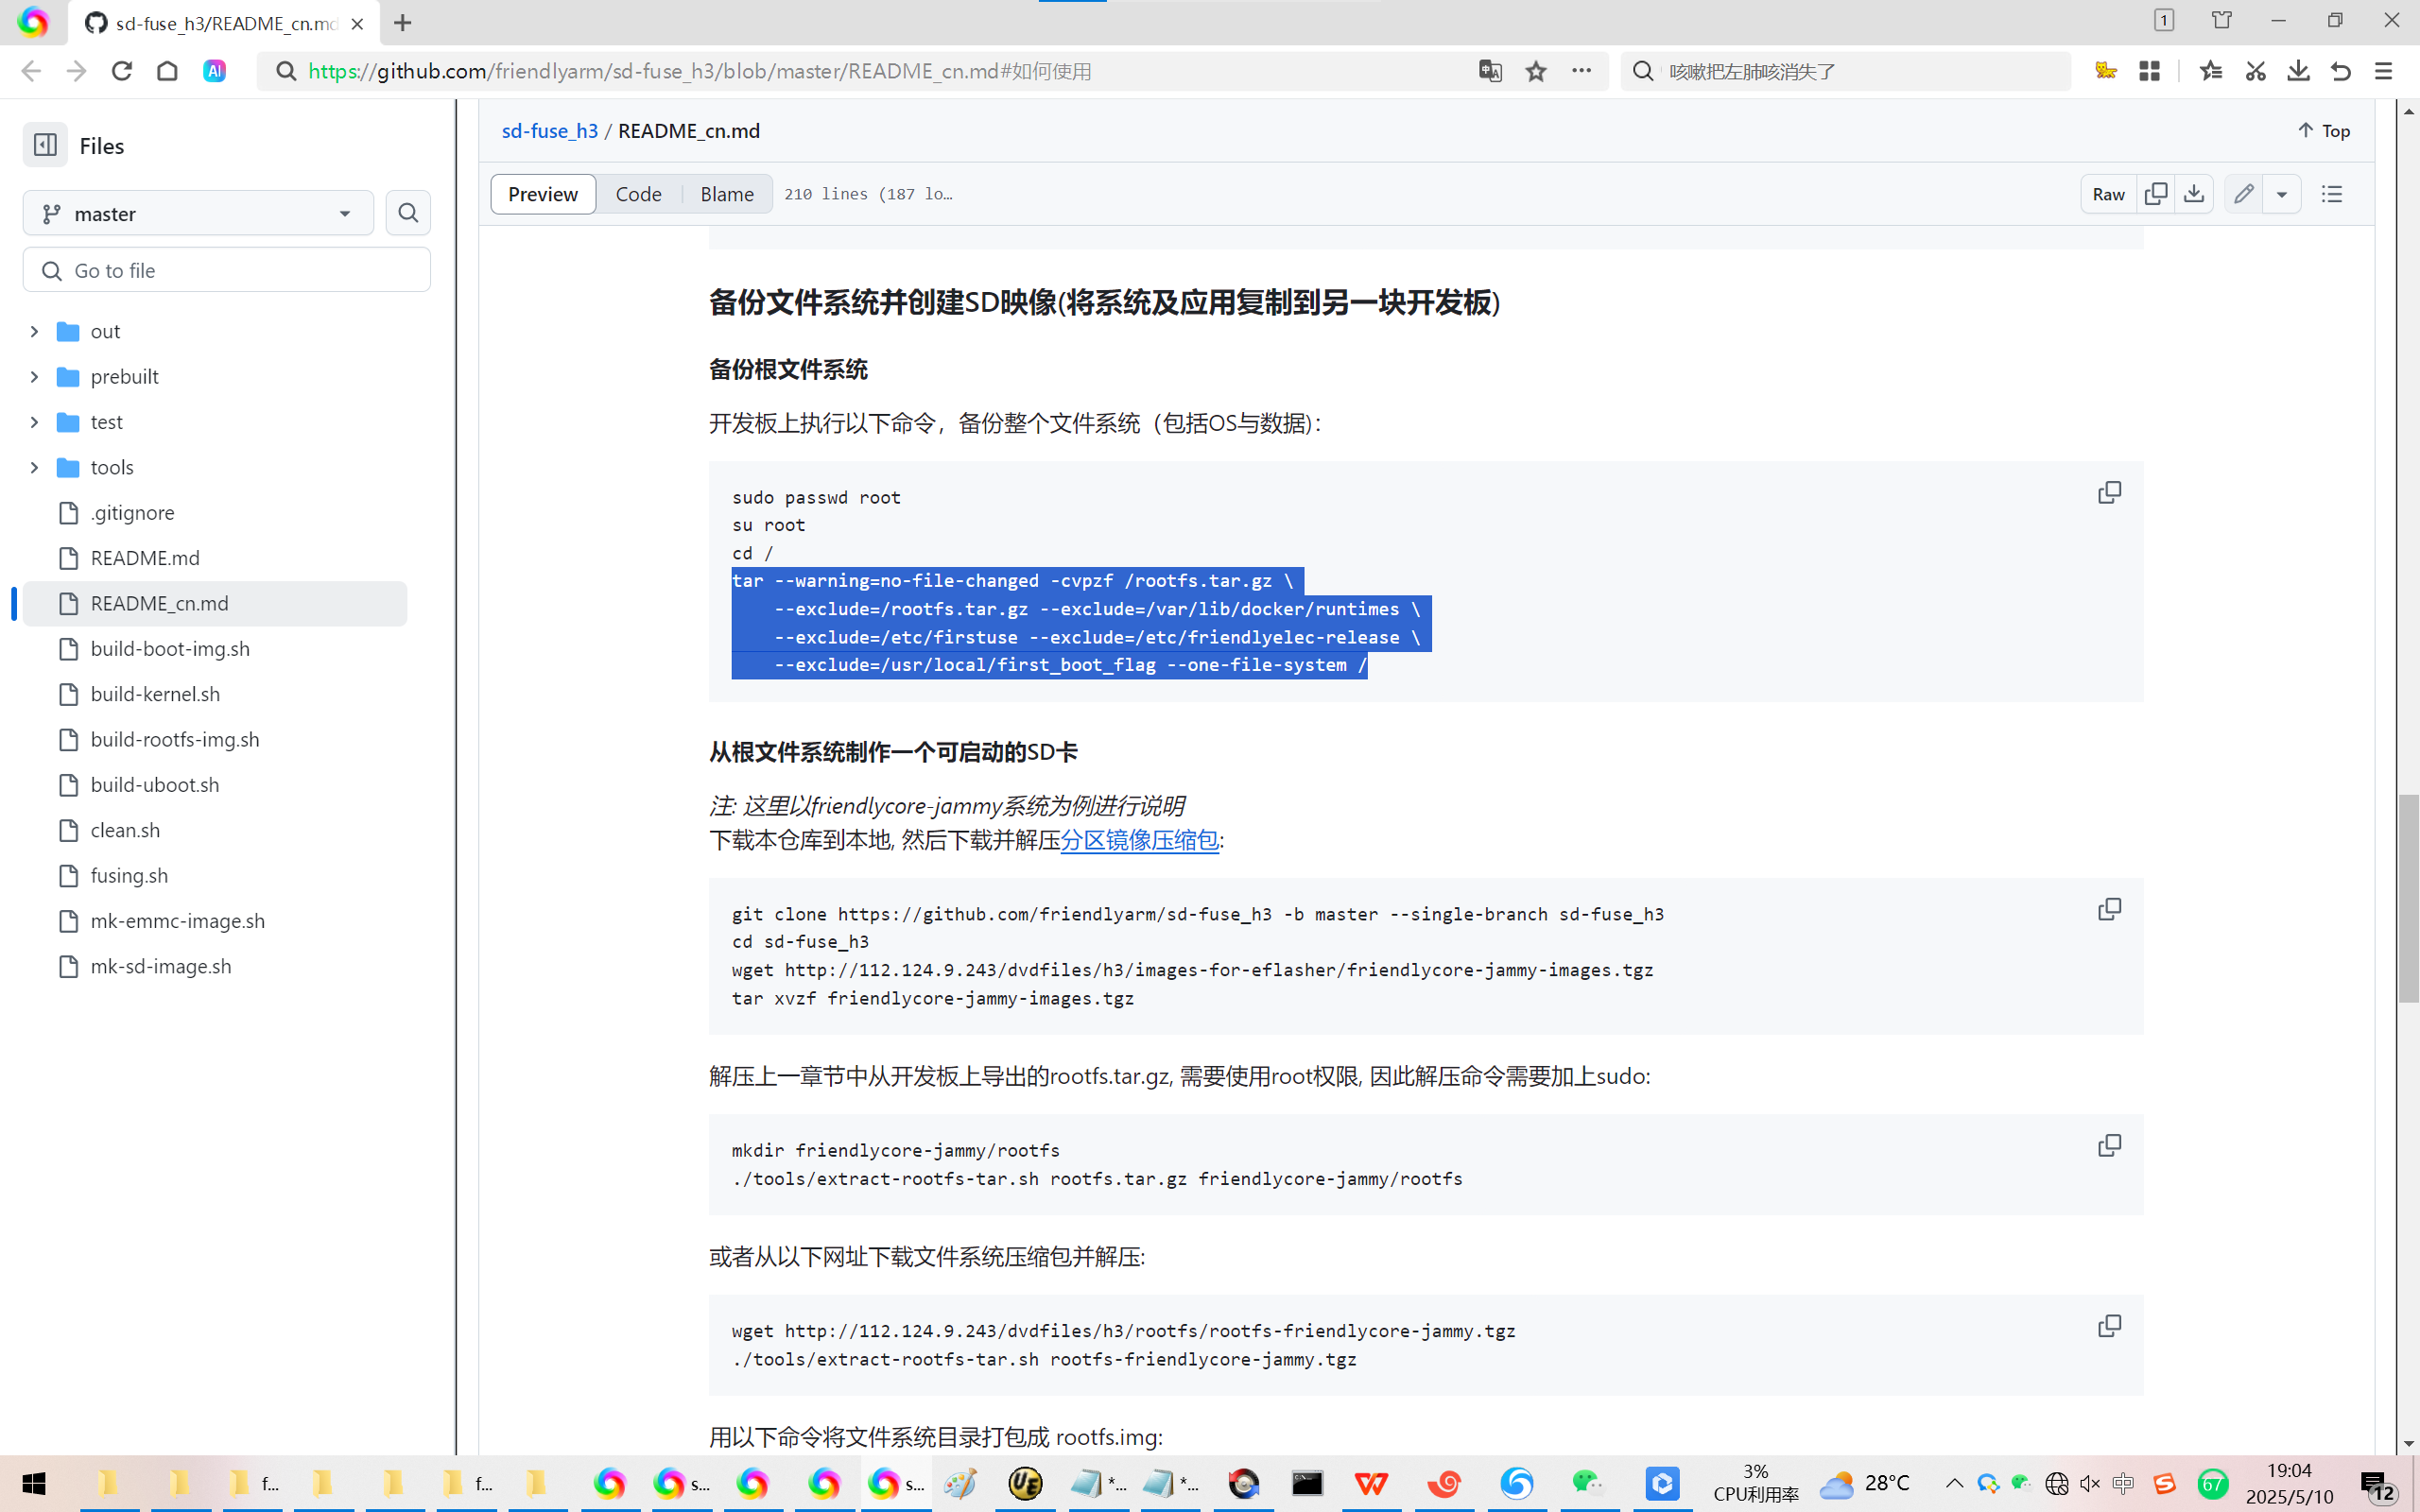
备份文件系统并创建SD映像(将系统及应用复制到另一块开发板)
备份根文件系统
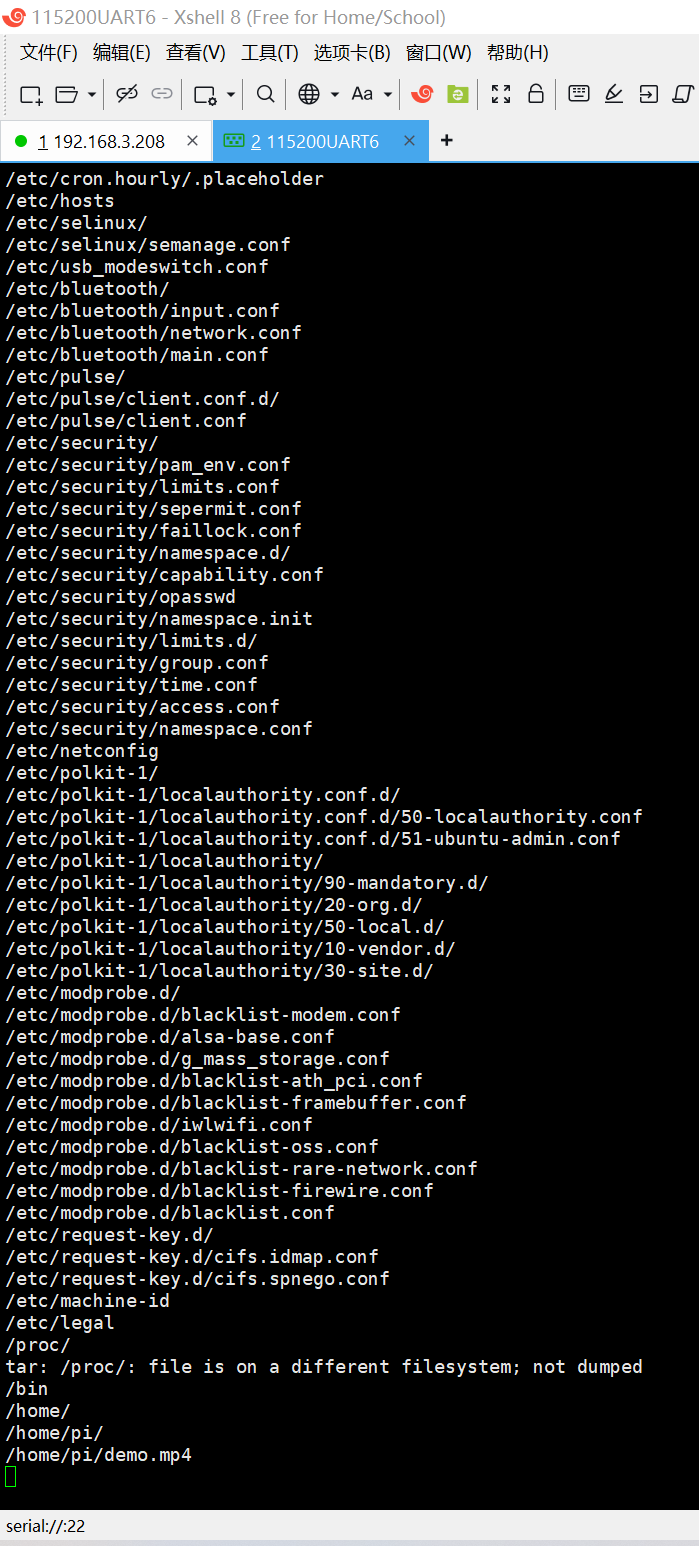
开发板上执行以下命令,备份整个文件系统(包括OS与数据):
【可以直接以root用户登录的^_】
sudo passwd root
su root
cd /
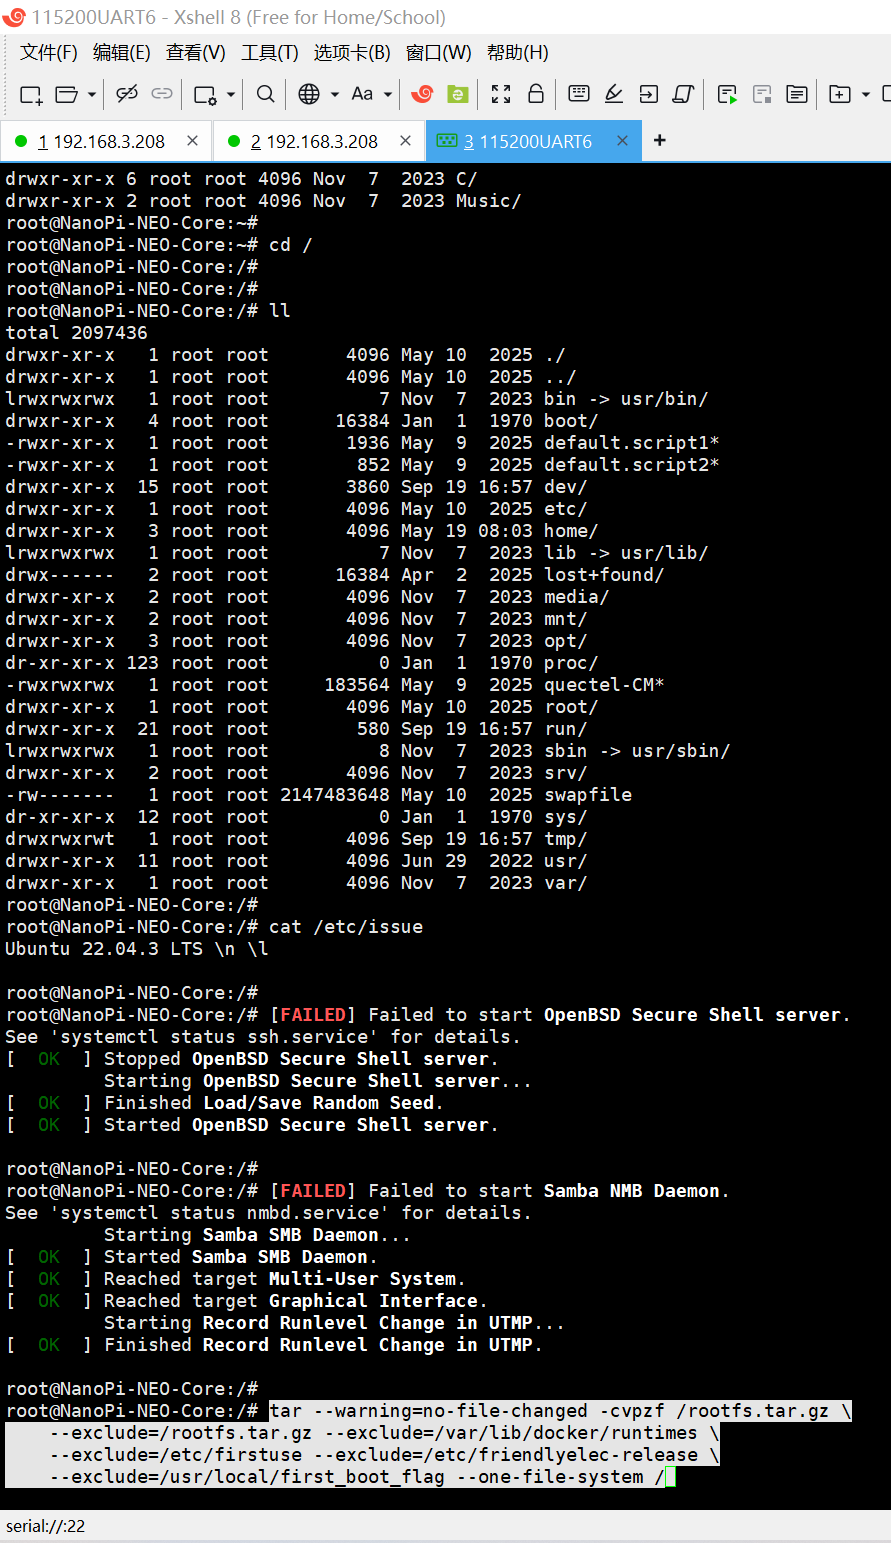
tar --warning=no-file-changed -cvpzf /rootfs.tar.gz \
--exclude=/rootfs.tar.gz --exclude=/var/lib/docker/runtimes \
--exclude=/etc/firstuse --exclude=/etc/friendlyelec-release \
--exclude=/usr/local/first_boot_flag --one-file-system /
打包成为rootfs.tar.gz的时间,大概需要10分钟。
【apt install pigz。如果有兴趣,可以尝试多线程的pigz^_】
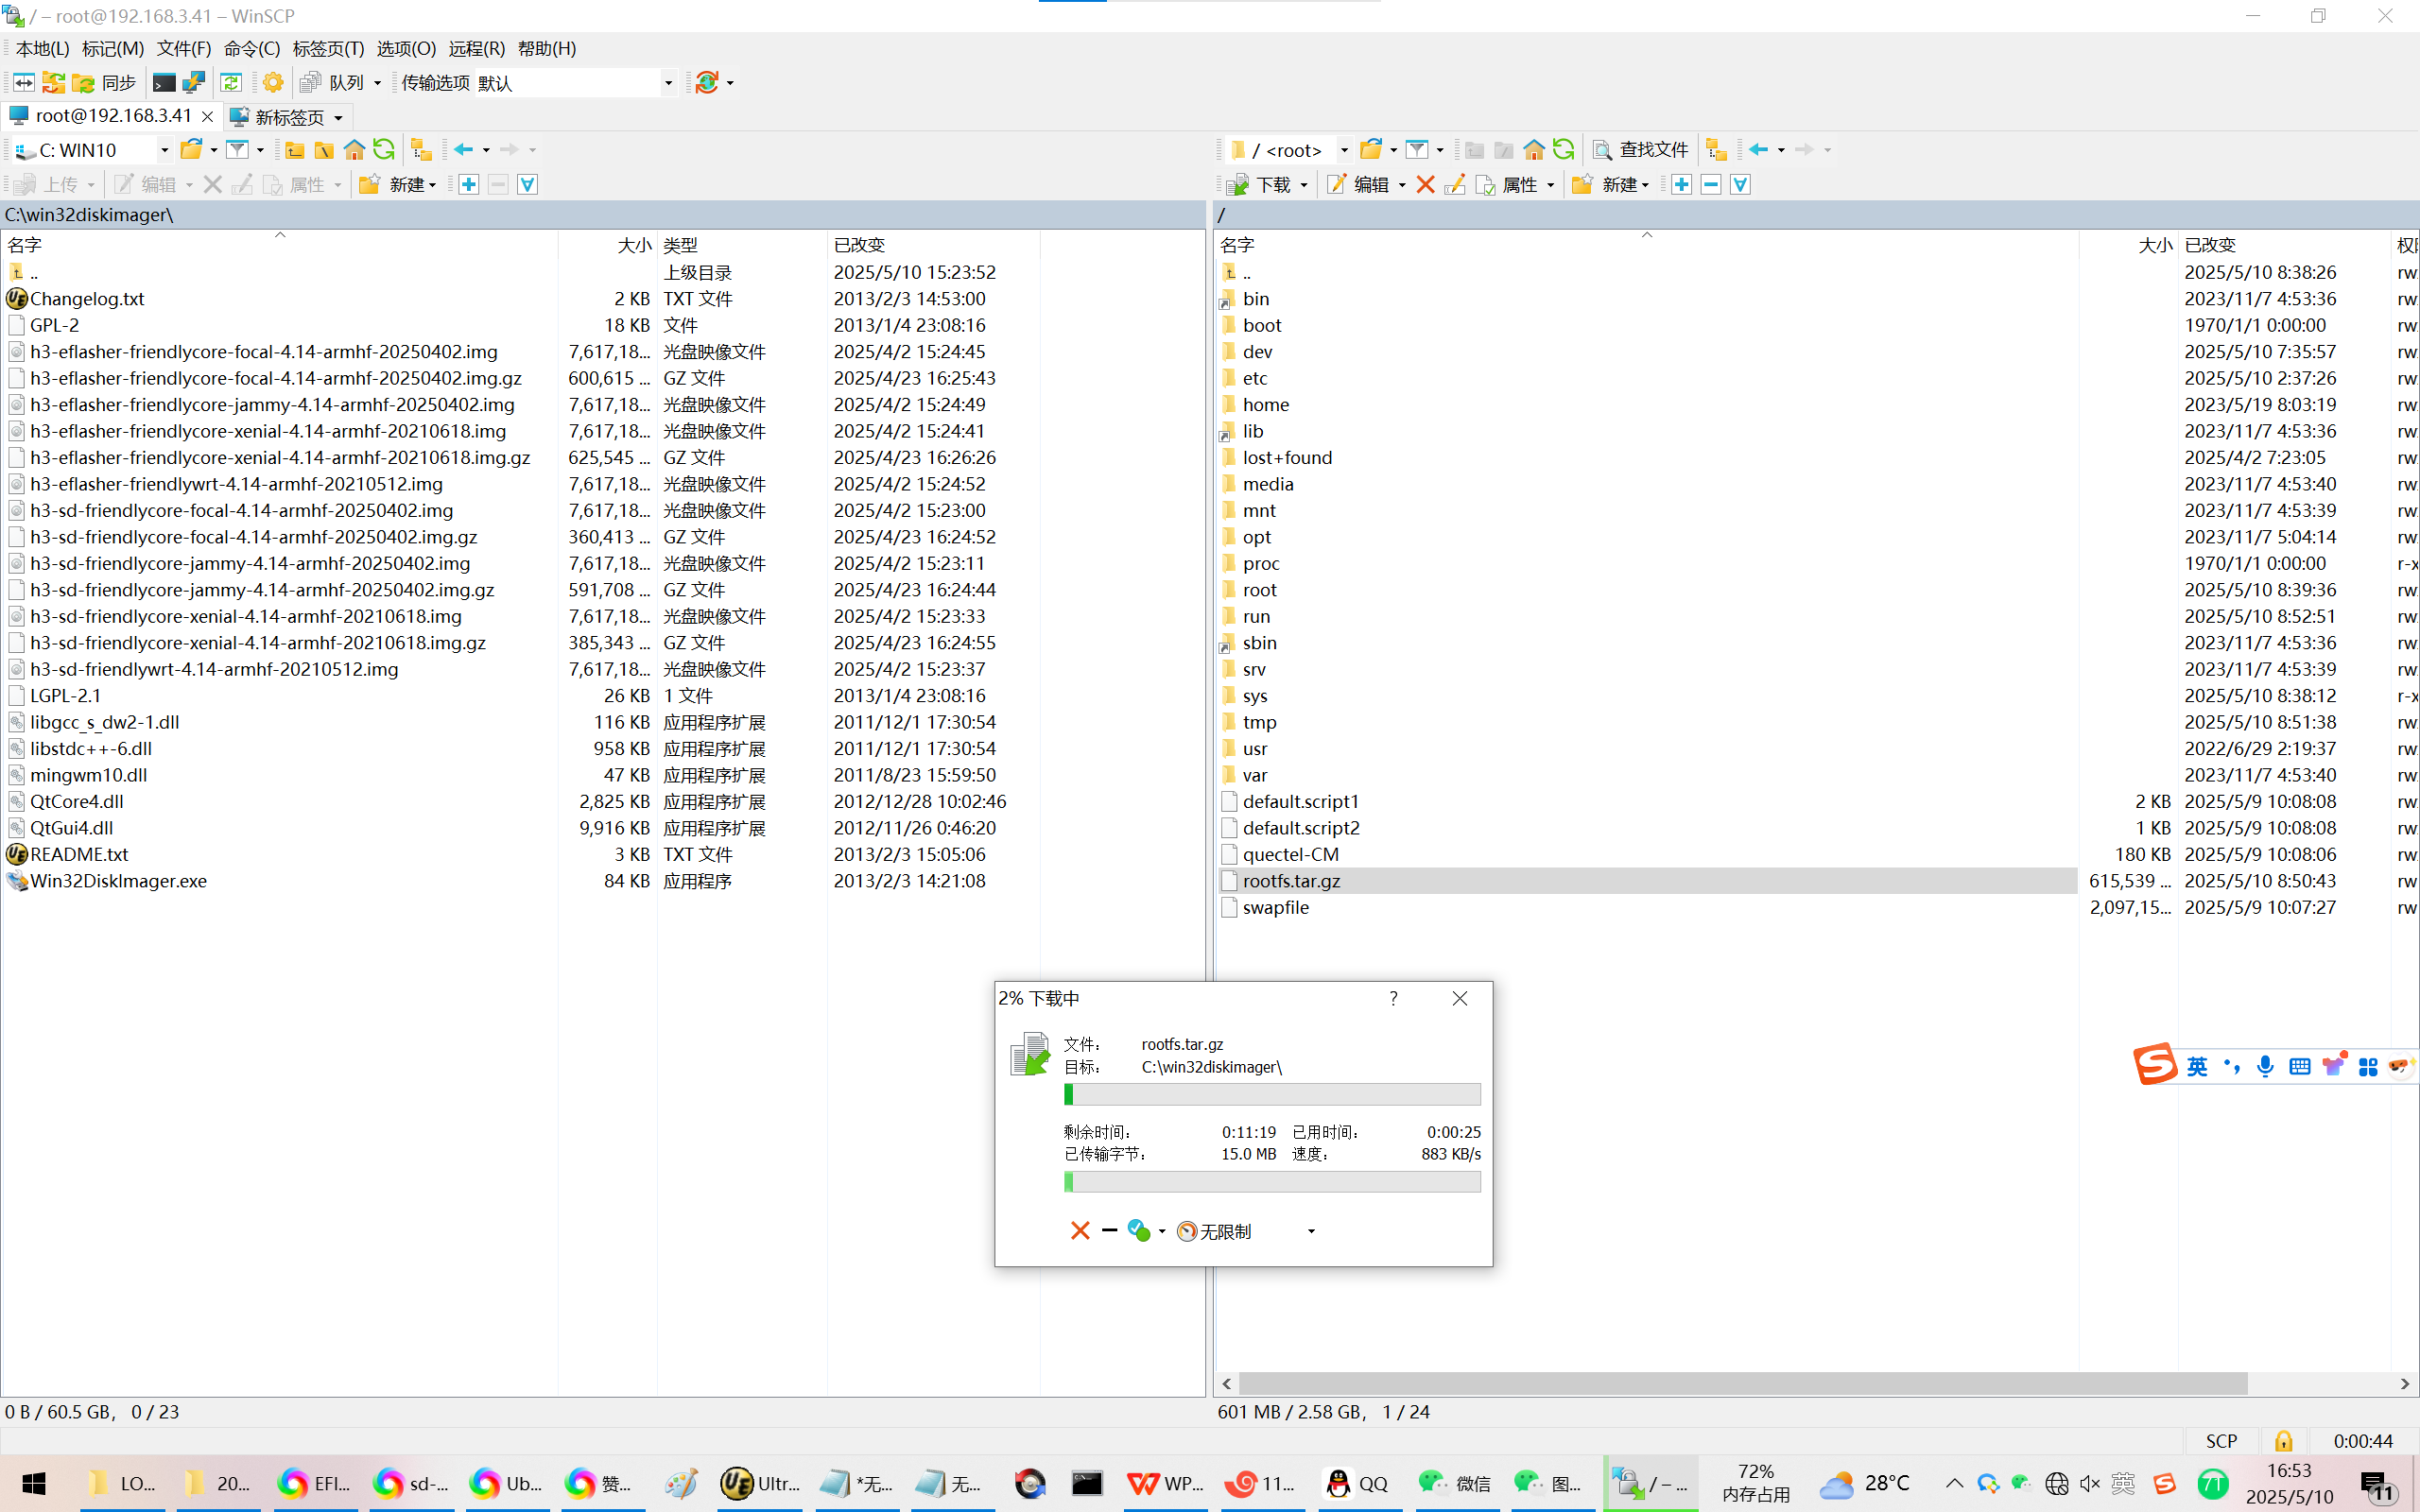
拷贝到电脑上方法:
1、通过TF卡,mount之后很快的。没有测试过U盘。
2、如果你想使用WinSCP,网速不到1MBPs,直接劝退我了,大概要20分钟左右。
【有些时候/RK3588的buildroot,使用WinSCP的时候还会出现中断的情况!对大文件就极其不友好了!^_】

从根文件系统制作一个可启动的SD卡
注: 这里以friendlycore-jammy系统为例进行说明
下载本仓库到本地, 然后下载并解压分区镜像压缩包:
git clone https://github.com/friendlyarm/sd-fuse_h3 -b master --single-branch sd-fuse_h3
cd sd-fuse_h3
wget http://112.124.9.243/dvdfiles/h3/images-for-eflasher/friendlycore-jammy-images.tgz
tar xvzf friendlycore-jammy-images.tgz
【替换掉rootfs.img方法/定制化/个性化的步骤:】
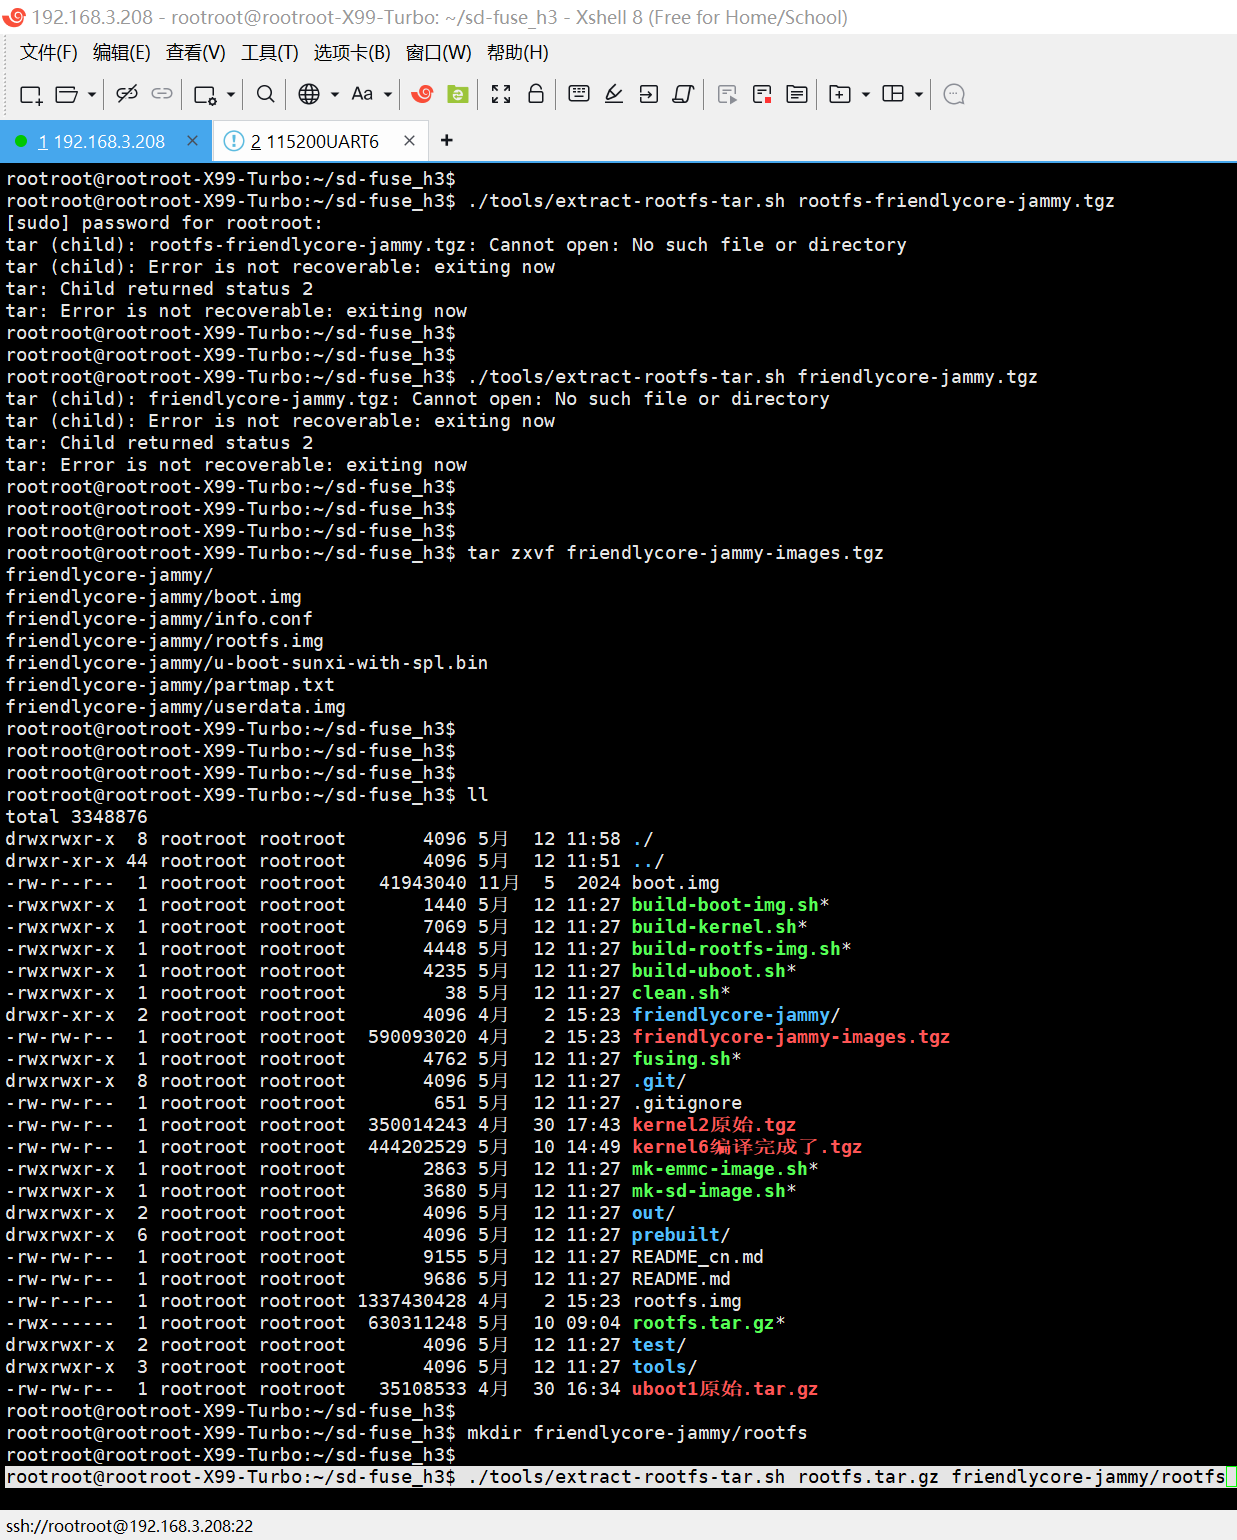
解压上一章节中从开发板上导出的rootfs.tar.gz, 需要使用root权限, 因此解压命令需要加上sudo:
mkdir friendlycore-jammy/rootfs
./tools/extract-rootfs-tar.sh rootfs.tar.gz friendlycore-jammy/rootfs
或者从以下网址下载文件系统压缩包并解压:
wget http://112.124.9.243/dvdfiles/h3/rootfs/rootfs-friendlycore-jammy.tgz
./tools/extract-rootfs-tar.sh rootfs-friendlycore-jammy.tgz
rootroot@rootroot-X99-Turbo:~/sd-fuse_h3$
rootroot@rootroot-X99-Turbo:~/sd-fuse_h3$
rootroot@rootroot-X99-Turbo:~/sd-fuse_h3$ tar zxvf friendlycore-jammy-images.tgz
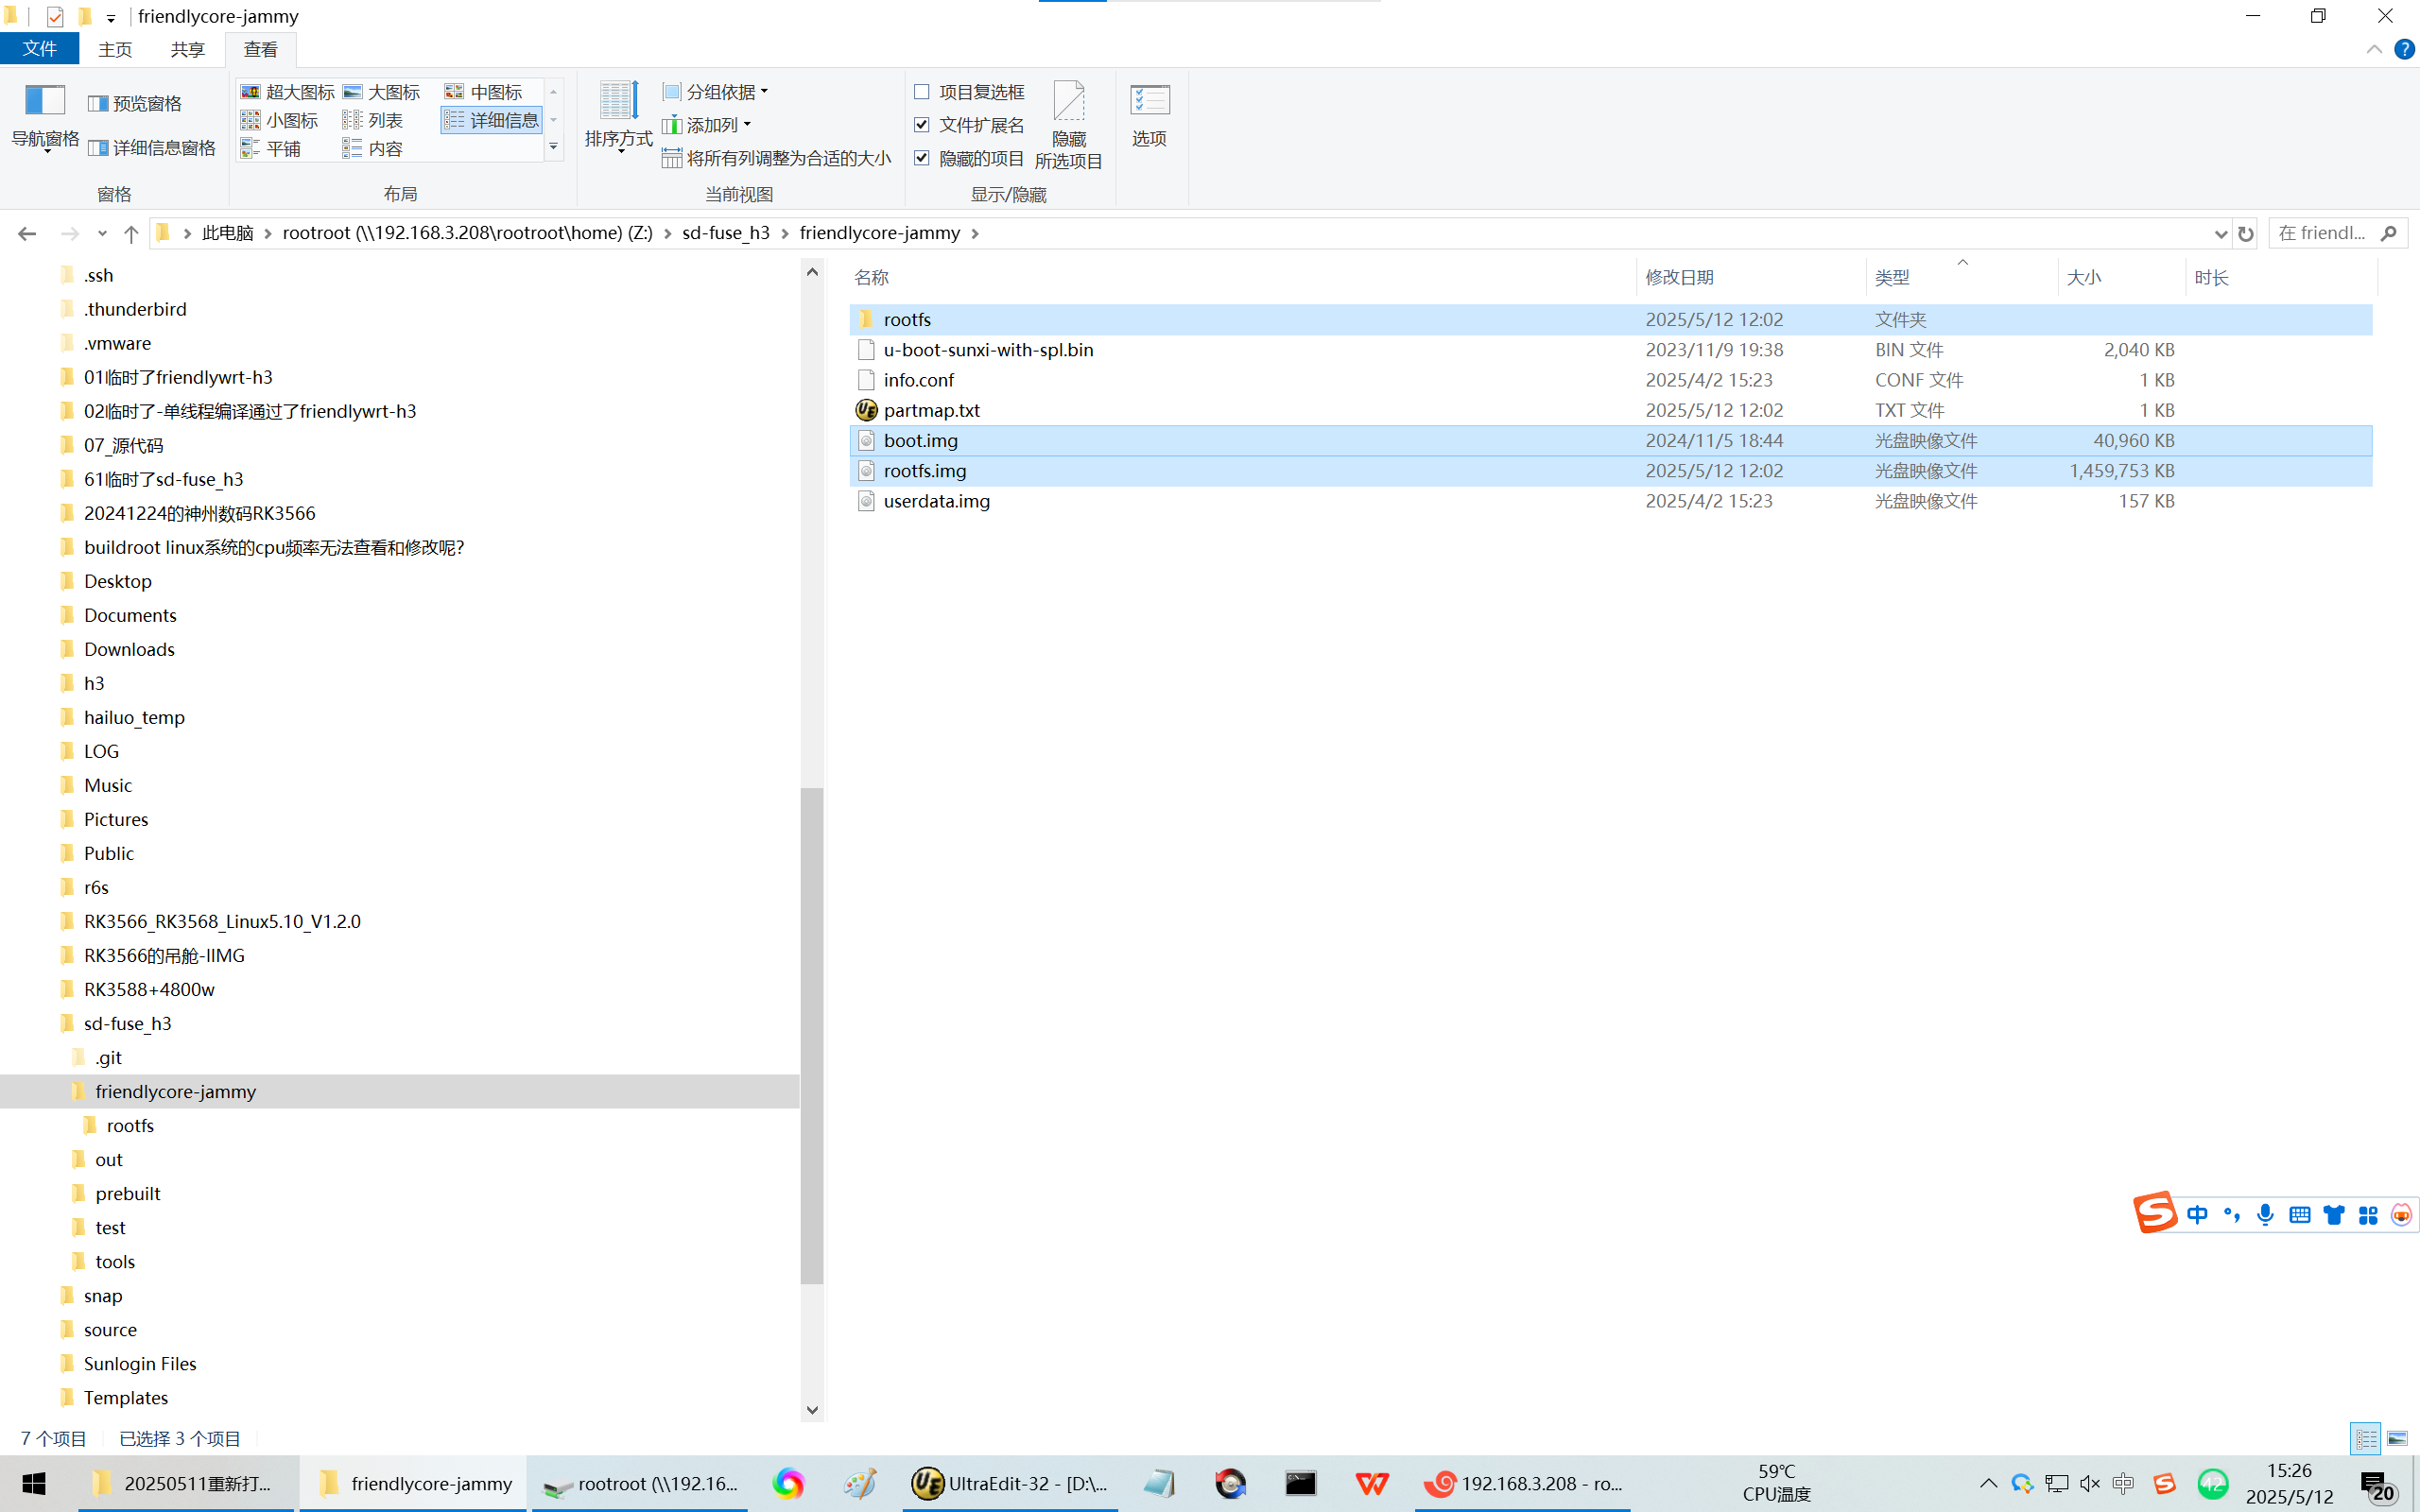
friendlycore-jammy/
friendlycore-jammy/boot.img
friendlycore-jammy/info.conf
friendlycore-jammy/rootfs.img
friendlycore-jammy/u-boot-sunxi-with-spl.bin
friendlycore-jammy/partmap.txt
friendlycore-jammy/userdata.img
rootroot@rootroot-X99-Turbo:~/sd-fuse_h3$
rootroot@rootroot-X99-Turbo:~/sd-fuse_h3$
rootroot@rootroot-X99-Turbo:~/sd-fuse_h3$
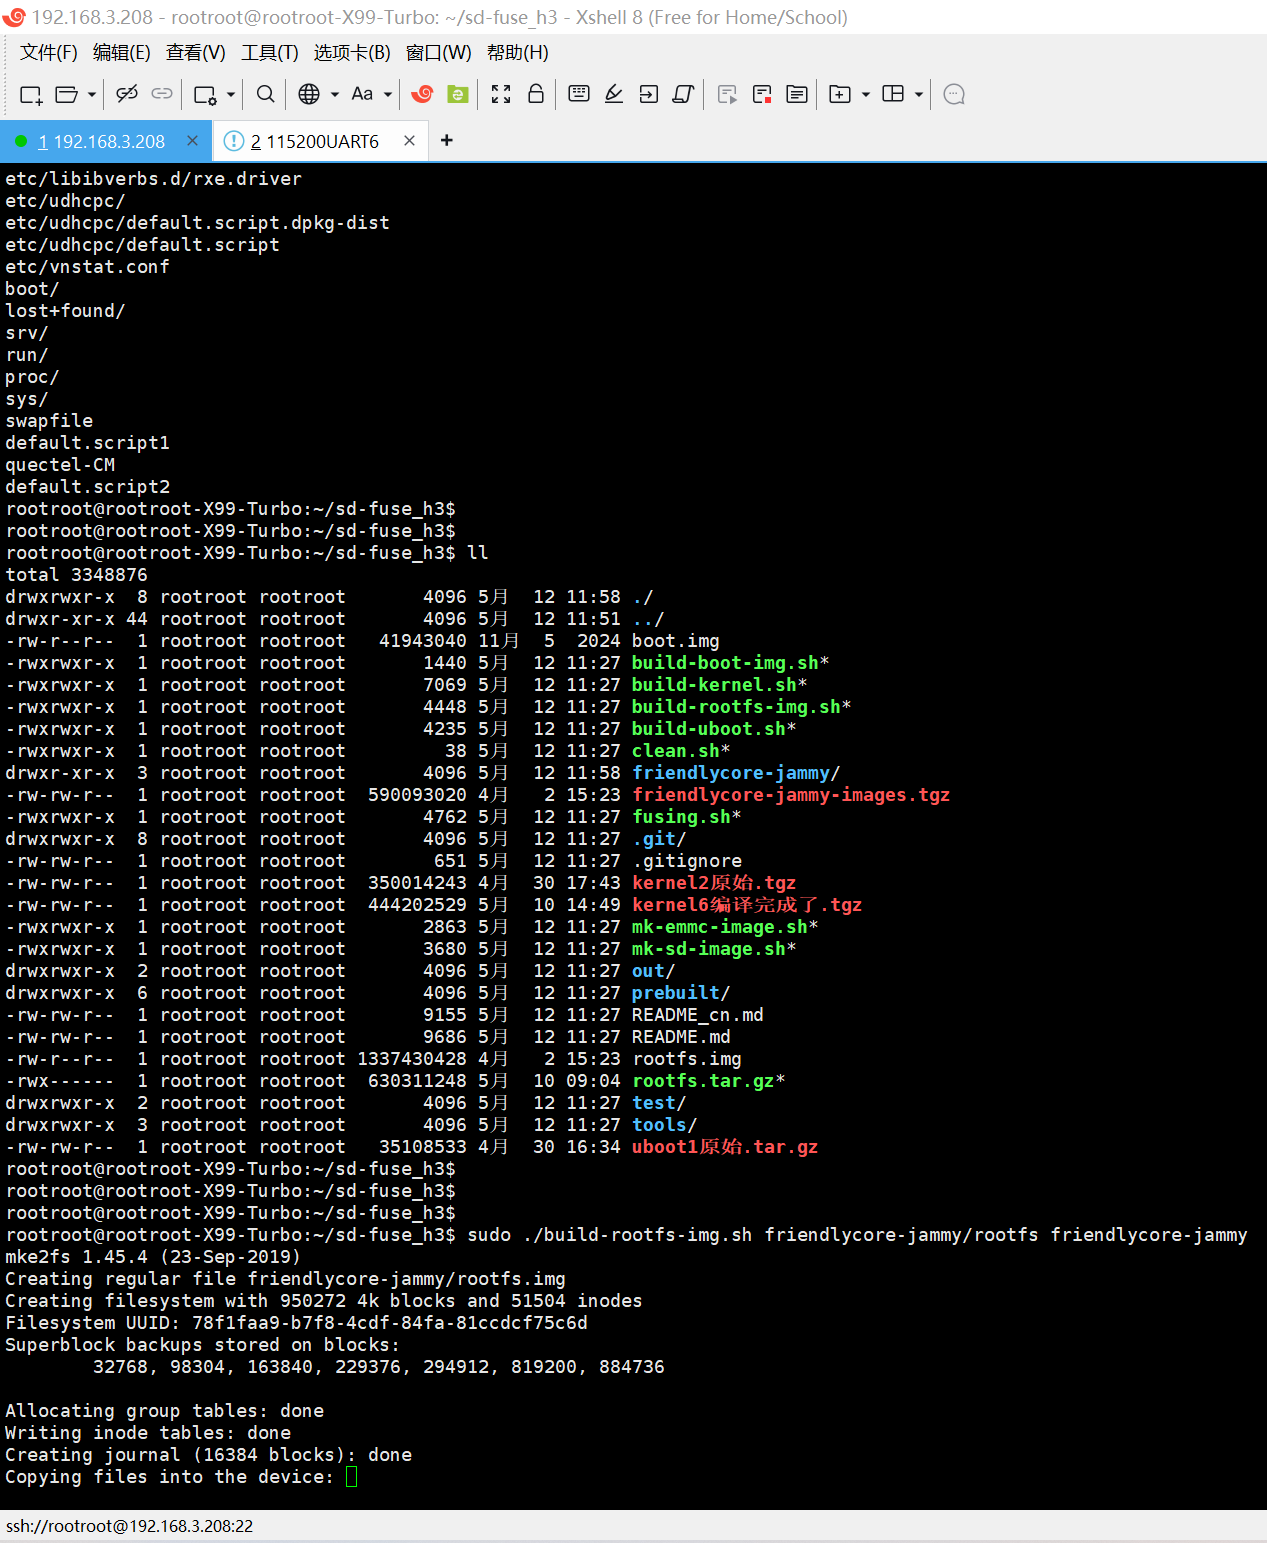
rootroot@rootroot-X99-Turbo:~/sd-fuse_h3$ ll
total 3348876
drwxrwxr-x 8 rootroot rootroot 4096 5月 12 11:58 ./
drwxr-xr-x 44 rootroot rootroot 4096 5月 12 11:51 ../
-rw-r--r-- 1 rootroot rootroot 41943040 11月 5 2024 boot.img
-rwxrwxr-x 1 rootroot rootroot 1440 5月 12 11:27 build-boot-img.sh*
-rwxrwxr-x 1 rootroot rootroot 7069 5月 12 11:27 build-kernel.sh*
-rwxrwxr-x 1 rootroot rootroot 4448 5月 12 11:27 build-rootfs-img.sh*
-rwxrwxr-x 1 rootroot rootroot 4235 5月 12 11:27 build-uboot.sh*
-rwxrwxr-x 1 rootroot rootroot 38 5月 12 11:27 clean.sh*
drwxr-xr-x 2 rootroot rootroot 4096 4月 2 15:23 friendlycore-jammy/
-rw-rw-r-- 1 rootroot rootroot 590093020 4月 2 15:23 friendlycore-jammy-images.tgz
-rwxrwxr-x 1 rootroot rootroot 4762 5月 12 11:27 fusing.sh*
drwxrwxr-x 8 rootroot rootroot 4096 5月 12 11:27 .git/
-rw-rw-r-- 1 rootroot rootroot 651 5月 12 11:27 .gitignore
-rw-rw-r-- 1 rootroot rootroot 350014243 4月 30 17:43 kernel2原始.tgz
-rw-rw-r-- 1 rootroot rootroot 444202529 5月 10 14:49 kernel6编译完成了.tgz
-rwxrwxr-x 1 rootroot rootroot 2863 5月 12 11:27 mk-emmc-image.sh*
-rwxrwxr-x 1 rootroot rootroot 3680 5月 12 11:27 mk-sd-image.sh*
drwxrwxr-x 2 rootroot rootroot 4096 5月 12 11:27 out/
drwxrwxr-x 6 rootroot rootroot 4096 5月 12 11:27 prebuilt/
-rw-rw-r-- 1 rootroot rootroot 9155 5月 12 11:27 README_cn.md
-rw-rw-r-- 1 rootroot rootroot 9686 5月 12 11:27 README.md
-rw-r--r-- 1 rootroot rootroot 1337430428 4月 2 15:23 rootfs.img
-rwx------ 1 rootroot rootroot 630311248 5月 10 09:04 rootfs.tar.gz*
drwxrwxr-x 2 rootroot rootroot 4096 5月 12 11:27 test/
drwxrwxr-x 3 rootroot rootroot 4096 5月 12 11:27 tools/
-rw-rw-r-- 1 rootroot rootroot 35108533 4月 30 16:34 uboot1原始.tar.gz
rootroot@rootroot-X99-Turbo:~/sd-fuse_h3$
rootroot@rootroot-X99-Turbo:~/sd-fuse_h3$ mkdir friendlycore-jammy/rootfs
rootroot@rootroot-X99-Turbo:~/sd-fuse_h3$
rootroot@rootroot-X99-Turbo:~/sd-fuse_h3$ ./tools/extract-rootfs-tar.sh rootfs.tar.gz friendlycore-jammy/rootfs

【可以很容易看到你在文件系统里面增加的文件^_】
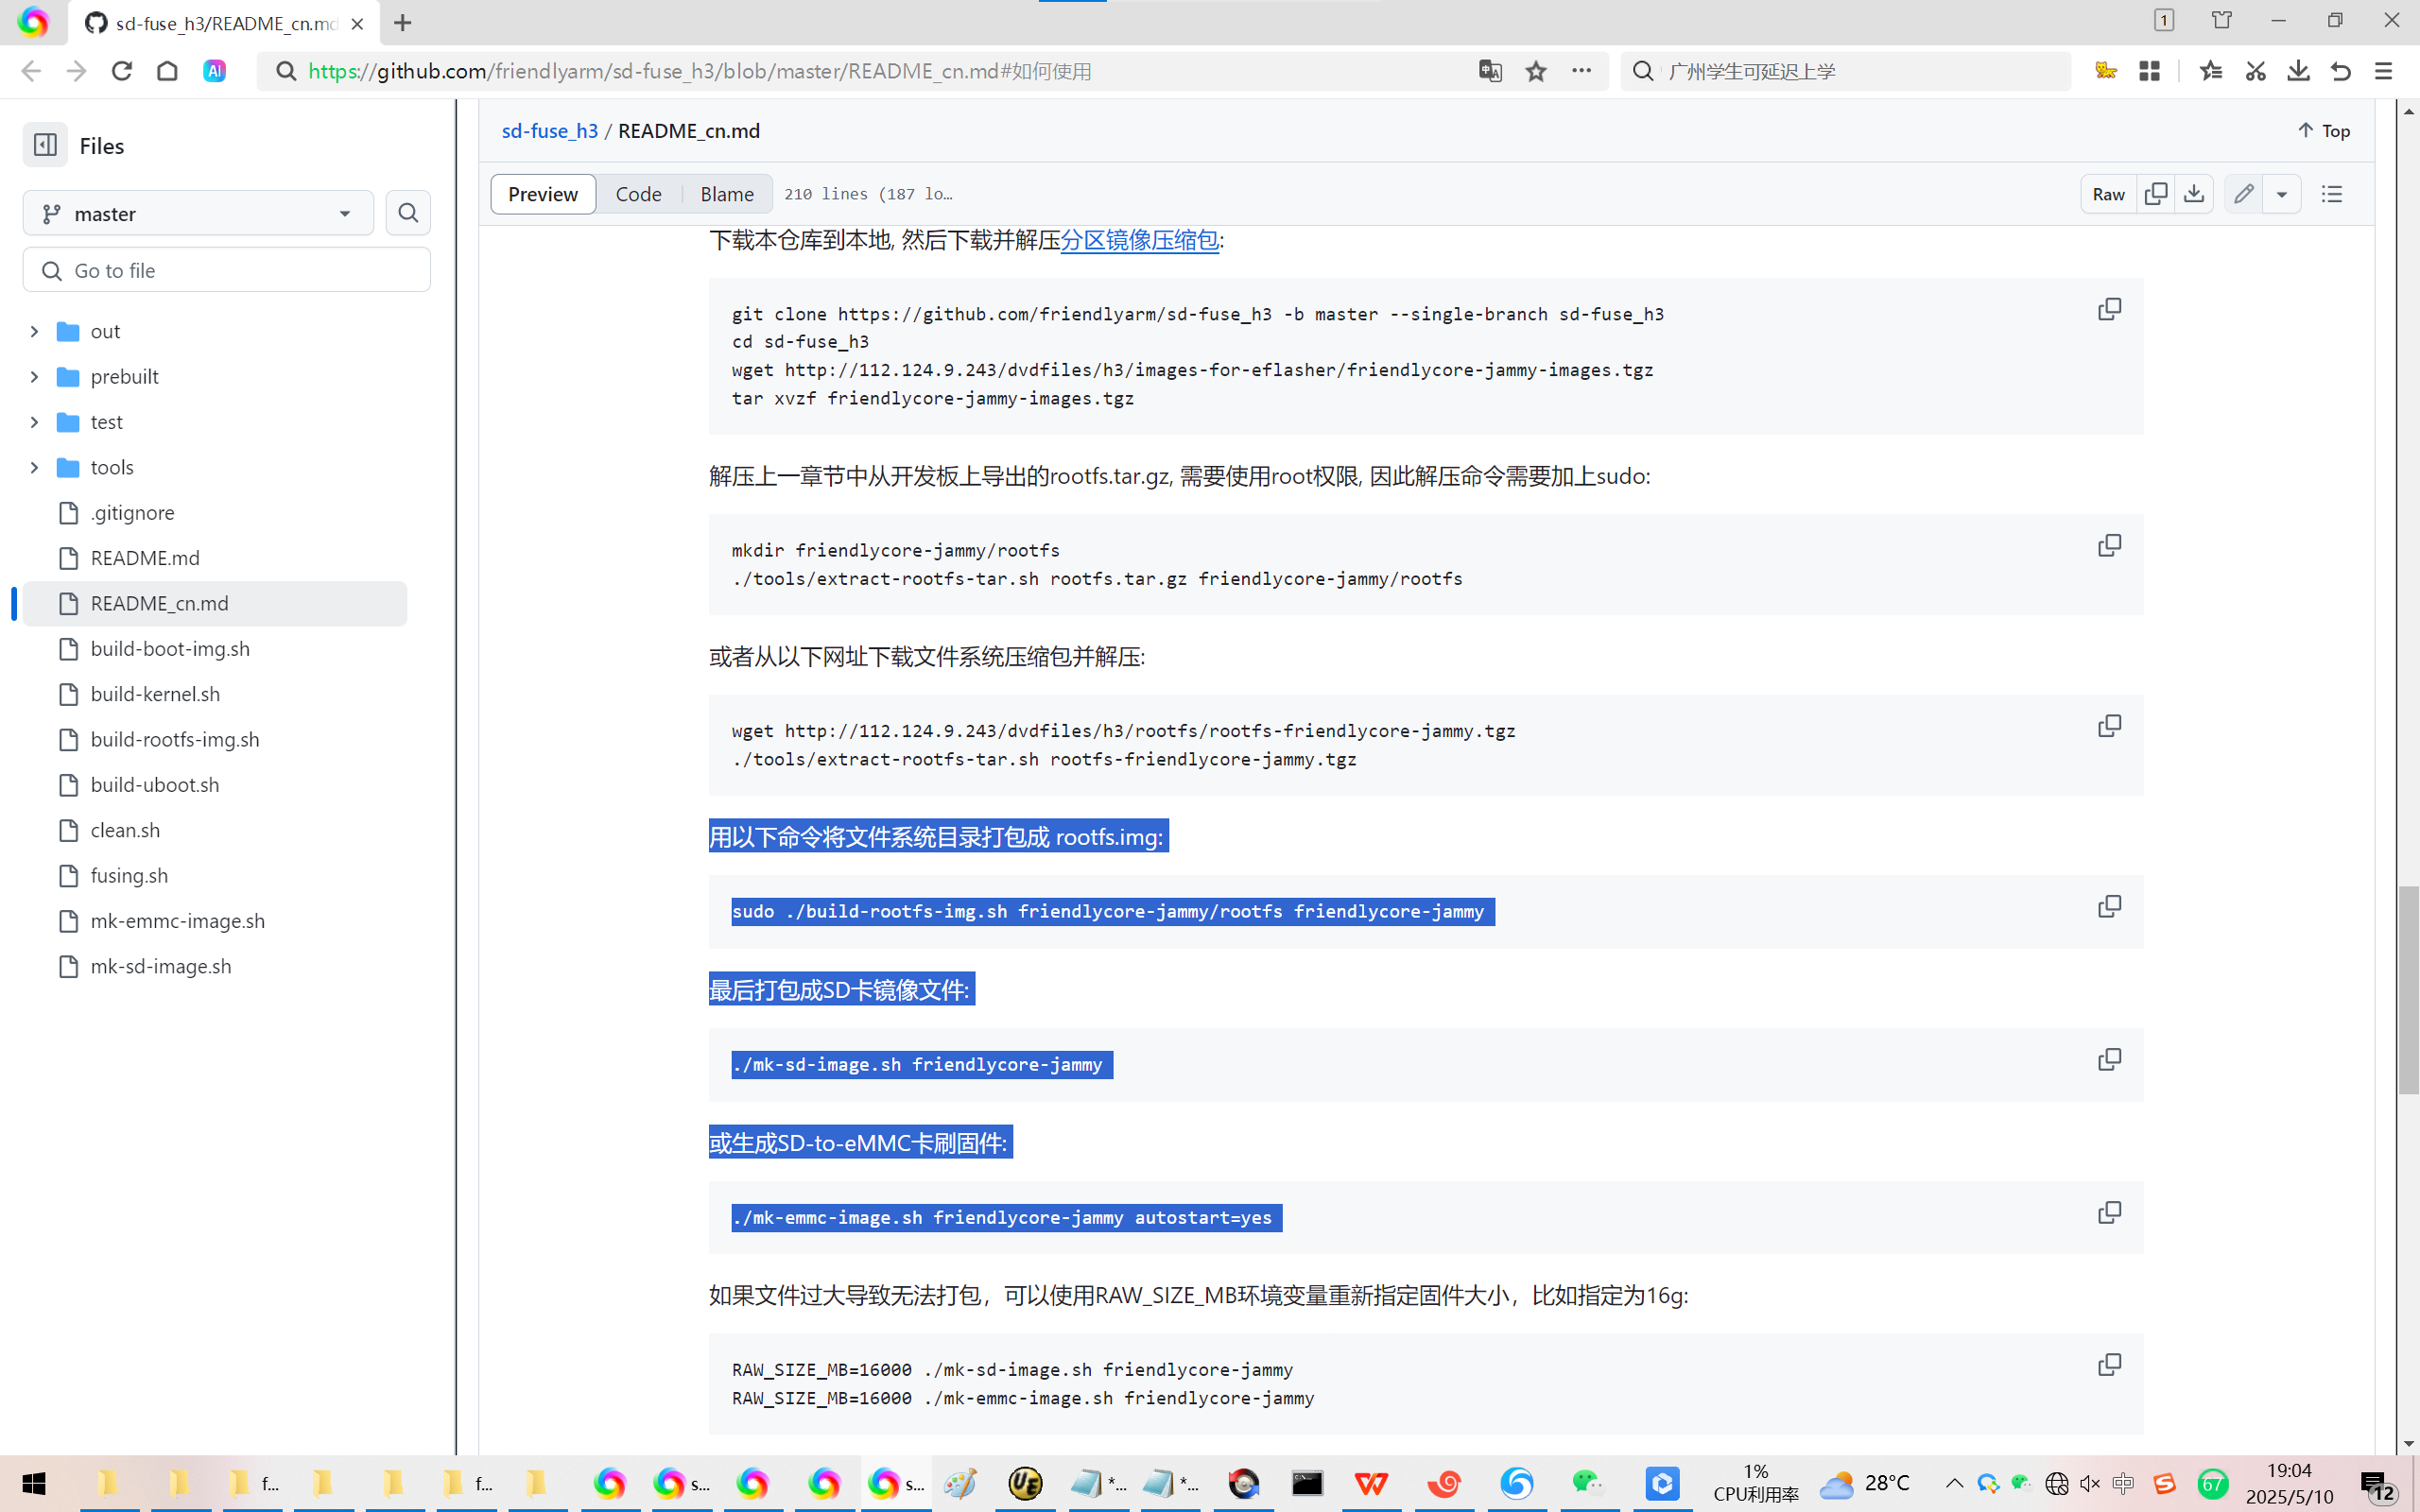
用以下命令将文件系统目录打包成 rootfs.img:
sudo ./build-rootfs-img.sh friendlycore-jammy/rootfs friendlycore-jammy
rootroot@rootroot-X99-Turbo:~/sd-fuse_h3$
rootroot@rootroot-X99-Turbo:~/sd-fuse_h3$ sudo ./build-rootfs-img.sh friendlycore-jammy/rootfs friendlycore-jammy
mke2fs 1.45.4 (23-Sep-2019)
Creating regular file friendlycore-jammy/rootfs.img
Creating filesystem with 950272 4k blocks and 51504 inodes
Filesystem UUID: 78f1faa9-b7f8-4cdf-84fa-81ccdcf75c6d
Superblock backups stored on blocks:
32768, 98304, 163840, 229376, 294912, 819200, 884736
Allocating group tables: done
Writing inode tables: done
Creating journal (16384 blocks): done
Copying files into the device: done
Writing superblocks and filesystem accounting information: done
'/home/rootroot/sd-fuse_h3/prebuilt/partmap.template' -> 'friendlycore-jammy/partmap.txt'
generating friendlycore-jammy/partmap.txt done.
0
generating friendlycore-jammy/rootfs.img done.
0
rootroot@rootroot-X99-Turbo:~/sd-fuse_h3$
【打包rootfs】
就像你使用ghost备份WINDOWS XP/2000系统为*.gho文件。
使用DiskGenius打包WIN10/11为*.pmf文件。
对于:*.sys文件,应该会议全0填充以节省备份的体积!
hiberfil.sys
pagefile.sys
swapfile.sys
【制作rootfs.img】
还原为可以引导的系统镜像。也同样为找找回一些必备的临时/辅助文件。
最后打包成SD卡镜像文件:
./mk-sd-image.sh friendlycore-jammy
或生成SD-to-eMMC卡刷固件:
./mk-emmc-image.sh friendlycore-jammy autostart=yes
rootroot@rootroot-X99-Turbo:~/sd-fuse_h3$
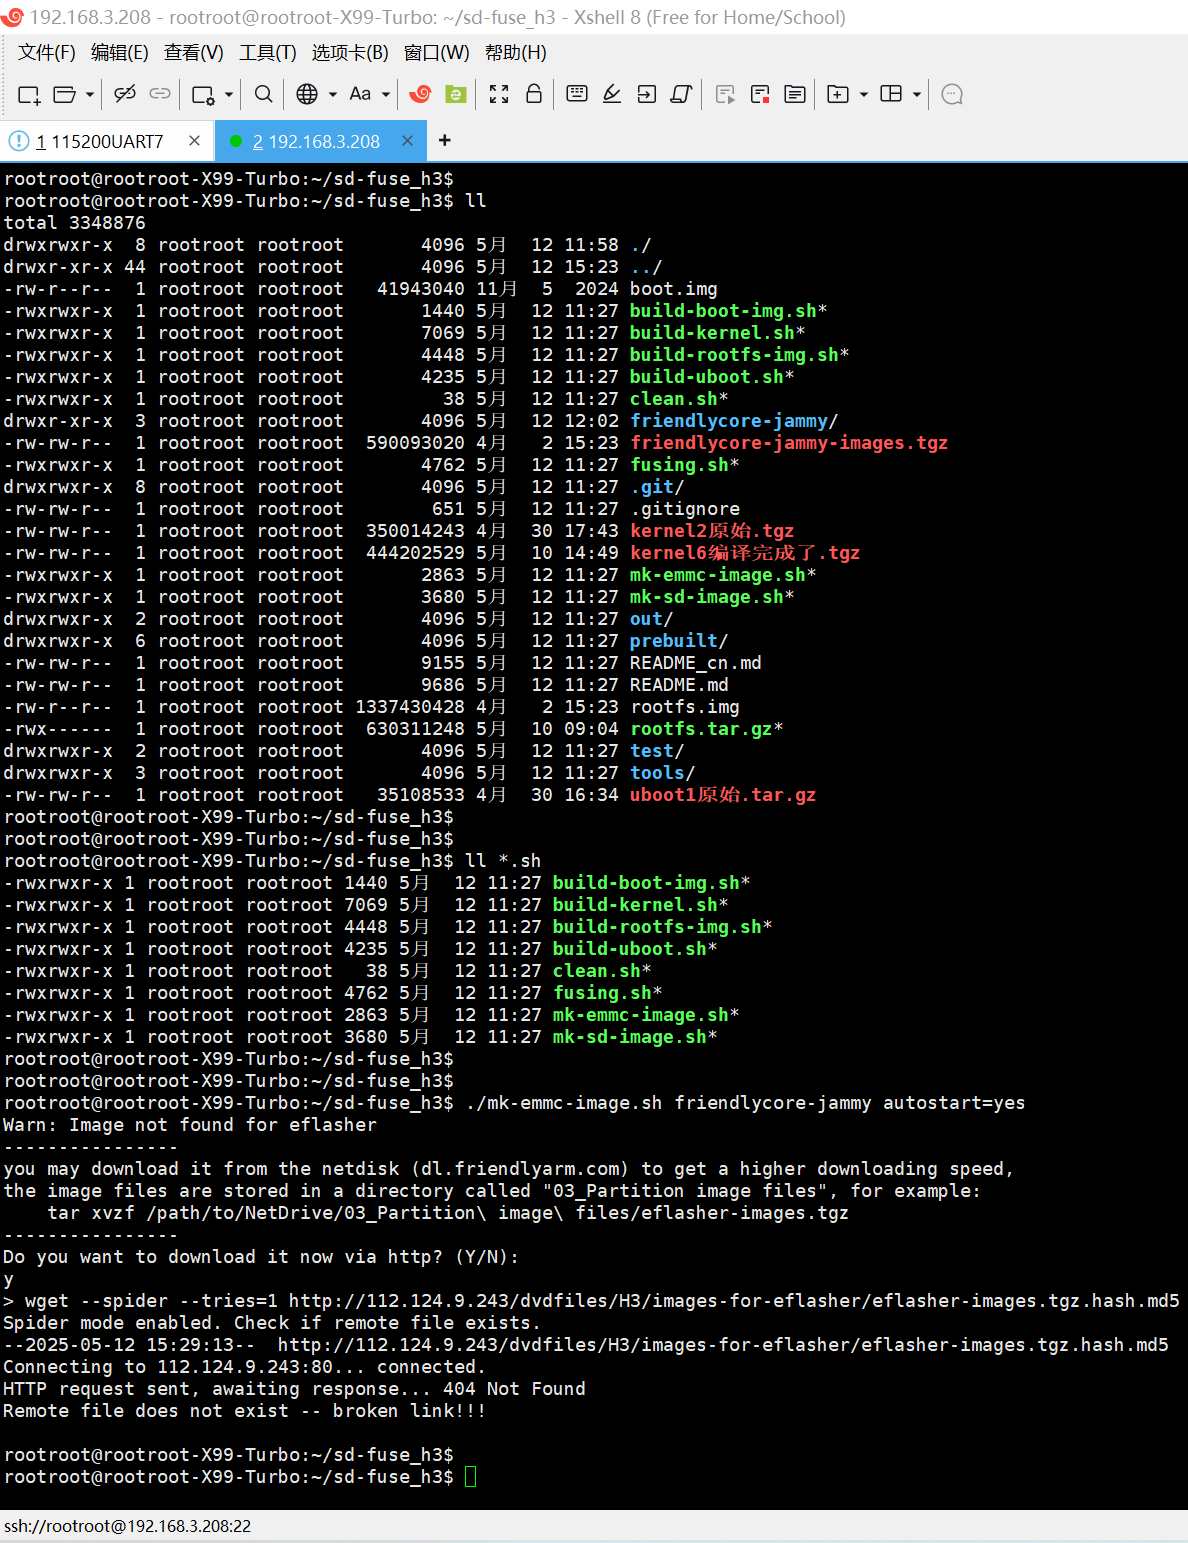
rootroot@rootroot-X99-Turbo:~/sd-fuse_h3$ ./mk-emmc-image.sh friendlycore-jammy autostart=yes
Warn: Image not found for eflasher
----------------
you may download it from the netdisk (dl.friendlyarm.com) to get a higher downloading speed,
the image files are stored in a directory called "03_Partition image files", for example:
tar xvzf /path/to/NetDrive/03_Partition\ image\ files/eflasher-images.tgz
----------------
Do you want to download it now via http? (Y/N):
y
> wget --spider --tries=1 http://112.124.9.243/dvdfiles/H3/images-for-eflasher/eflasher-images.tgz.hash.md5
Spider mode enabled. Check if remote file exists.
--2025-05-12 15:29:13-- http://112.124.9.243/dvdfiles/H3/images-for-eflasher/eflasher-images.tgz.hash.md5
Connecting to 112.124.9.243:80... connected.
HTTP request sent, awaiting response... 404 Not Found
Remote file does not exist -- broken link!!!
rootroot@rootroot-X99-Turbo:~/sd-fuse_h3$
rootroot@rootroot-X99-Turbo:~/sd-fuse_h3$
【仔细分析打包成为eMMC固件的脚本mk-emmc-image.sh,发现它内置调用SD卡的脚本^_】
切记,你需要去 友善之臂的服务器 下载【emmc-flasher-images.tgz】
http://112.124.9.243/dvdfiles/H3/images-for-eflasher/eflasher-images.tgz.hash.md5
千辛万苦,找到这里了emmc-flasher-images.tgz:
[ ] emmc-flasher-images.tgz 2025-04-02 15:24 232M
[ ] emmc-flasher-images.tgz.hash.md5 2025-04-02 15:24 58
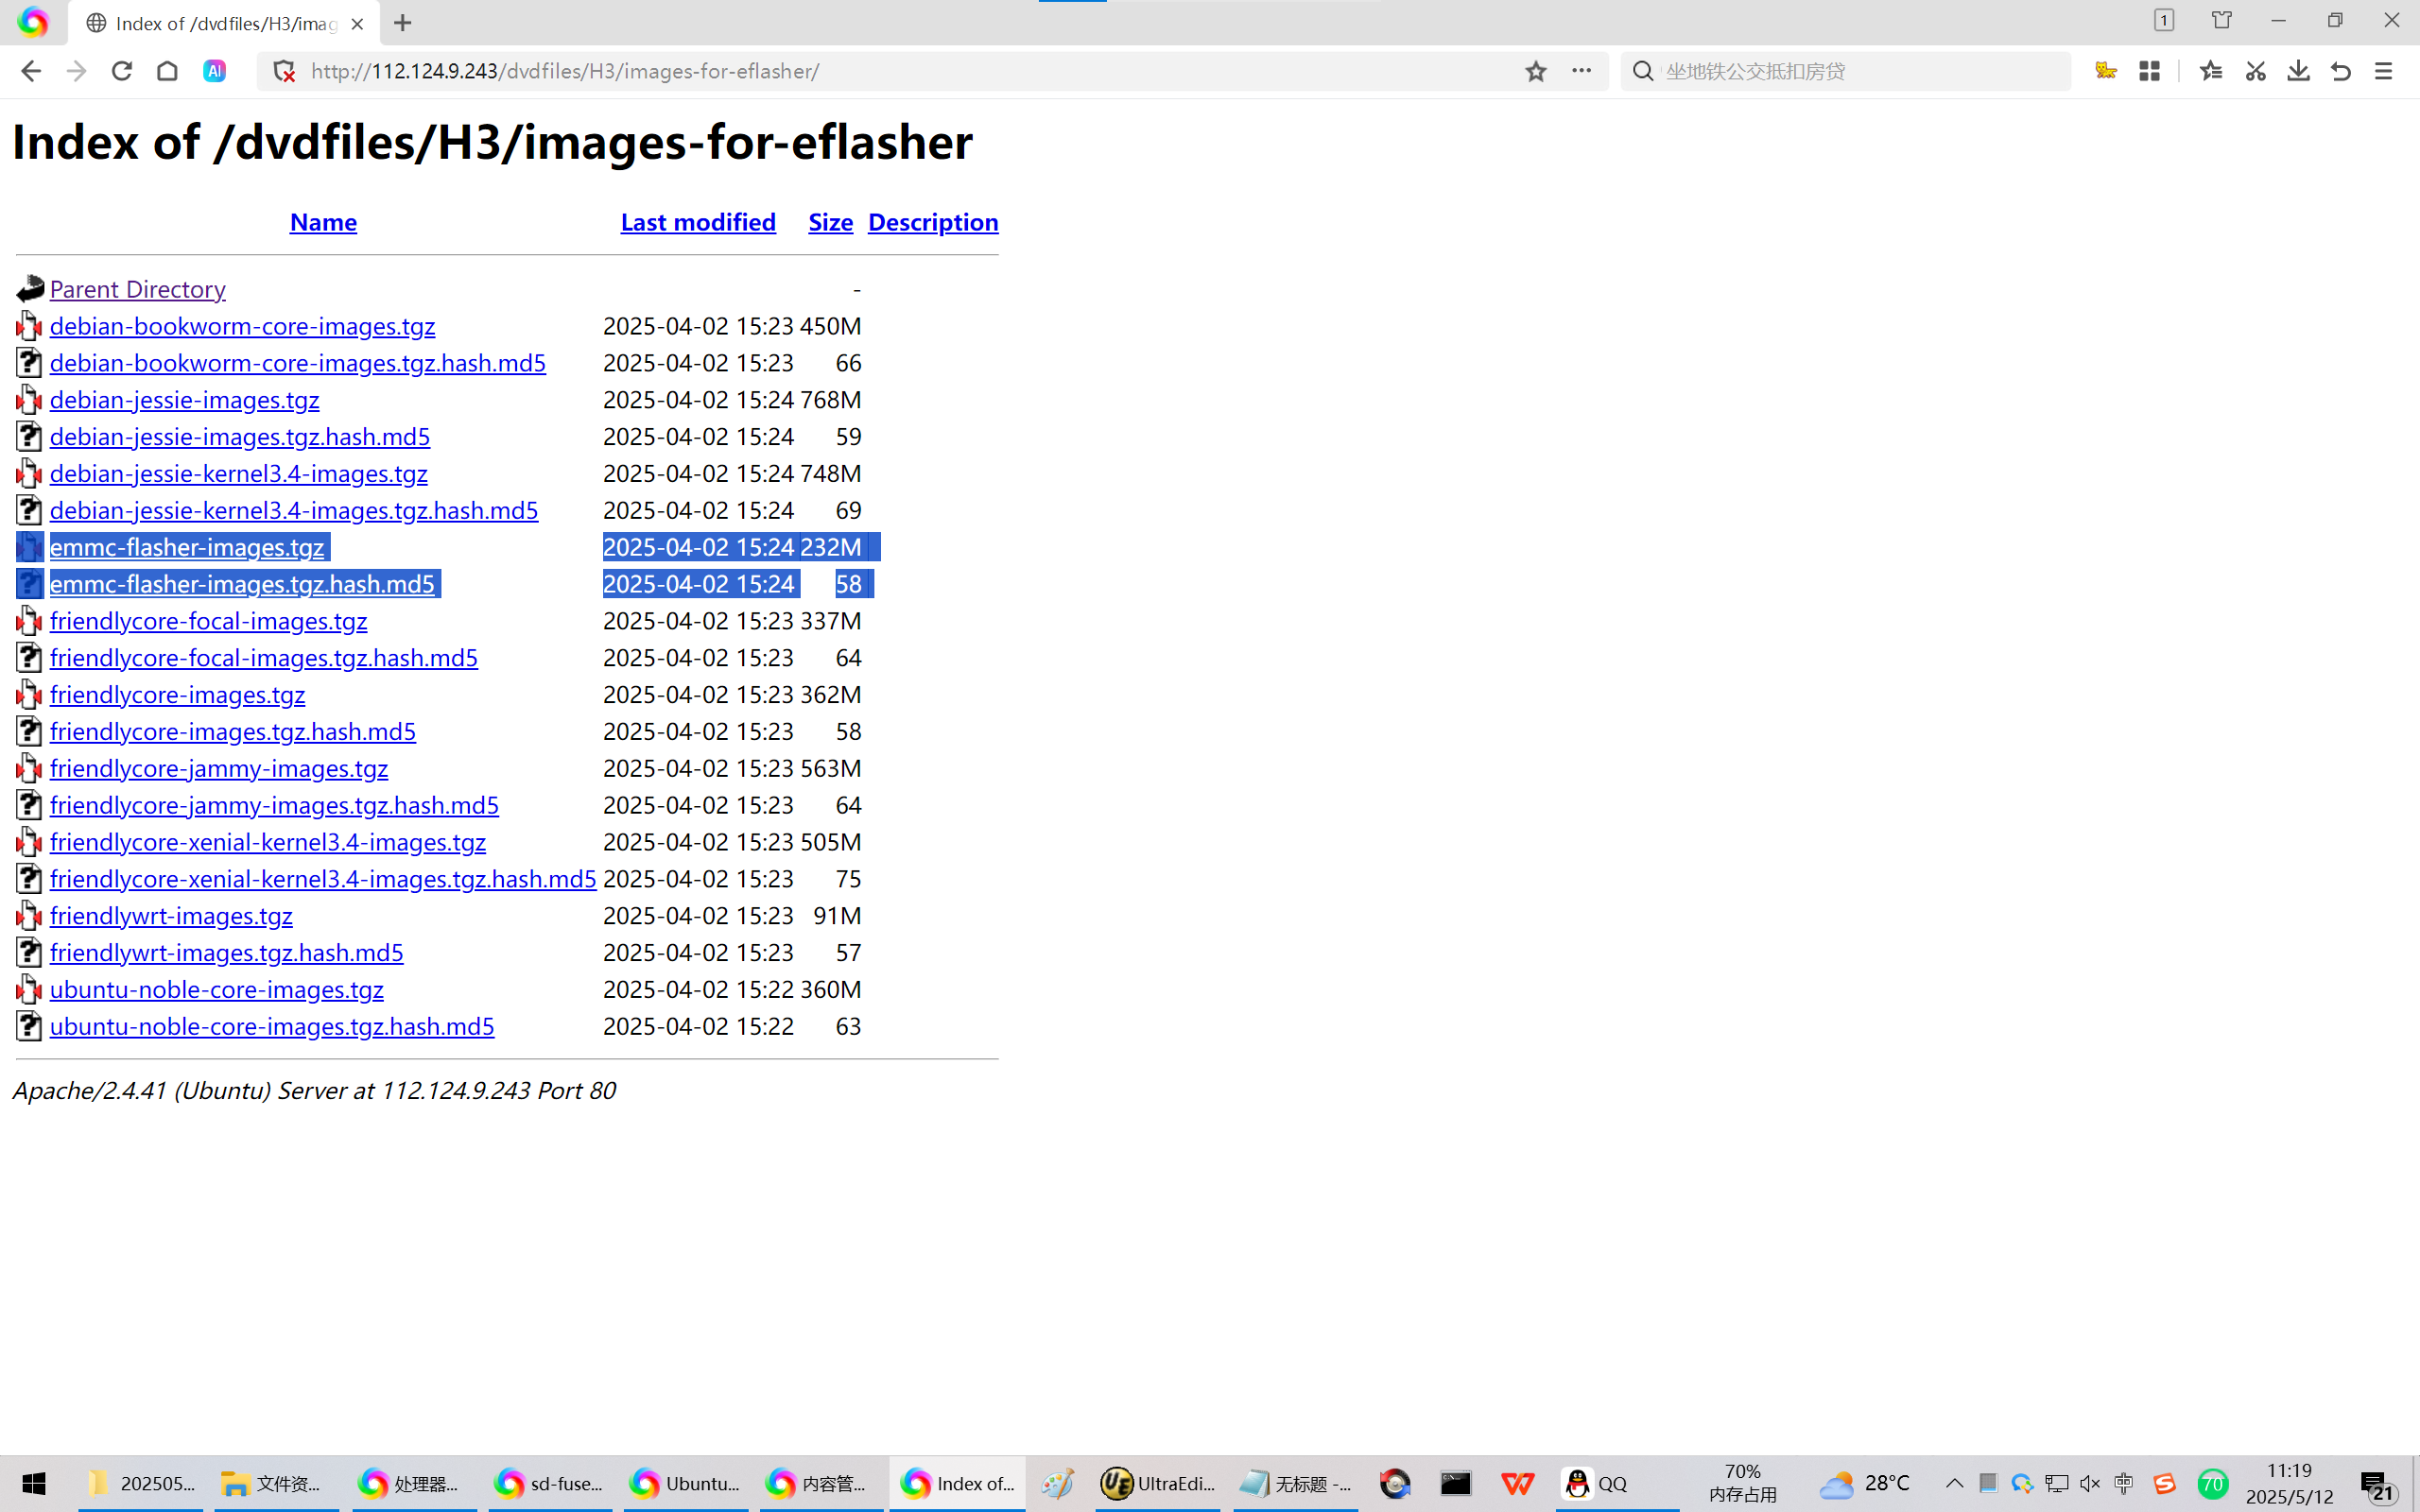

改名为eflasher-images.tgz。没用的,继续出错/不然会打包的时候报错退出了
解压缩之后继续,正常了!
但是花时间比较久,大概需要3分钟左右!^_你就等一下吧。毕竟是生成8GB的eMMC空间!
rootroot@rootroot-X99-Turbo:~/sd-fuse_h3$
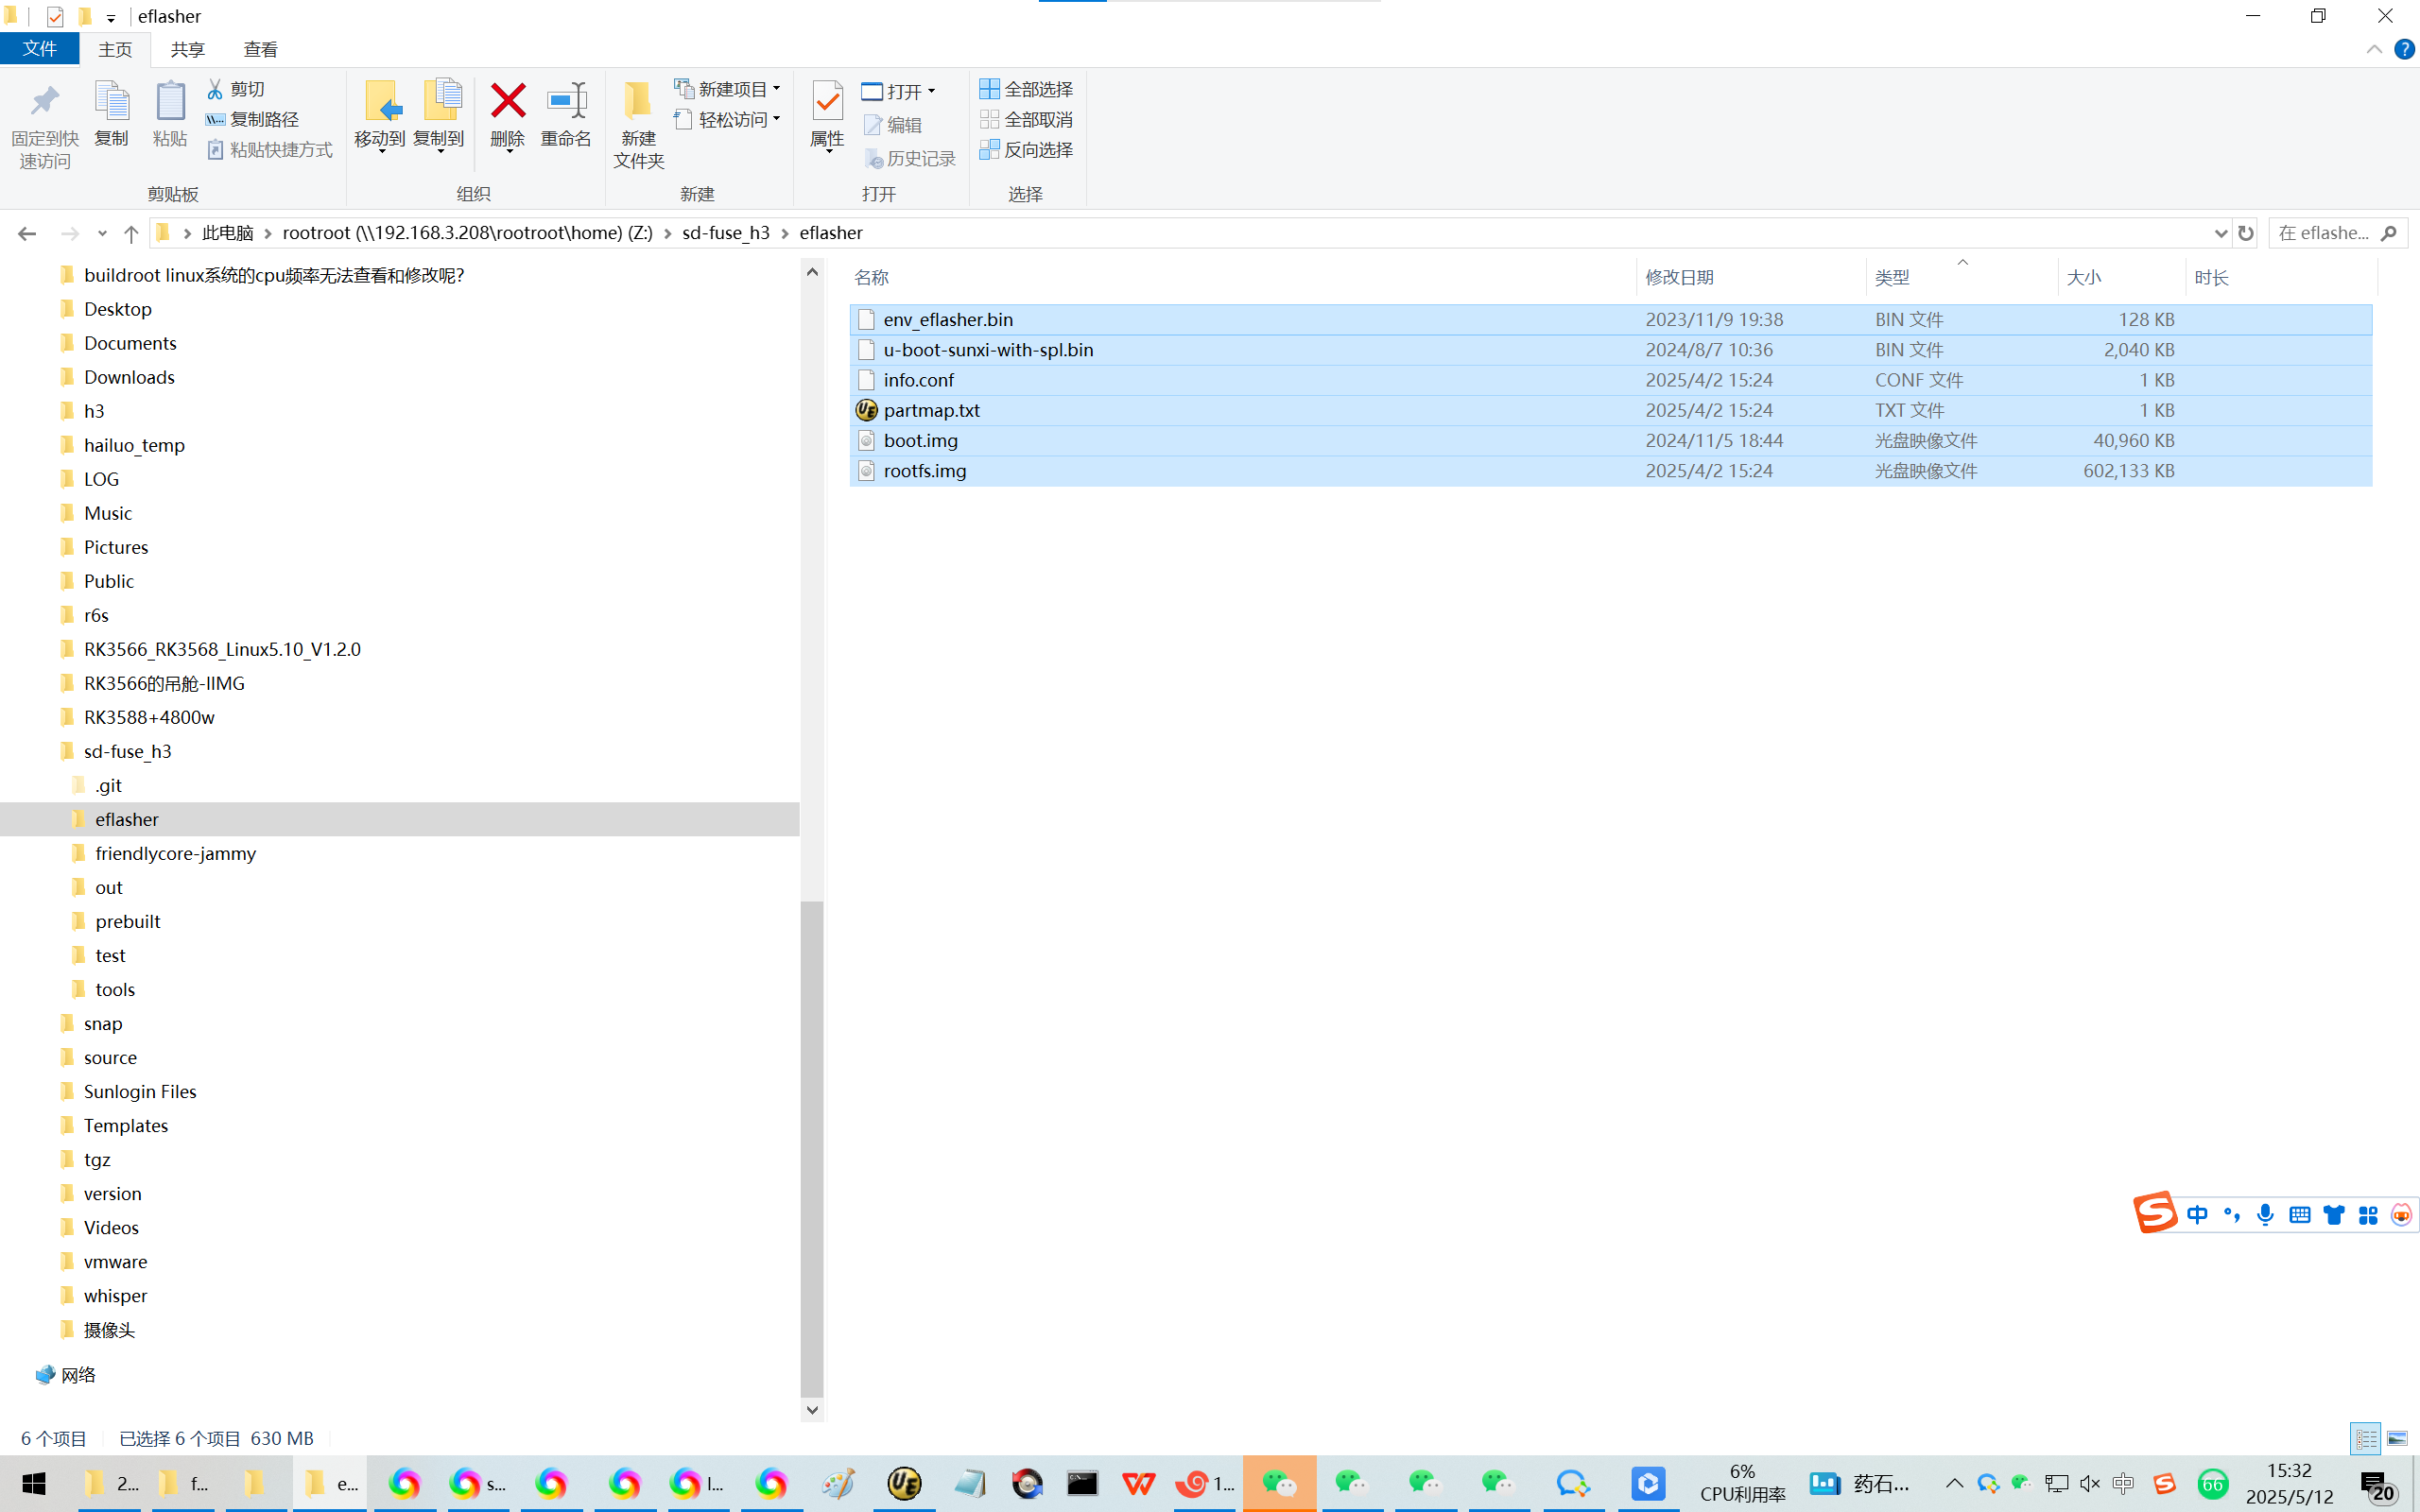
rootroot@rootroot-X99-Turbo:~/sd-fuse_h3$ tar zxvf emmc-flasher-images.tgz
eflasher/
eflasher/boot.img
eflasher/info.conf
eflasher/rootfs.img
eflasher/u-boot-sunxi-with-spl.bin
eflasher/partmap.txt
eflasher/env_eflasher.bin
rootroot@rootroot-X99-Turbo:~/sd-fuse_h3$
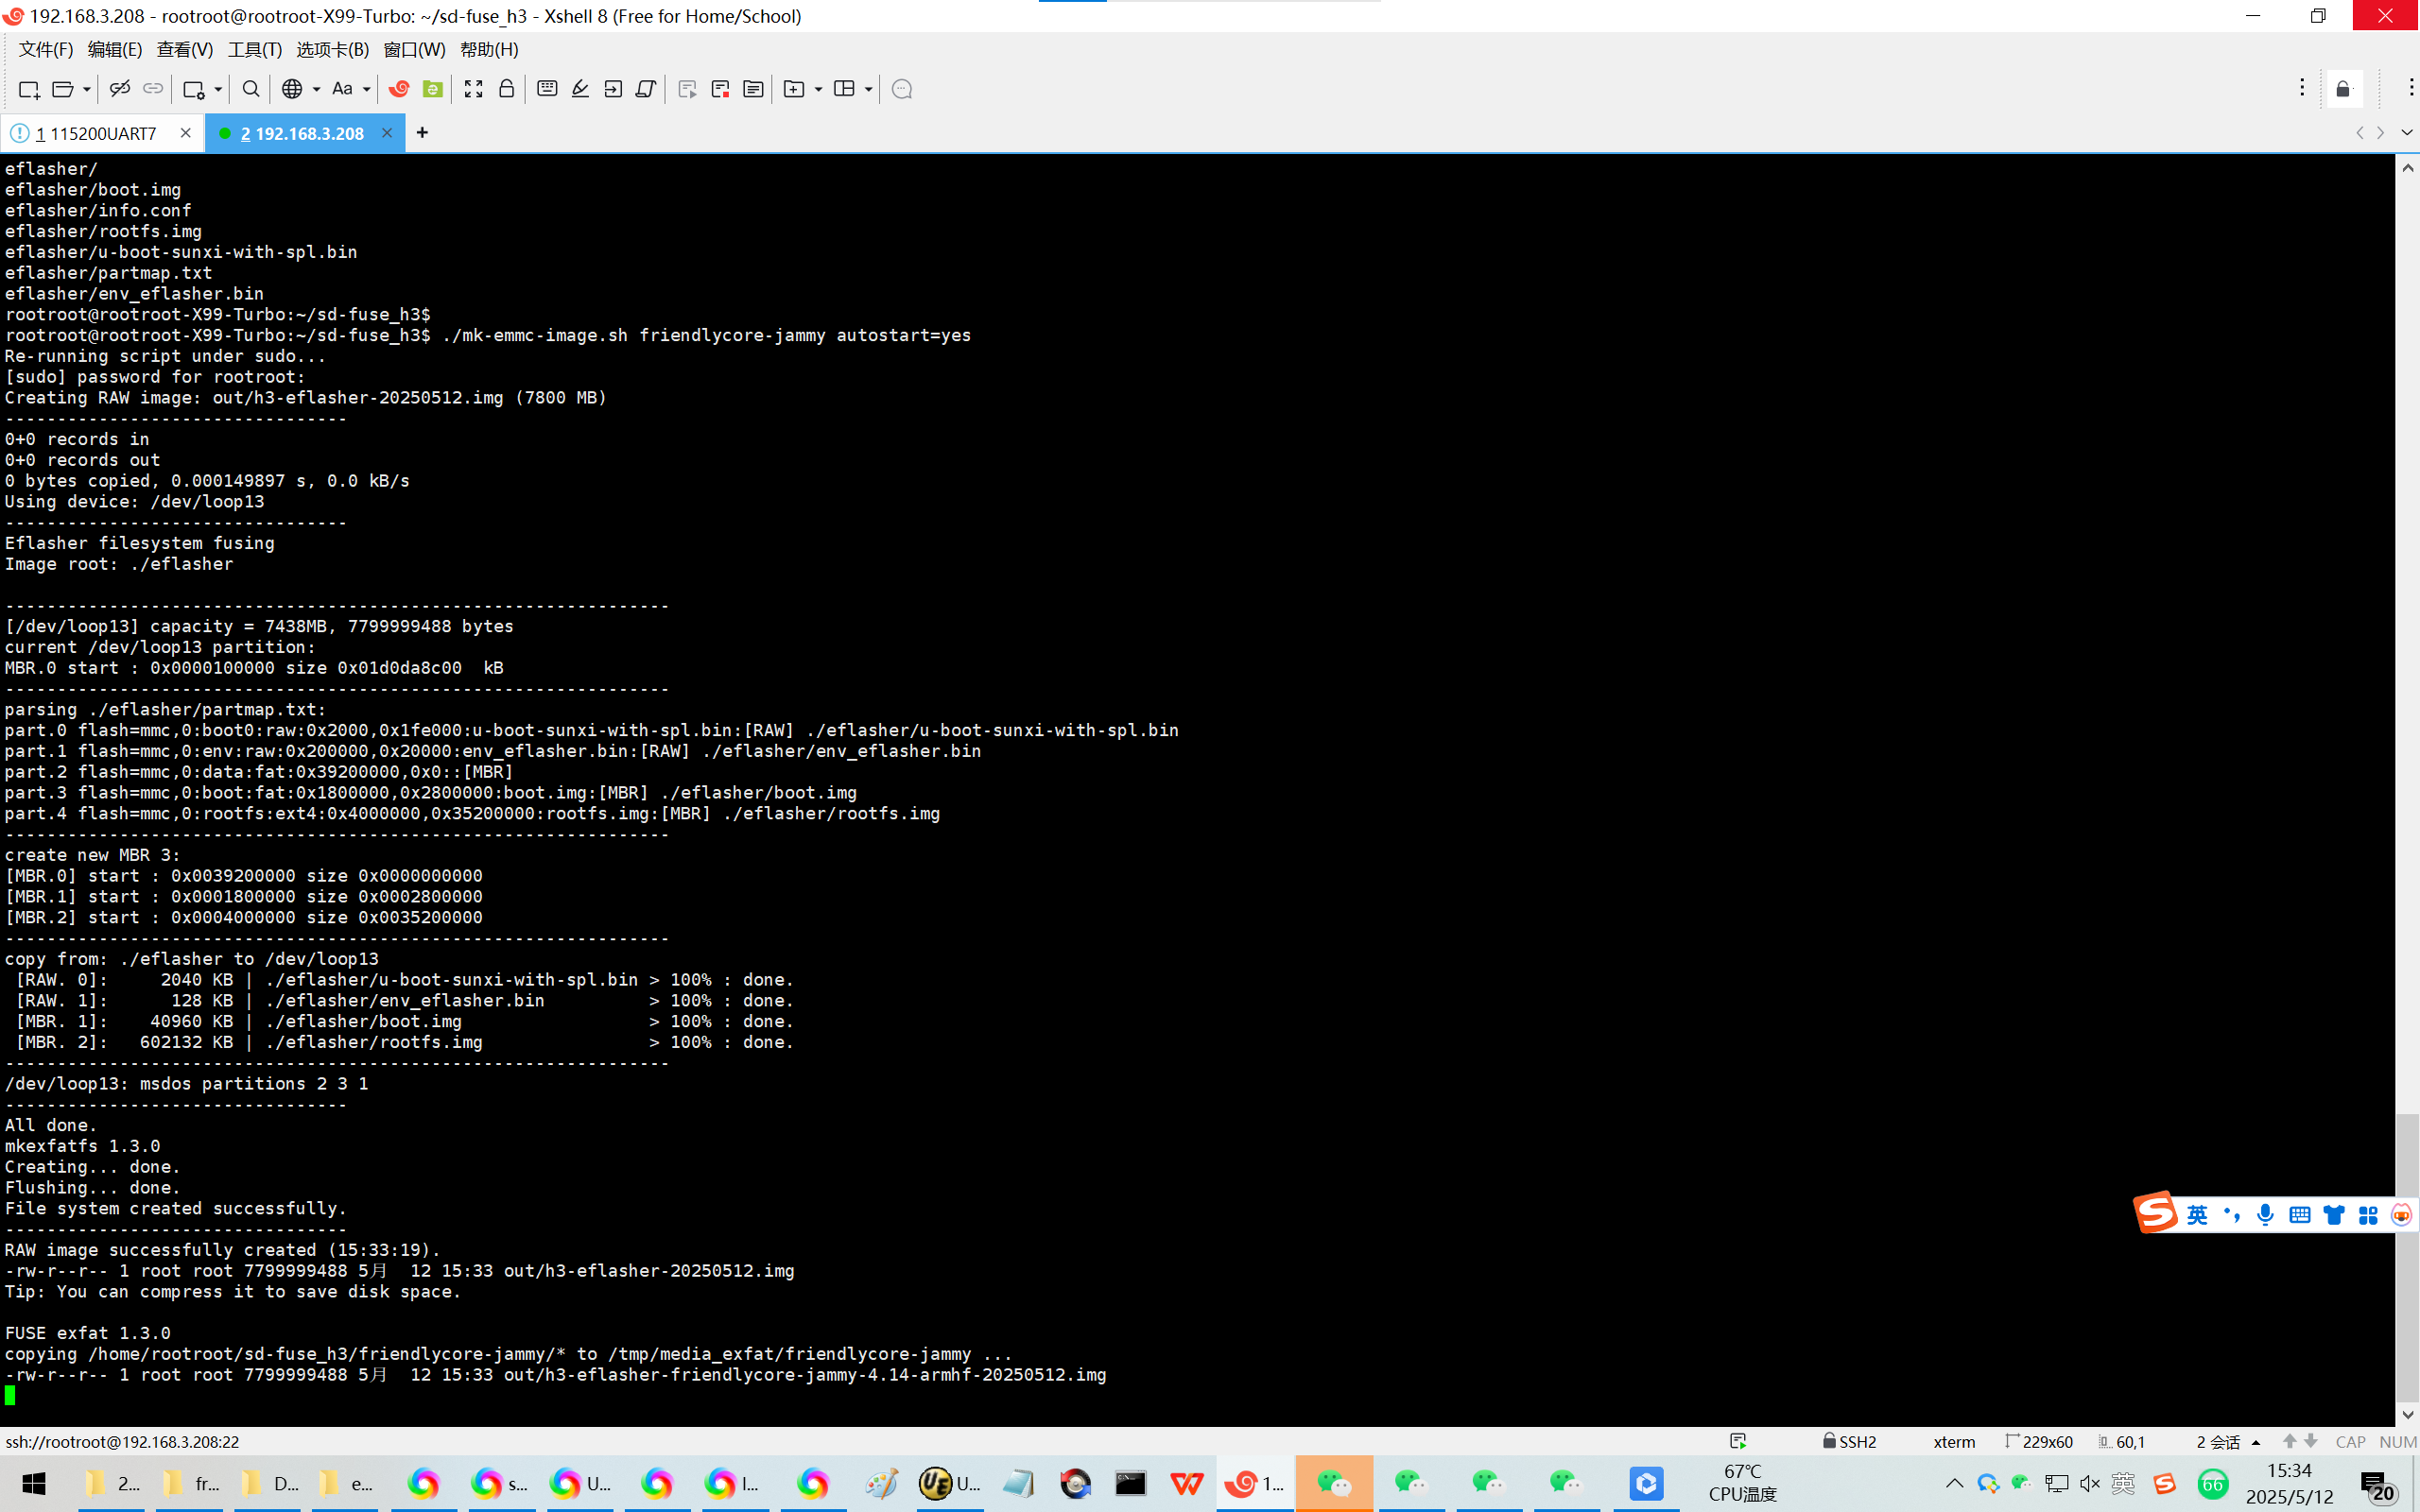
rootroot@rootroot-X99-Turbo:~/sd-fuse_h3$ ./mk-emmc-image.sh friendlycore-jammy autostart=yes
Re-running script under sudo...
[sudo] password for rootroot:
Creating RAW image: out/h3-eflasher-20250512.img (7800 MB)
---------------------------------
0+0 records in
0+0 records out
0 bytes copied, 0.000149897 s, 0.0 kB/s
Using device: /dev/loop13
---------------------------------
Eflasher filesystem fusing
Image root: ./eflasher
----------------------------------------------------------------
[/dev/loop13] capacity = 7438MB, 7799999488 bytes
current /dev/loop13 partition:
MBR.0 start : 0x0000100000 size 0x01d0da8c00 kB
----------------------------------------------------------------
parsing ./eflasher/partmap.txt:
part.0 flash=mmc,0:boot0:raw:0x2000,0x1fe000:u-boot-sunxi-with-spl.bin:[RAW] ./eflasher/u-boot-sunxi-with-spl.bin
part.1 flash=mmc,0:env:raw:0x200000,0x20000:env_eflasher.bin:[RAW] ./eflasher/env_eflasher.bin
part.2 flash=mmc,0:data:fat:0x39200000,0x0::[MBR]
part.3 flash=mmc,0:boot:fat:0x1800000,0x2800000:boot.img:[MBR] ./eflasher/boot.img
part.4 flash=mmc,0:rootfs:ext4:0x4000000,0x35200000:rootfs.img:[MBR] ./eflasher/rootfs.img
----------------------------------------------------------------
create new MBR 3:
[MBR.0] start : 0x0039200000 size 0x0000000000
[MBR.1] start : 0x0001800000 size 0x0002800000
[MBR.2] start : 0x0004000000 size 0x0035200000
----------------------------------------------------------------
copy from: ./eflasher to /dev/loop13
[RAW. 0]: 2040 KB | ./eflasher/u-boot-sunxi-with-spl.bin > 100% : done.
[RAW. 1]: 128 KB | ./eflasher/env_eflasher.bin > 100% : done.
[MBR. 1]: 40960 KB | ./eflasher/boot.img > 100% : done.
[MBR. 2]: 602132 KB | ./eflasher/rootfs.img > 100% : done.
----------------------------------------------------------------
/dev/loop13: msdos partitions 2 3 1
---------------------------------
All done.
mkexfatfs 1.3.0
Creating... done.
Flushing... done.
File system created successfully.
---------------------------------
RAW image successfully created (15:33:19).
-rw-r--r-- 1 root root 7799999488 5月 12 15:33 out/h3-eflasher-20250512.img
Tip: You can compress it to save disk space.
FUSE exfat 1.3.0
copying /home/rootroot/sd-fuse_h3/friendlycore-jammy/* to /tmp/media_exfat/friendlycore-jammy ...
-rw-r--r-- 1 root root 7799999488 5月 12 15:33 out/h3-eflasher-friendlycore-jammy-4.14-armhf-20250512.img
all done.
rootroot@rootroot-X99-Turbo:~/sd-fuse_h3$
【请注意:eflasher是必须的!如果没有加入eflasher,制作TF卡之后,可以使用TF卡启动,但是不能使用eflasher刷机!】

【我没有碰到呀!】
如果文件过大导致无法打包,可以使用RAW_SIZE_MB环境变量重新指定固件大小,比如指定为16g:
RAW_SIZE_MB=16000 ./mk-sd-image.sh friendlycore-jammy
RAW_SIZE_MB=16000 ./mk-emmc-image.sh friendlycore-jammy
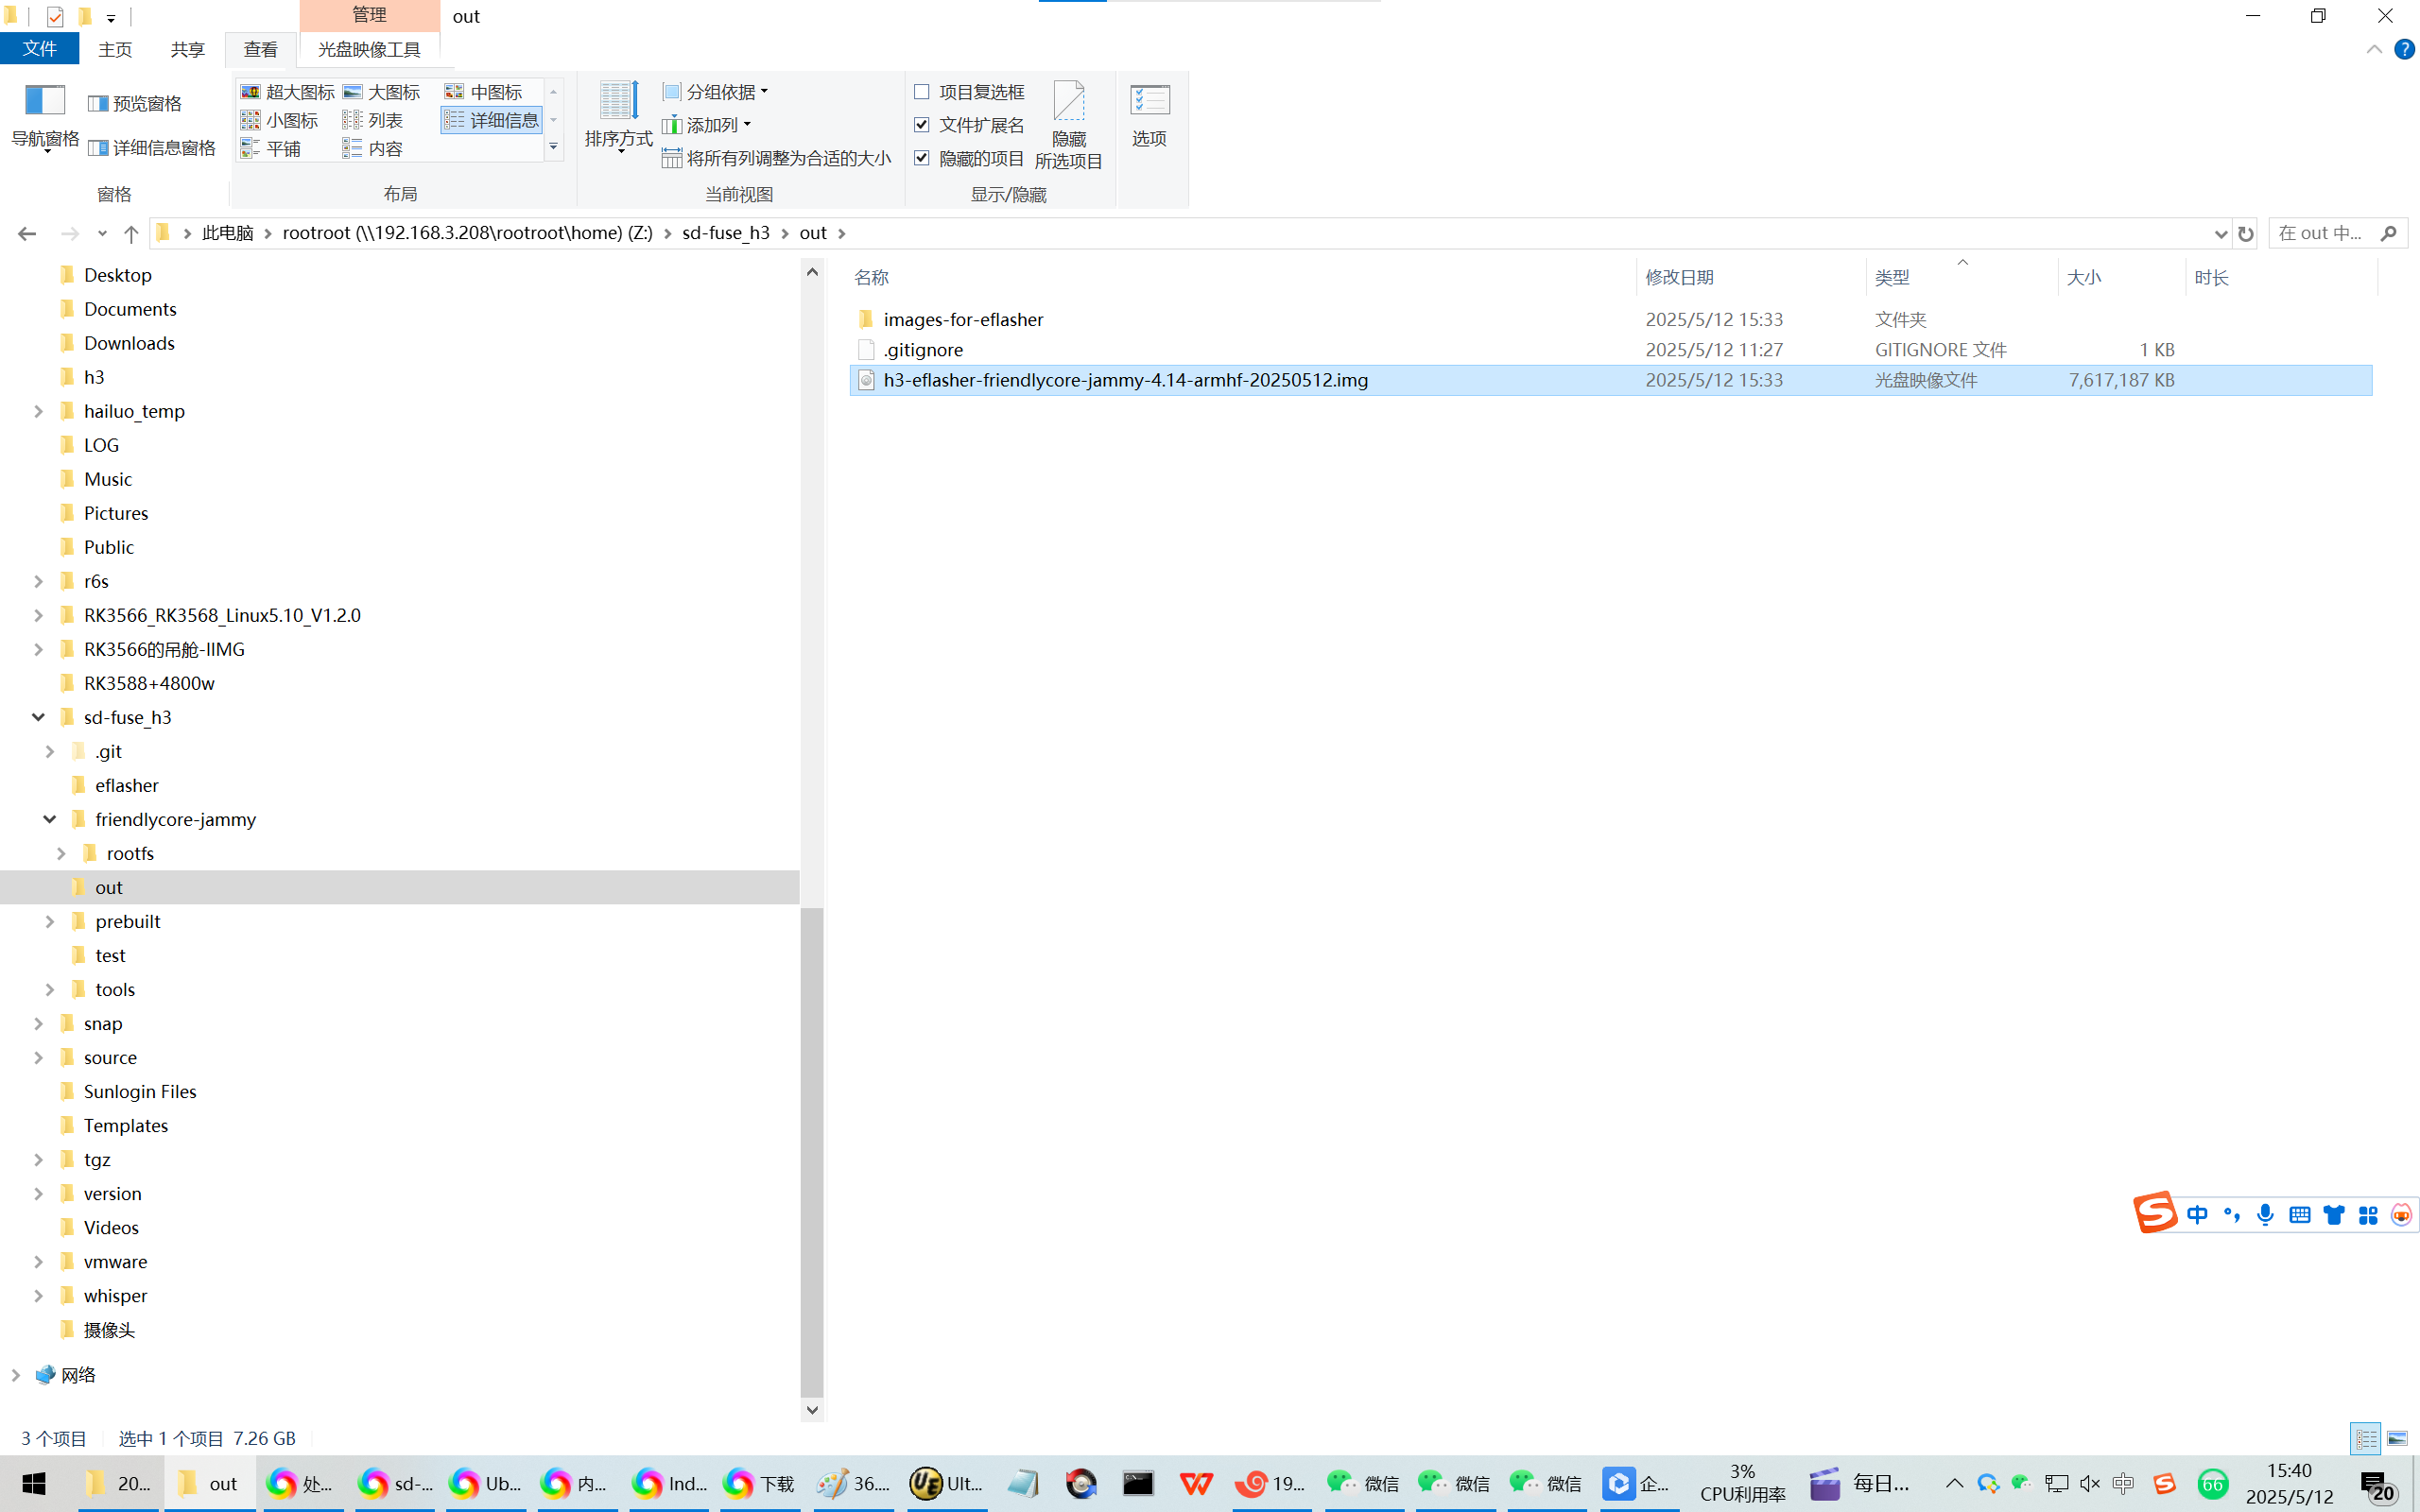
3、打包生成的文件在:
Z:\sd-fuse_h3\out\h3-eflasher-friendlycore-jammy-4.14-armhf-20250512.img
接近8GB。
写入eMMC即可烧录了。