目录
Flask + Celery 应用
对于Flask与Celery结合的例子,需要创建几个文件。首先安装必要的依赖:
pip install flask celery redis requests
项目结构
让我们创建以下文件结构:
flask_celery/
├── app.py          # Flask应用
├── celery_worker.py # Celery worker
├── tasks.py        # Celery任务定义
└── templates/      # 模板目录
    └── index.html  # 主页模板
1. 创建app.py
from flask import Flask, request, render_template, jsonify
from celery_worker import celery
import tasks
import time

app = Flask(__name__)

@app.route('/')
def index():
    return render_template('index.html')

@app.route('/process', methods=['POST'])
def process():
    # 获取表单数据
    data = request.form.get('data', '')

    # 启动异步任务
    task = tasks.process_data.delay(data)

    return jsonify({
        'task_id': task.id,
        'status': '任务已提交',
        'message': f'正在处理数据: {data}'
    })

@app.route('/status/<task_id>')
def task_status(task_id):
    # 获取任务状态
    task = tasks.process_data.AsyncResult(task_id)

    if task.state == 'PENDING':
        response = {
            'state': task.state,
            'status': '任务等待中...'
        }
    elif task.state == 'FAILURE':
        response = {
            'state': task.state,
            'status': '任务失败',
            'error': str(task.info)
        }
    else:
        response = {
            'state': task.state,
            'status': '任务完成' if task.state == 'SUCCESS' else '任务处理中',
            'result': task.result if task.state == 'SUCCESS' else None
        }

    return jsonify(response)

if __name__ == '__main__':
    app.run(debug=True)
2. 创建tasks.py
from celery_worker import celery
import time

@celery.task()
def process_data(data):
    # 模拟耗时操作
    time.sleep(5)

    # 处理数据(这里只是简单地转换为大写)
    result = data.upper()

    return {
        'original_data': data,
        'processed_data': result,
        'processing_time': '5秒'
    }
3. 创建celery_worker.py
from celery import Celery

# 创建Celery实例
celery = Celery(
    'tasks',
    broker='redis://localhost:6379/0',
    backend='redis://localhost:6379/0'
)

# 配置Celery
celery.conf.update(
    task_serializer='json',
    accept_content=['json'],
    result_serializer='json',
    timezone='Asia/Shanghai',
    enable_utc=True,
)
4. 创建templates目录和index.html
首先创建templates目录:
mkdir templates
然后创建index.html文件:
<!DOCTYPE html>
<html>
<head>
    <title>Flask + Celery 示例</title>
    <style>
        body { font-family: Arial, sans-serif; margin: 40px; line-height: 1.6; }
        h1 { color: #4285f4; }
        .container { max-width: 800px; margin: 0 auto; }
        .form-group { margin-bottom: 15px; }
        input[type="text"] { padding: 8px; width: 300px; }
        button { padding: 8px 15px; background-color: #4285f4; color: white; border: none; cursor: pointer; }
        button:hover { background-color: #3b78e7; }
        #result { margin-top: 20px; padding: 15px; background-color: #f5f5f5; border-radius: 5px; display: none; }
        #status { margin-top: 10px; font-style: italic; }
    </style>
</head>
<body>
    <div class="container">
        <h1>Flask + Celery 异步任务示例</h1>

        <div class="form-group">
            <label for="data">输入要处理的数据:</label><br>
            <input type="text" id="data" name="data" placeholder="输入一些文本...">
            <button onclick="submitTask()">提交任务</button>
        </div>

        <div id="status"></div>

        <div id="result">
            <h3>任务结果:</h3>
            <pre id="result-data"></pre>
        </div>
    </div>

    <script>
        function submitTask() {
            const data = document.getElementById('data').value;
            if (!data) {
                alert('请输入数据!');
                return;
            }

            const statusDiv = document.getElementById('status');
            statusDiv.textContent = '提交任务中...';

            // 提交任务
            fetch('/process', {
                method: 'POST',
                headers: {
                    'Content-Type': 'application/x-www-form-urlencoded',
                },
                body: `data=${encodeURIComponent(data)}`
            })
            .then(response => response.json())
            .then(data => {
                statusDiv.textContent = data.status;

                // 开始轮询任务状态
                pollTaskStatus(data.task_id);
            })
            .catch(error => {
                statusDiv.textContent = `错误: ${error}`;
            });
        }

        function pollTaskStatus(taskId) {
            const statusDiv = document.getElementById('status');
            const resultDiv = document.getElementById('result');
            const resultDataPre = document.getElementById('result-data');

            // 定期检查任务状态
            const interval = setInterval(() => {
                fetch(`/status/${taskId}`)
                .then(response => response.json())
                .then(data => {
                    statusDiv.textContent = `状态: ${data.status}`;

                    if (data.state === 'SUCCESS') {
                        clearInterval(interval);
                        resultDiv.style.display = 'block';
                        resultDataPre.textContent = JSON.stringify(data.result, null, 2);
                    } else if (data.state === 'FAILURE') {
                        clearInterval(interval);
                        statusDiv.textContent = `错误: ${data.error}`;
                    }
                })
                .catch(error => {
                    clearInterval(interval);
                    statusDiv.textContent = `轮询错误: ${error}`;
                });
            }, 1000);
        }
    </script>
</body>
</html>
运行应用
- 首先,确保Redis服务器正在运行(Celery需要它作为消息代理)可以用docker启动:
docker run --name redis-server -p 6379:6379 -d redis

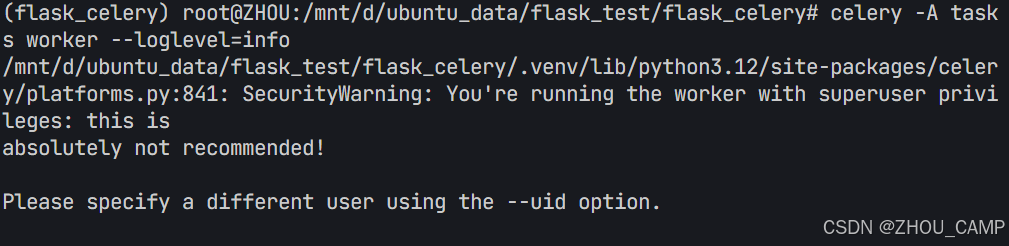
- 启动Celery worker:
celery -A tasks worker --loglevel=info
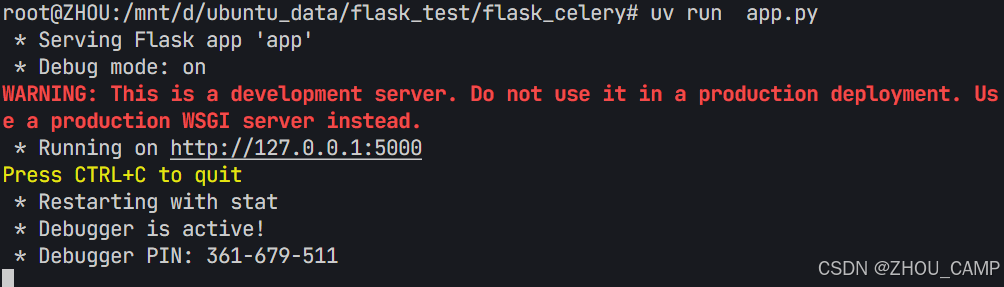
- 在另一个终端中启动Flask应用:
python app.py
测试文件
创建一个新文件test_app.py:
import requests
import time
import json
# 应用服务器地址
BASE_URL = 'http://localhost:5000'
def test_process_endpoint():
"""测试/process端点"""
print("测试1: 提交任务处理")
# 准备测试数据
test_data = "hello world"
# 发送POST请求到/process端点
response = requests.post(
f"{BASE_URL}/process",
data={"data": test_data}
)
# 检查响应状态码
if response.status_code == 200:
print("✓ 状态码正确: 200")
else:
print(f"✗ 状态码错误: {response.status_code}")
# 解析响应JSON
result = response.json()
# 检查响应内容
if 'task_id' in result:
print(f"✓ 成功获取任务ID: {result['task_id']}")
return result['task_id']
else:
print("✗ 未能获取任务ID")
return None
def test_status_endpoint(task_id):
"""测试/status/<task_id>端点"""
print("\n测试2: 检查任务状态")
if not task_id:
print("✗ 无法测试状态端点: 缺少任务ID")
return
# 轮询任务状态,最多等待10秒
max_attempts = 10
for attempt in range(1, max_attempts + 1):
print(f"\n轮询 {attempt}/{max_attempts}...")
# 发送GET请求到/status/<task_id>端点
response = requests.get(f"{BASE_URL}/status/{task_id}")
# 检查响应状态码
if response.status_code == 200:
print("✓ 状态码正确: 200")
else:
print(f"✗ 状态码错误: {response.status_code}")
continue
# 解析响应JSON
result = response.json()
print(f"当前状态: {result.get('state', '未知')}")
# 如果任务完成,显示结果并退出循环
if result.get('state') == 'SUCCESS':
print("\n✓ 任务成功完成!")
print("结果:")
print(json.dumps(result.get('result', {}), indent=2, ensure_ascii=False))
return True
# 如果任务失败,显示错误并退出循环
if result.get('state') == 'FAILURE':
print(f"\n✗ 任务失败: {result.get('error', '未知错误')}")
return False
# 等待1秒后再次检查
time.sleep(1)
print("\n✗ 超时: 任务未在预期时间内完成")
return False
def test_index_endpoint():
"""测试首页端点"""
print("\n测试3: 访问首页")
# 发送GET请求到/端点
response = requests.get(BASE_URL)
# 检查响应状态码
if response.status_code == 200:
print("✓ 状态码正确: 200")
print("✓ 成功访问首页")
else:
print(f"✗ 状态码错误: {response.status_code}")
def run_all_tests():
"""运行所有测试"""
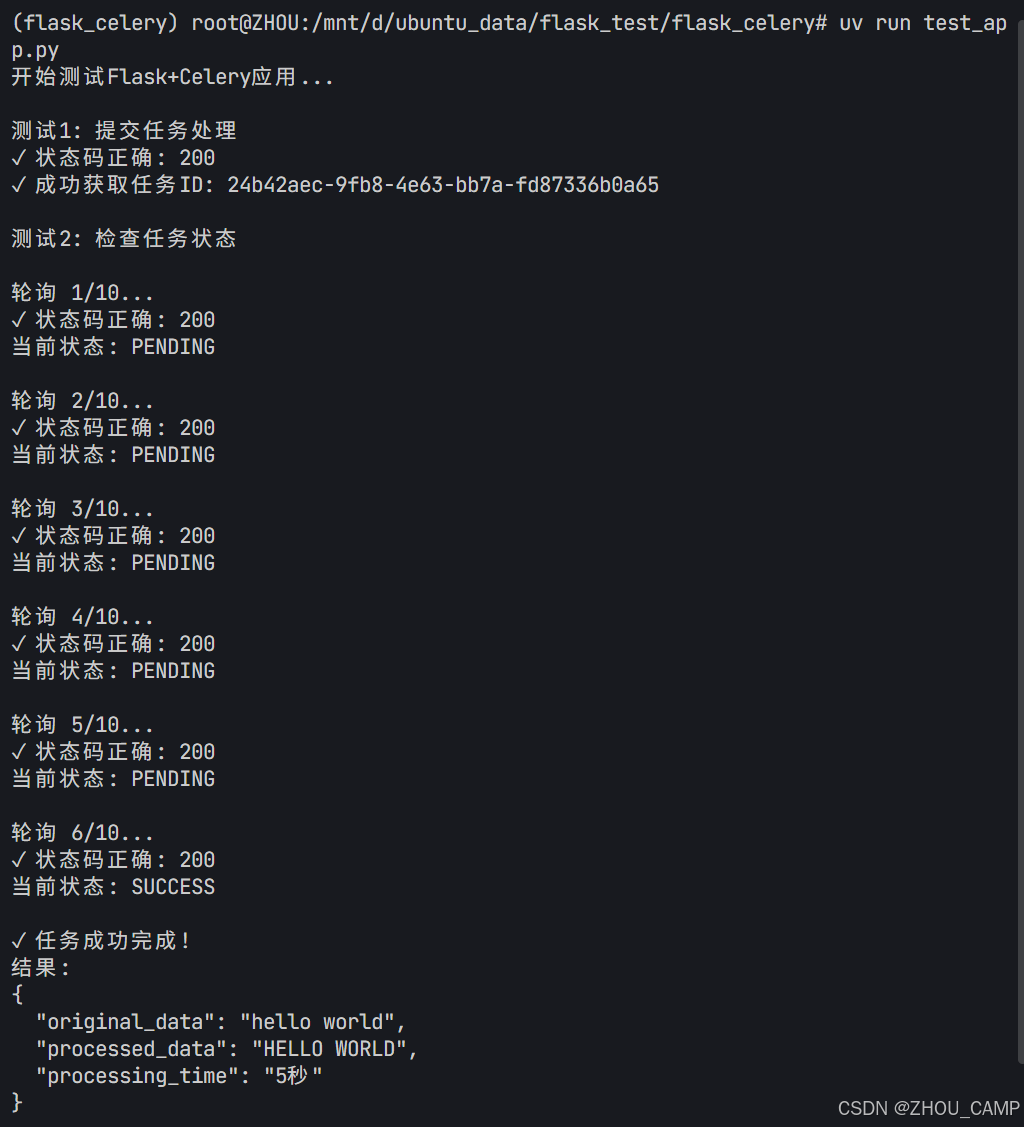
print("开始测试Flask+Celery应用...\n")
# 测试1: 提交任务
task_id = test_process_endpoint()
# 测试2: 检查任务状态
if task_id:
test_status_endpoint(task_id)
# 测试3: 访问首页
test_index_endpoint()
print("\n测试完成!")
if __name__ == "__main__":
run_all_tests()
然后,在另一个终端中运行测试:
python test_app.py