一,下载flink:Downloads | Apache Flink,解压后放入IDE工作目录:我这里以1.17版本为例
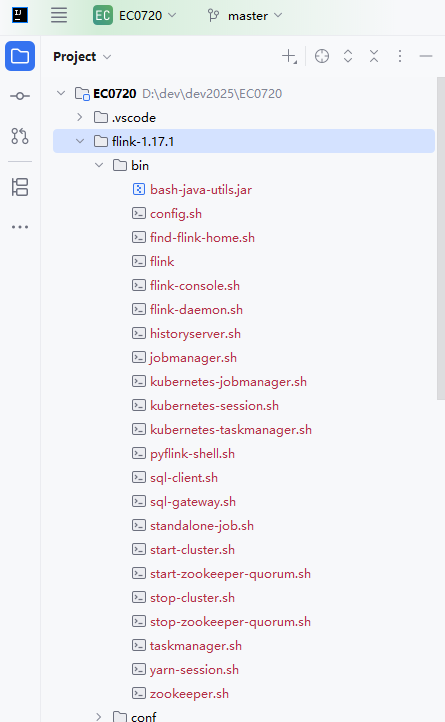
可以看到,flink后期的版本中没有提供window启动脚本:start-cluster.bat
所以这里要通过windows自带的wsl 系统启动它
打开终端依次运行下列命令完成wsl linux 系统的安装以及jdk的安装
wsl --install
wsl.exe -d Ubuntu
sudo apt update
sudo apt install openjdk-11-jdk -y
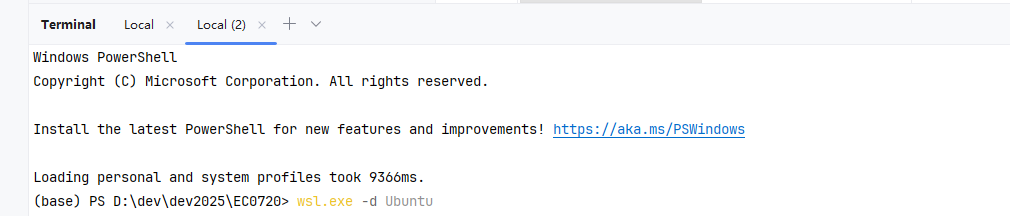
之后继续在终端中执行 wsl.exe -d Ubuntu 启动wsl,wsl 默认系统为:Ubuntu,当然也可以切换其他类型的系统,重要的是:wsl会自动挂载windows 目录,这就实现了在wsl上运行windows目录中的项目。
然后 一路cd 到flink bin目录,启动flink:
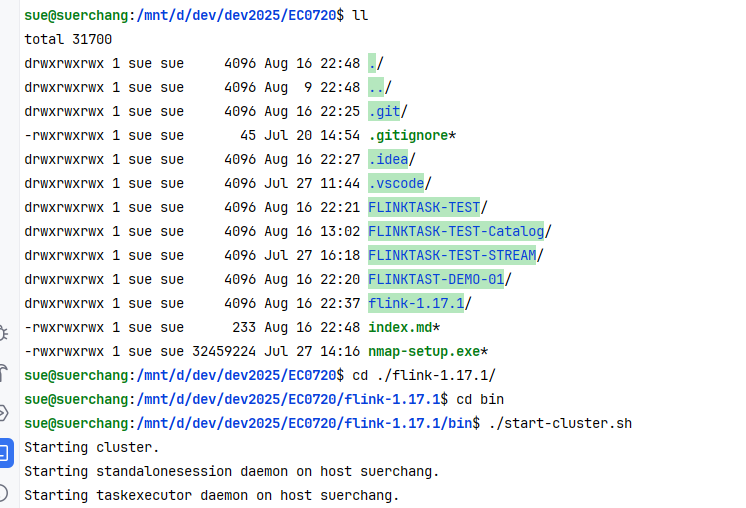
这里启动前要注意修改flink 的配置:把localhost 统统改为 0.0.0.0,,除jobmanager.rpc.address: 这项要设置为wsl 的ip,不然flink集群选举master会失败: [jobmanager.rpc.address: 172.29.145.42],这样启动后,就可以在本机浏览器输入wsl的ip访问flink服务的web ui了
二,提交flink作业
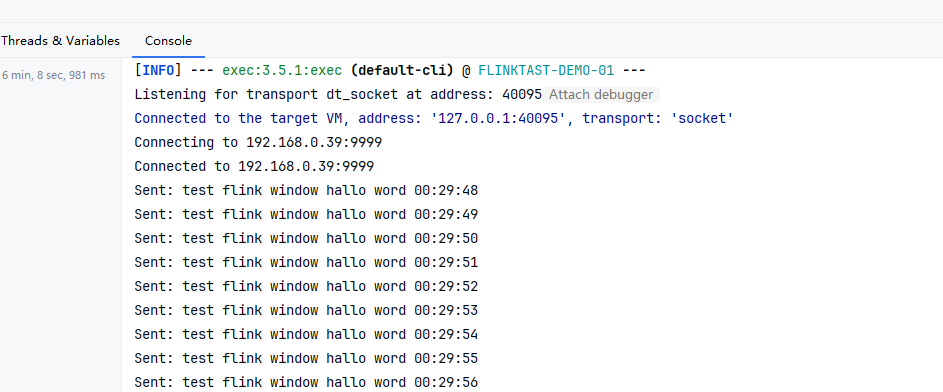
为了方便测试,这里写一个程序每隔1秒向本机(192.168.0.39) 端口:9999发送数据:“test flink window hallo word”。
package org.example.demo01;

import java.io.IOException;
import java.io.OutputStream;
import java.net.Socket;
import java.nio.charset.StandardCharsets;
import java.time.LocalDateTime;
import java.time.format.DateTimeFormatter;

public class PushDataTo9999 {
    private static final String HOST = "192.168.0.39";
    private static final int PORT = 9999;
    private static final String DATA = "test flink window hallo word";

    public static void main(String[] args) {
        try {
            System.out.println("Connecting to " + HOST + ":" + PORT);

            // 创建到WSL的连接
            try (Socket socket = new Socket(HOST, PORT);
                 OutputStream outputStream = socket.getOutputStream()) {

                System.out.println("Connected to " + HOST + ":" + PORT);

                // 持续发送数据
                while (!Thread.currentThread().isInterrupted() && !socket.isClosed()) {
                    // 获取当前系统时间
                    String currentTime = LocalDateTime.now()
                            .format(DateTimeFormatter.ofPattern("HH:mm:ss"));

                    // 每秒发送一次带时间戳的数据
                    String dataToSend = DATA + " " + currentTime + "\n";
                    outputStream.write(dataToSend.getBytes(StandardCharsets.UTF_8));
                    outputStream.flush();
                    System.out.println("Sent: " + dataToSend.trim());

                    // 等待1秒
                    Thread.sleep(1000);
                }
            }
        } catch (IOException | InterruptedException e) {
            System.err.println("Error: " + e.getMessage());
        }
    }
}
然后flink 作业内容为在wsl服务器(172.29.145.42)中 监听本机(192.168.0.39)端口9999,并实时统计每个单词出现的次数,这里注意关闭windows 防火墙
package org.example.demo01;

import org.apache.flink.api.common.RuntimeExecutionMode;
import org.apache.flink.api.common.functions.FlatMapFunction;
import org.apache.flink.api.java.tuple.Tuple2;
import org.apache.flink.streaming.api.datastream.DataStream;
import org.apache.flink.streaming.api.environment.StreamExecutionEnvironment;
import org.apache.flink.streaming.api.functions.source.SocketTextStreamFunction;
import org.apache.flink.util.Collector;

/**
 * Hello world!
 */
public class App {
    public static void main(String[] args) throws Exception {

        final StreamExecutionEnvironment env = StreamExecutionEnvironment.getExecutionEnvironment();

        // 设置为流处理模式
        env.setRuntimeMode(RuntimeExecutionMode.STREAMING);

        // 基本配置
        env.setParallelism(1); // 设置并行度为1
        env.disableOperatorChaining(); // 禁用算子链,使执行更清晰

        // 禁用检查点,因为是简单的演示程序
        env.getCheckpointConfig().disableCheckpointing();

        // 创建周期性的数据源
//        DataStream<String> dataStream = env
//                .socketTextStream("localhost", 9999) // 从socket读取数据
//                .name("source-strings")
//                .setParallelism(1);

        DataStream<String> dataStream = env.addSource(new SocketTextStreamFunction("192.168.0.39", 9999, "\n", 0))
                .name("socket-source");


        // 转换算子 keyBy: 按单词分组并计数
        dataStream.flatMap(new FlatMapFunction<String, Tuple2<String, Integer>>() {
                    @Override
                    public void flatMap(String line, Collector<Tuple2<String, Integer>> out) {
                        for (String word : line.split(" ")) {
                            out.collect(new Tuple2<>(word, 1));
                        }
                    }
                }).name("flatmap-split-words")
                .setParallelism(1)
                .keyBy(tuple -> tuple.f0) // 按单词分组
                .sum(1) // 计算每个单词的出现次数
                .print()
                .name("printer-word-count");

        // 执行任务
        env.execute("Flink Streaming Java API Hello");
    }
}
注意pom 需要加入flink的打包插件:
<build>
<plugins>
<plugin>
<groupId>org.apache.maven.plugins</groupId>
<artifactId>maven-shade-plugin</artifactId>
<version>3.1.1</version>
<executions>
<execution>
<phase>package</phase>
<goals>
<goal>shade</goal>
</goals>
<configuration>
<artifactSet>
<excludes>
<exclude>com.google.code.findbugs:jsr305</exclude>
</excludes>
</artifactSet>
<filters>
<filter>
<!-- Do not copy the signatures in the META-INF folder.
Otherwise, this might cause SecurityExceptions when using the JAR. -->
<artifact>*:*</artifact>
<excludes>
<exclude>META-INF/*.SF</exclude>
<exclude>META-INF/*.DSA</exclude>
<exclude>META-INF/*.RSA</exclude>
</excludes>
</filter>
</filters>
<transformers>
<transformer implementation="org.apache.maven.plugins.shade.resource.ManifestResourceTransformer">
<!-- Replace this with the main class of your job -->
<mainClass>org.example.demo01.App</mainClass>
</transformer>
<transformer implementation="org.apache.maven.plugins.shade.resource.ServicesResourceTransformer"/>
</transformers>
</configuration>
</execution>
</executions>
</plugin>
</plugins>
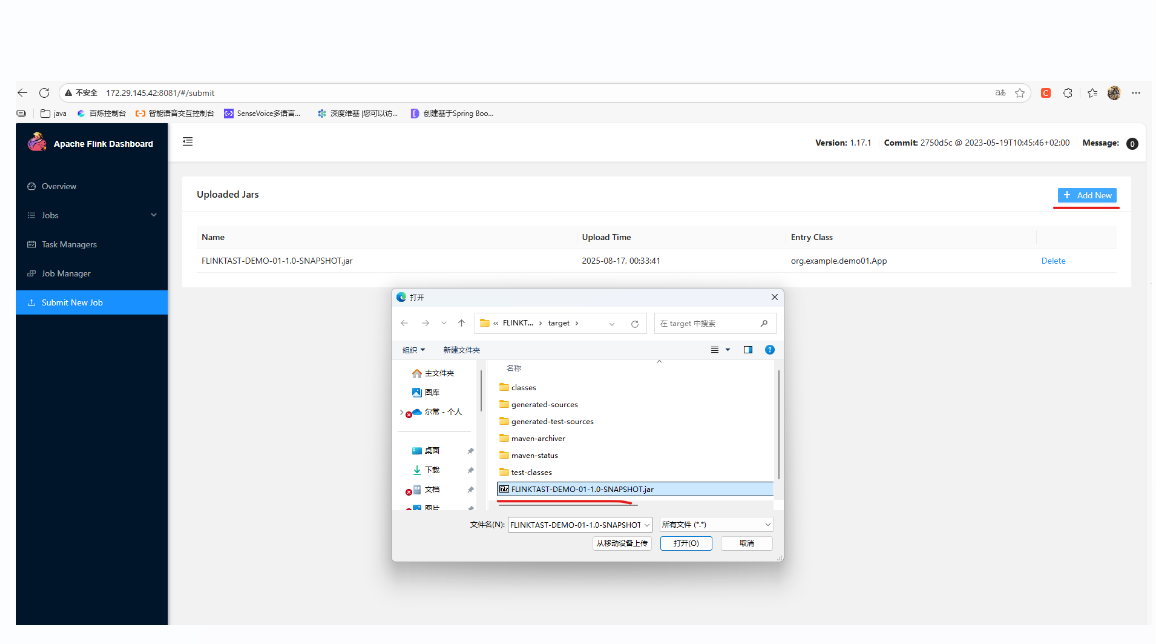
</build>通过maven编译,打包后,我们把jar包通过web ui上传到flink 服务端:
点击我们上传的jar,进入提交项:
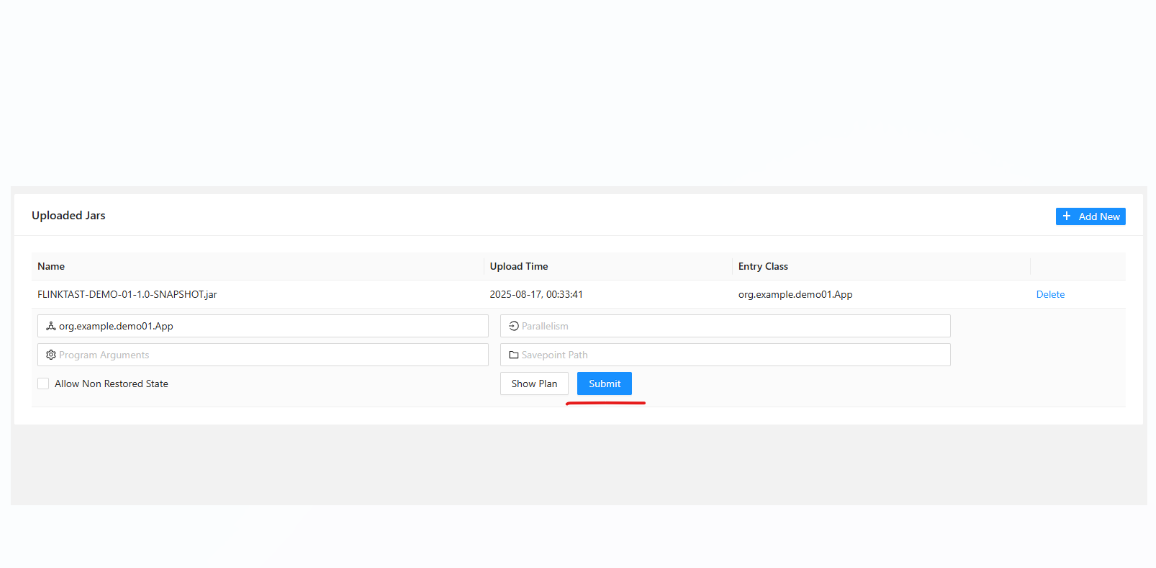
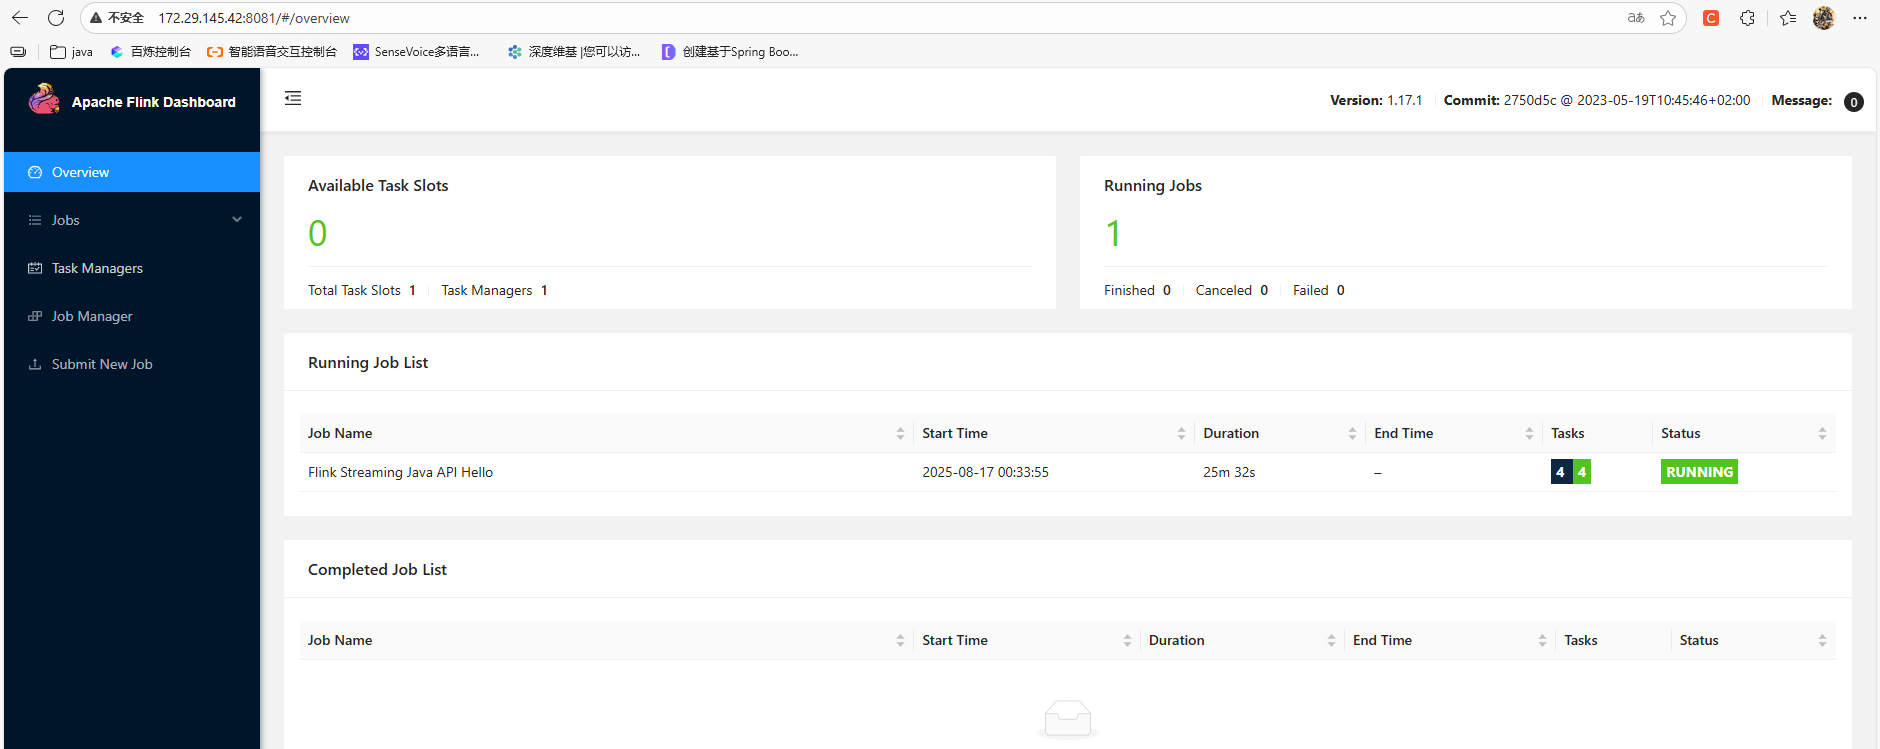
提交了后作业会自动启动:
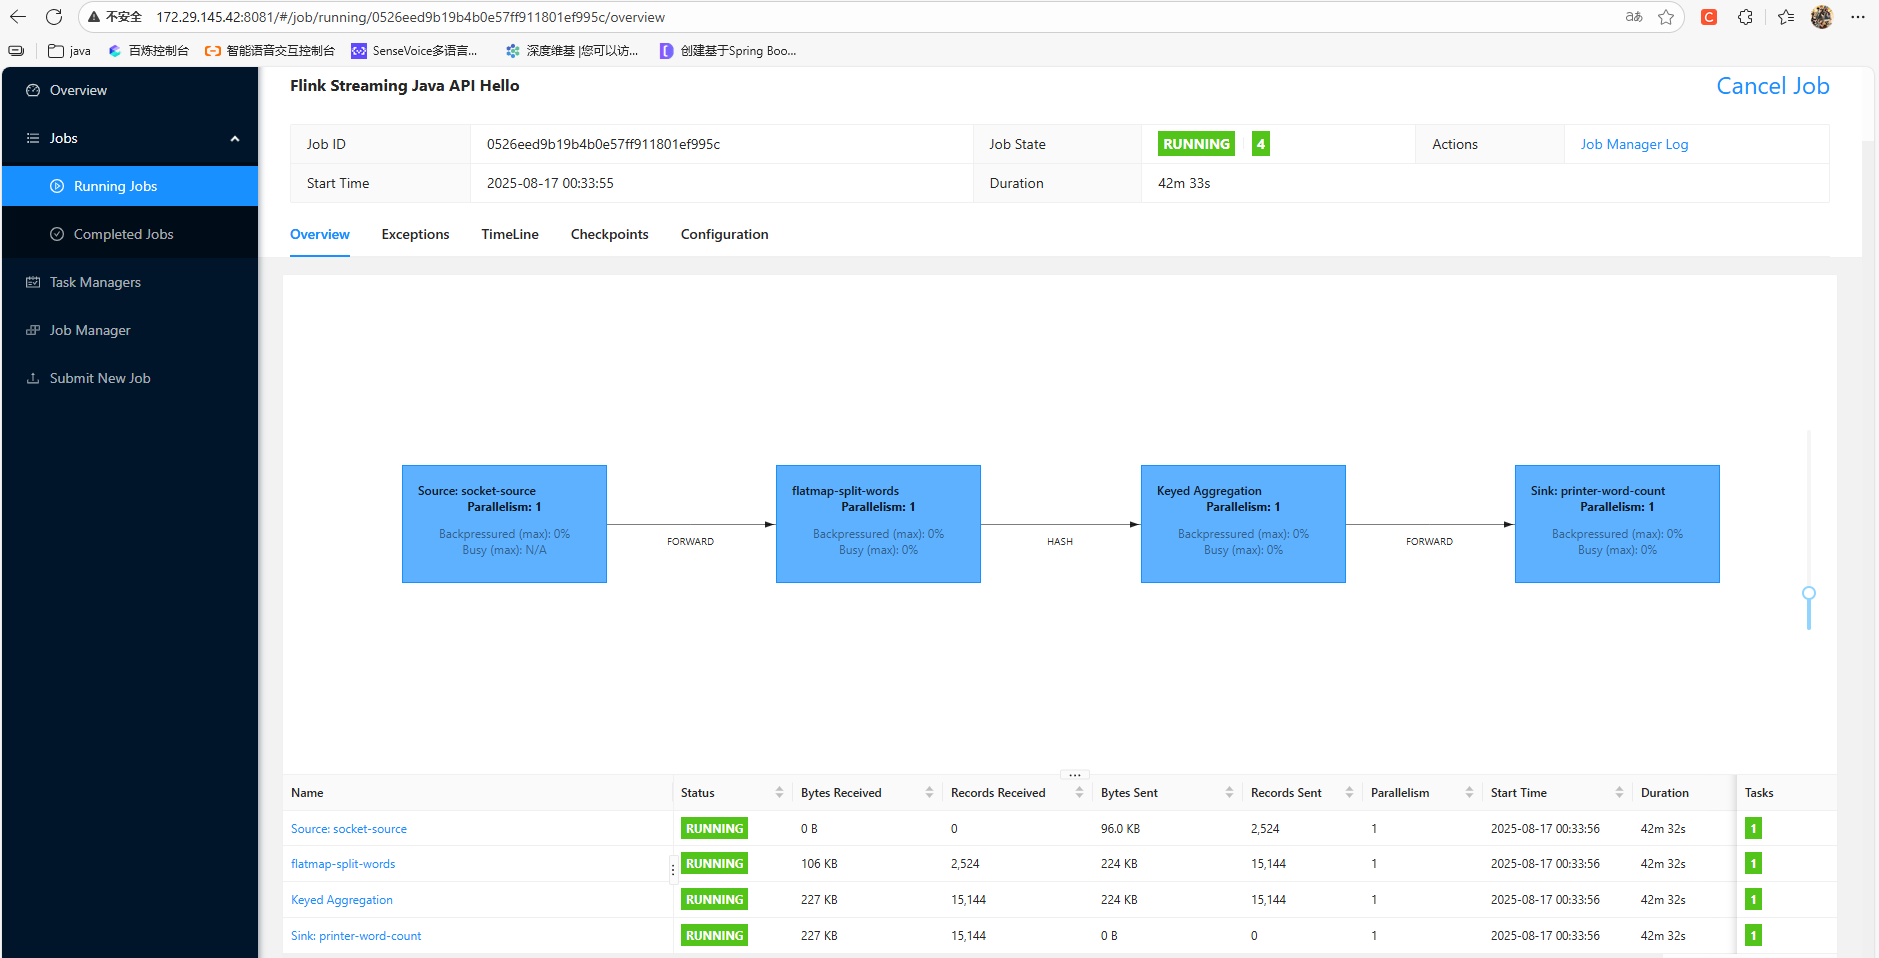
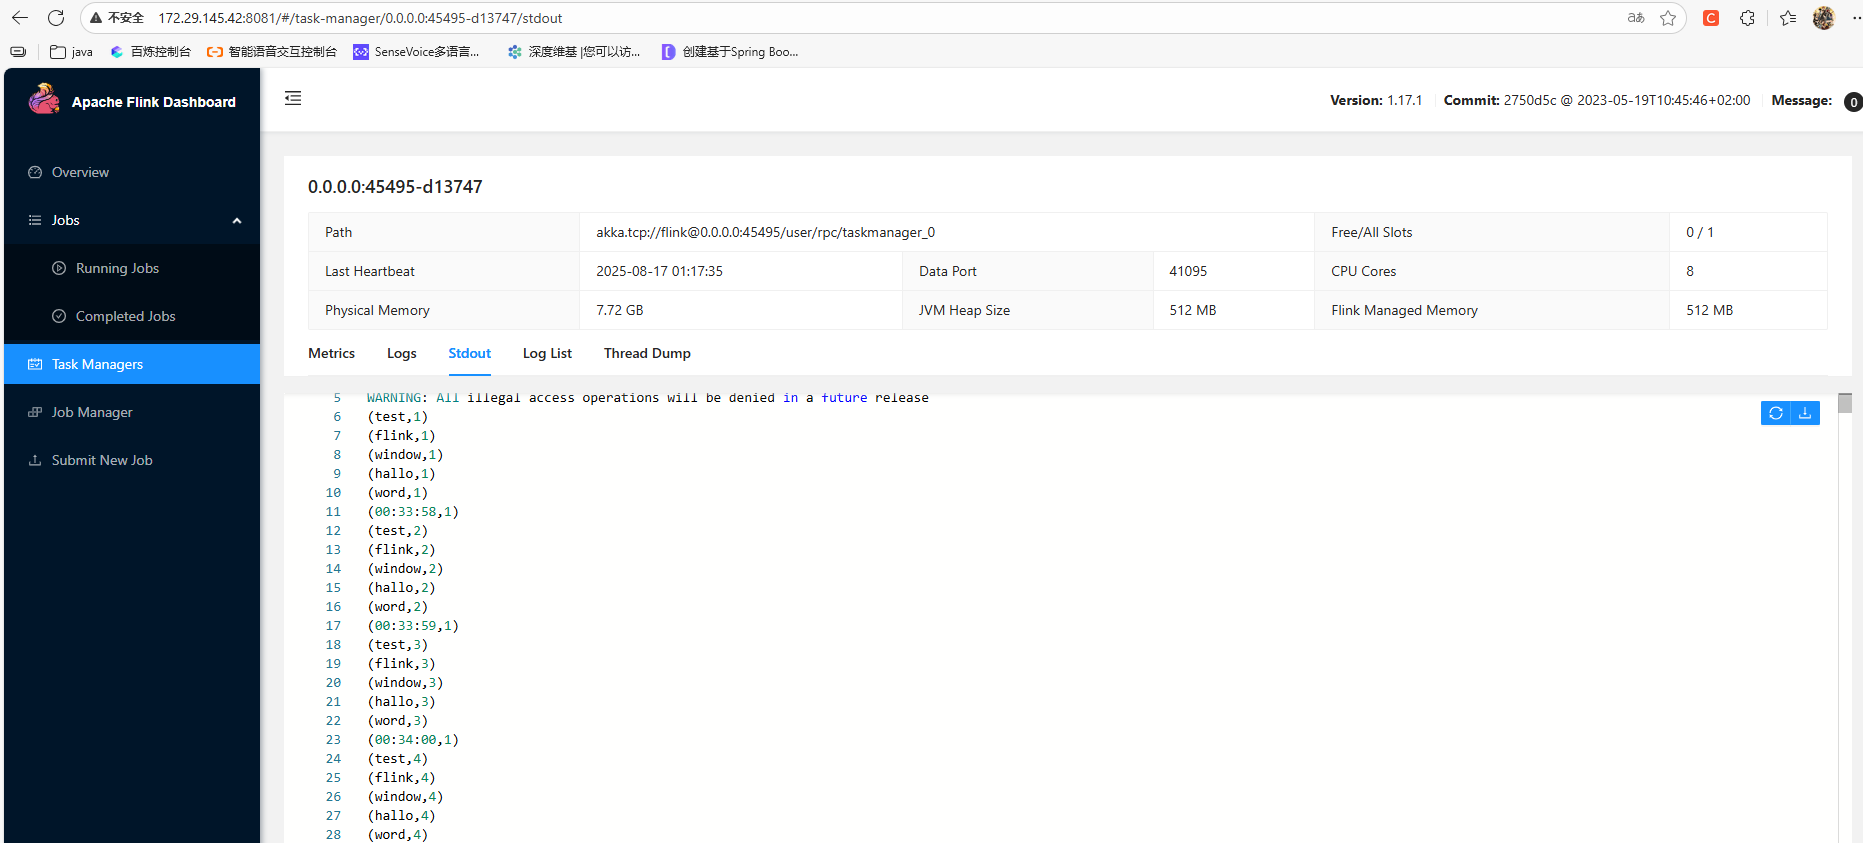
作业的print输出可以在taskmanagers中查看: