目录
前言:
本案例基本目标:爬取影评(获取数据)并进行数据分析(数据处理筛选)并绘制词云
基本功能:输出最近商业电影的ID,电影名,和主演。
我们根据上面的输出,输入电影的ID号,然后自动爬取该前3页的影评并输出
然后绘制词云
可能需要一些基础
推荐博客
相关基础知识:
第一步:爬取最近上映的电影的3个信息,如下
效果图:
首先来分析网站:
最近上映的都放在div标签下 id ='nowplaying'下,
需要爬取的三个内容都在li标签下,并且class都一样,所以我们find_all。并且把三个内容分开放在字典中
清楚节点元素,然后就可以爬取了:
代码如下:(getMovie()方法)
    # 获取每部电影的id,name,actors

    def getMovie(self):
        req = requests.get(url, headers=self.headers)
        req.encoding = chardet.detect(req.content)['encoding']
        soup = BeautifulSoup(req.text, 'html.parser')
        # print(soup)
        nowplaying = soup.find('div', id='nowplaying')
        movie_list = nowplaying.find_all('li', class_='list-item')
        # print(movie_list)
        # print(type(movie_list[0]))  # <class 'bs4.element.Tag'>
        # print(movie_list[0])
        for mov in movie_list:
            playing_dict = {'id': mov['data-subject'], 'name': mov['data-title'], 'actors': mov['data-actors']}
            self.playing_list.append(playing_dict)

        # print(playing_list)
这里通过字典分开存储id,name和actors
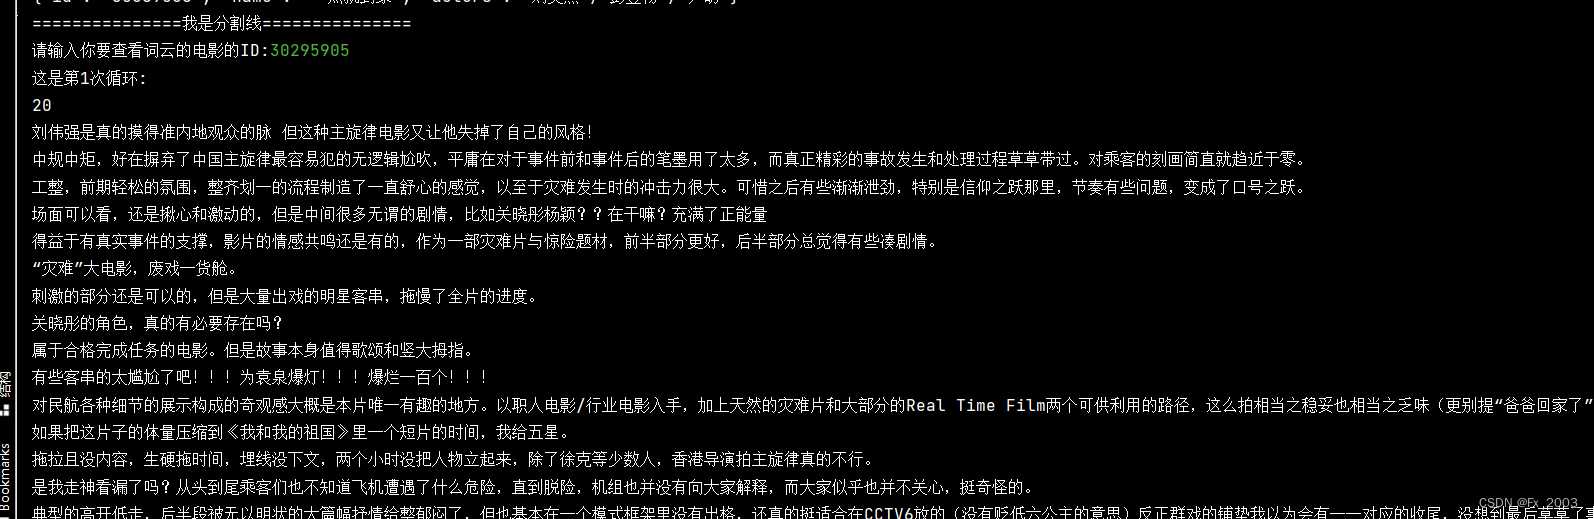
第二步:输出前三页的影评
分析:假如网址结构如下
# subject/6666666/comments?start=20&limit=20
# subject/6666666/comments?start=40&limit=20
# subject/6666666/comments?start=60&limit=20
影评网址的变化,我们可以知道:
1、一页显示20条,我们需要3页也就是60条
2、分析网址的变化,第一页start=20,第二页start=40,实际上是递增20,所以我们直接定义一个num=20,进行一次循环加20就行了
3、subject后面的一串数字是什么呢?
就是我们选择的电影的ID,所以,我们可以根据第一步爬取的ID,来完善这个url
就像这样:
link = '.../subject/{id}/comments?start={num}&limit=20&status=P&sort=new_score'.format(
                id=Id,
                num=num)
代码如下:(getCommens()方法)
# 获取电影的影评
    def getComments(self, Id):
        # id = 26654184
        num = 20
        for i in range(4):
            print('这是第{}次循环:'.format(i + 1))
            print(num)
            num += 20
            link = 'xxxxx/subject/{id}/comments?start={num}&limit=20&status=P&sort=new_score'.format(
                id=Id,
                num=num)

            req = requests.get(link, headers=self.headers).content.decode('utf-8')
            time.sleep(2 + random.choice([0.1, 0.3, 0.2, 0.4, 0.5, 0.6, 0.7, 0.8, 0.9, 1.3]))
            # print(req)
            soup = BeautifulSoup(req, 'html.parser')
            comments_get = soup.find_all('span', class_='short')
            for comm in comments_get:
                comment = comm.text
                print(comment)
                self.comments.append(comment)
        return self.comments
上面使用了time.sleep,来模拟休眠时间,毕竟人不可能卡着时间秒的来浏览,爬虫就是要看着像人,所以在休眠2的基础上,加上一个随机数(从列表中选一个)
效果图
第三步:统计词频,除去一些’停用词‘(数据处理)
先看代码:(Clean()方法)
 # 数据的清洗
    def Clean(self,Id):
        # 数据清洗
        self.getComments(Id)
        comments_clean = ''  # 为了方便清洗我们放在一个字符串中
        for comm in self.comments:
            comments_clean = comments_clean + (str(comm)).strip()
        print(comments_clean)
        # 去掉标点符号
        pattern = re.compile(r'[\u4e00-\u9fa5]')
        comments_clean = ''.join(re.findall(pattern, comments_clean))
        # print(comments_clean)
        # 词频统计
        results = jieba.analyse.textrank(comments_clean, topK=50, withWeight=True)
        keywords = dict()
        for comm in results:
            keywords[comm[0]] = comm[1]
        print('没有删除停用词之前的数据:\n', keywords)

        with open('../../file/stopwords_CN.txt', 'r') as f:
            stopwords = f.read()

        keywords = {x: keywords[x] for x in keywords if x not in stopwords}
        print('\n删除停用词后的数据:\n', keywords)
        return keywords
效果图:

这里打开了一个本地的stopword_CN.txt文件,它的部分内容如下:
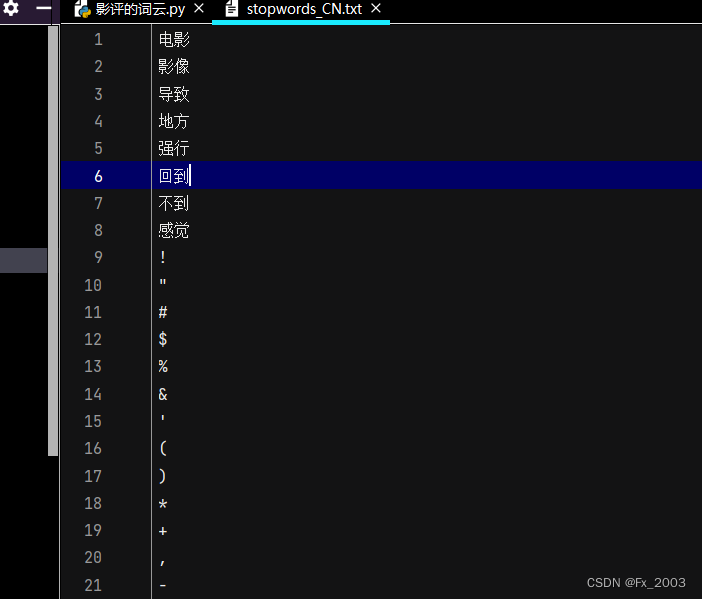
去除掉一些没啥实际含义的词,例如:我觉得、只有。。。。
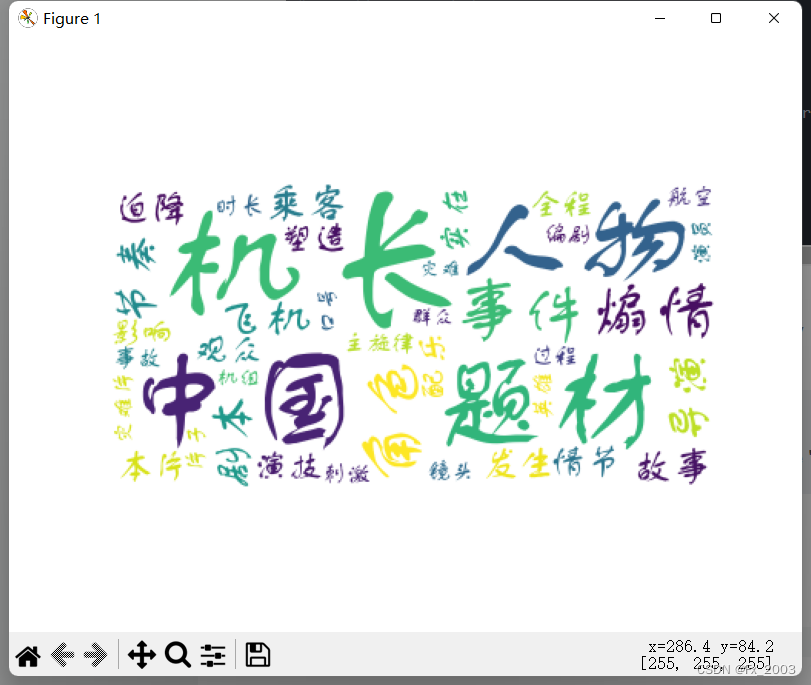
第四步:绘制词云并显示
a = DownCloud()
a.getMovie()
print('最近上映的电影有:')
for each in a.playing_list:
    display(each)
print('===============我是分割线===============')
ID = input('请输入你要查看词云的电影的ID:')
time.sleep(1)
# a.getComments()
# print(a.comments)
word = a.Clean(ID)
print(word)
matplotlib.use('TkAgg')
w = WordCloud(font_path='../../file/FZSTK.TTF', background_color='white', max_font_size=100)
w.generate_from_frequencies(word)
plt.imshow(w)
plt.axis('off')  # 不显示坐标轴
plt.show()  # 显示图像
其中:FZSTK.TTF是一个字体(中文),假如去掉这个参数,可能词云显示不出中文,而显示方框框
字体文件可以到自己的电脑上找:
matplotlib.use('TkAgg') 加这么一句是因为不加可能报错
出现了错误:module 'backend_interagg' has no attribute 'FigureCanvas'
效果图:
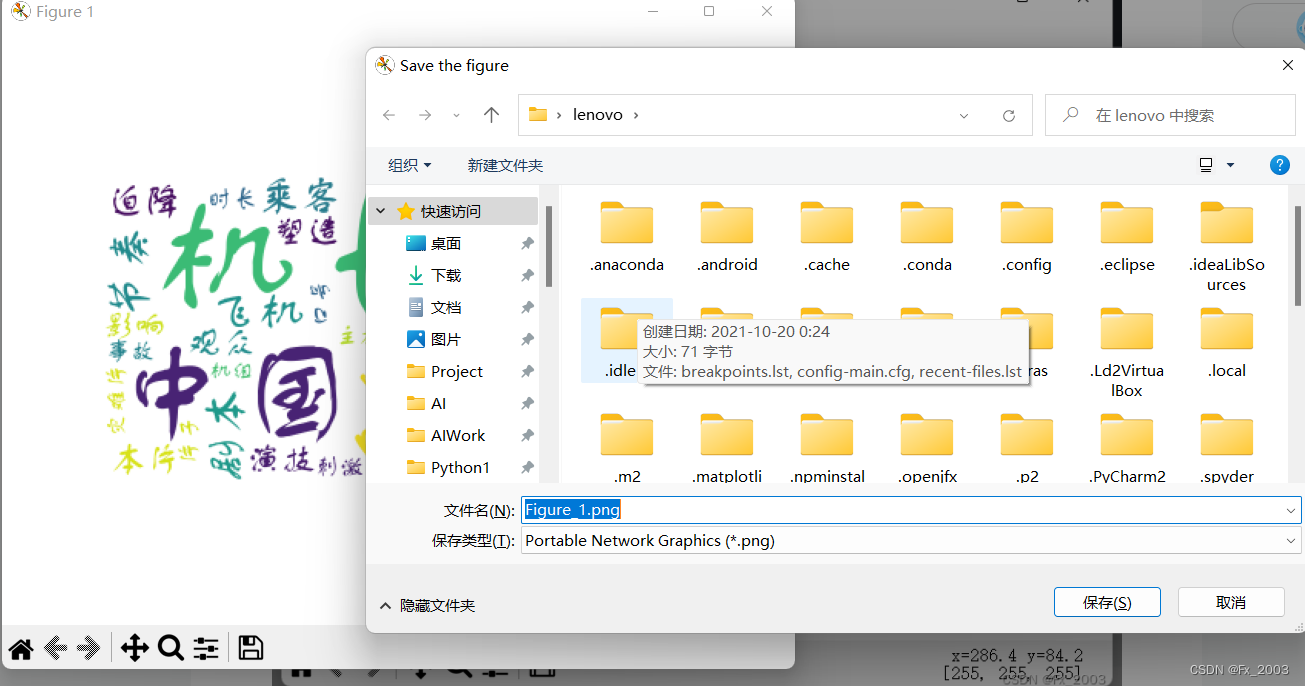
保存图片:
左边的最右下的哪个按钮,点一下
总的代码如下
# -*- coding: utf-8 -*-
"""
@File  : 影评的词云.py
@author: FxDr
@Time  : 2022/11/08 19:53
"""
import random
import time

import requests
import chardet
from IPython.core.display_functions import display
from bs4 import BeautifulSoup
import re
import jieba.analyse
import matplotlib
import matplotlib.pyplot as plt
from wordcloud import WordCloud


class DownCloud:
    def __init__(self):
       # 在尝试代码中,假如次数比较多,那么可能被制裁:提示IP异常发出请求啥的,让你登录,这样
        就爬取不到了,所以我直接用了cookie
        self.headers = {
            'User-Agent': 'xxxxxx',
            'Cookie': ''
        }
        self.playing_list = []
        self.comments = []

    # 获取每部电影的id,name,actors

    def getMovie(self):
        req = requests.get(url, headers=self.headers)
        req.encoding = chardet.detect(req.content)['encoding']
        soup = BeautifulSoup(req.text, 'html.parser')
        # print(soup)
        nowplaying = soup.find('div', id='nowplaying')
        movie_list = nowplaying.find_all('li', class_='list-item')
        # print(movie_list)
        # print(type(movie_list[0]))  # <class 'bs4.element.Tag'>
        # print(movie_list[0])
        for mov in movie_list:
            playing_dict = {'id': mov['data-subject'], 'name': mov['data-title'], 'actors': mov['data-actors']}
            self.playing_list.append(playing_dict)

        # print(playing_list)

    # 获取电影的影评
    def getComments(self, Id):
        # id = 26654184
        num = 20
        for i in range(4):
            print('这是第{}次循环:'.format(i + 1))
            print(num)
            num += 20
            link = '.......{id}/comments?start={num}&limit=20&status=P&sort=new_score'.format(
                id=Id,
                num=num)

            req = requests.get(link, headers=self.headers).content.decode('utf-8')
            time.sleep(2 + random.choice([0.1, 0.3, 0.2, 0.4, 0.5, 0.6, 0.7, 0.8, 0.9, 1.3]))
            # print(req)
            soup = BeautifulSoup(req, 'html.parser')
            comments_get = soup.find_all('span', class_='short')
            for comm in comments_get:
                comment = comm.text
                print(comment)
                self.comments.append(comment)
        return self.comments

    # 数据的清洗
    def Clean(self,Id):
        # 数据清洗
        self.getComments(Id)
        comments_clean = ''  # 为了方便清洗我们放在一个字符串中
        for comm in self.comments:
            comments_clean = comments_clean + (str(comm)).strip()
        print(comments_clean)
        # 去掉标点符号
        pattern = re.compile(r'[\u4e00-\u9fa5]')
        comments_clean = ''.join(re.findall(pattern, comments_clean))
        # print(comments_clean)
        # 词频统计
        results = jieba.analyse.textrank(comments_clean, topK=50, withWeight=True)
        keywords = dict()
        for comm in results:
            keywords[comm[0]] = comm[1]
        print('没有删除停用词之前的数据:\n', keywords)

        with open('../../file/stopwords_CN.txt', 'r') as f:
            stopwords = f.read()

        keywords = {x: keywords[x] for x in keywords if x not in stopwords}
        print('\n删除停用词后的数据:\n', keywords)
        return keywords


a = DownCloud()
a.getMovie()
print('最近上映的电影有:')
for each in a.playing_list:
    display(each)
print('===============我是分割线===============')
ID = input('请输入你要查看词云的电影的ID:')
time.sleep(1)
# a.getComments()
# print(a.comments)
word = a.Clean(ID)
print(word)
matplotlib.use('TkAgg')
w = WordCloud(font_path='../../file/FZSTK.TTF', background_color='white', max_font_size=100)
w.generate_from_frequencies(word)
plt.imshow(w)
plt.axis('off')  # 不显示坐标轴
plt.show()  # 显示图像