安装完毕之后下一步可以参考:配置jupyter的启动路径-CSDN博客
1 前提条件:python环境
系统:win10
python:本地已经有python,可以查看本地的python版本:
C:\Users\PC>python --version
Python 3.8.10
2 安装jupyter并启动
安装jupyter
C:\Users\PC>pip install jupyter notebook
Collecting jupyter
......
Successfully installed anyio-4.3.0 argon2-cffi-23.1.0 argon2-cffi-bindings-21.2.0 arrow-1.3.0 asttokens-2.4.1 async-lru-2.0.4 attrs-23.2.0 babel-2.14.0 backcall-0.2.0 beauti......
启动jupyter(注意:在哪个文件夹中启动,启动之后浏览器中显示的文件就是哪个文件夹的,所以通常先用cd命令转到项目文件夹,再启动)
C:\Users\PC>D:    #转到D盘
C:\Users\PC>cd D:\jupyter  #进入到jupyter目录(我自己新建的)
D:\jupyter>jupyter notebook  #启动jupyter
第一次启动的时候报错如下:(原因暂时不明,看提示是想要的文件没有找到)

ctrl+c停止jupyter之后,再次重启,就OK了。
可以看到已经启动了,浏览器url为:http://localhost:8888
D:\jupyter>jupyter notebook
[I 2024-04-26 07:27:41.915 ServerApp] jupyter_lsp | extension was successfully linked.
[I 2024-04-26 07:27:41.915 ServerApp] jupyter_server_terminals | extension was successfully linked.
[I 2024-04-26 07:27:41.931 ServerApp] jupyterlab | extension was successfully linked.
[I 2024-04-26 07:27:41.946 ServerApp] notebook | extension was successfully linked.
[I 2024-04-26 07:27:41.946 ServerApp] Writing Jupyter server cookie secret to C:\Users\PC\AppData\Roaming\jupyter\runtime\jupyter_cookie_secret
[I 2024-04-26 07:27:42.509 ServerApp] notebook_shim | extension was successfully linked.
[I 2024-04-26 07:27:42.584 ServerApp] notebook_shim | extension was successfully loaded.
[I 2024-04-26 07:27:42.584 ServerApp] jupyter_lsp | extension was successfully loaded.
[I 2024-04-26 07:27:42.599 ServerApp] jupyter_server_terminals | extension was successfully loaded.
[I 2024-04-26 07:27:42.599 LabApp] JupyterLab extension loaded from C:\Users\PC\AppData\Local\Packages\PythonSoftwareFoundation.Python.3.8_qbz5n2kfra8p0\LocalCache\local-packages\Python38\site-packages\jupyterlab
[I 2024-04-26 07:27:42.599 LabApp] JupyterLab application directory is C:\Users\PC\AppData\Local\Packages\PythonSoftwareFoundation.Python.3.8_qbz5n2kfra8p0\LocalCache\local-packages\share\jupyter\lab
[I 2024-04-26 07:27:42.599 LabApp] Extension Manager is 'pypi'.
[I 2024-04-26 07:27:42.615 ServerApp] jupyterlab | extension was successfully loaded.
[I 2024-04-26 07:27:42.615 ServerApp] notebook | extension was successfully loaded.
[I 2024-04-26 07:27:42.631 ServerApp] Serving notebooks from local directory: D:\jupyter
[I 2024-04-26 07:27:42.631 ServerApp] Jupyter Server 2.14.0 is running at:
[I 2024-04-26 07:27:42.631 ServerApp] http://localhost:8888/tree?token=2e894082d29d37211140b34380cb750f5a9b0cb62d34239b
[I 2024-04-26 07:27:42.631 ServerApp]     http://127.0.0.1:8888/tree?token=2e894082d29d37211140b34380cb750f5a9b0cb62d34239b
可以看到notebook显示的页面内容和我本地启动jupyter的目录是一致的: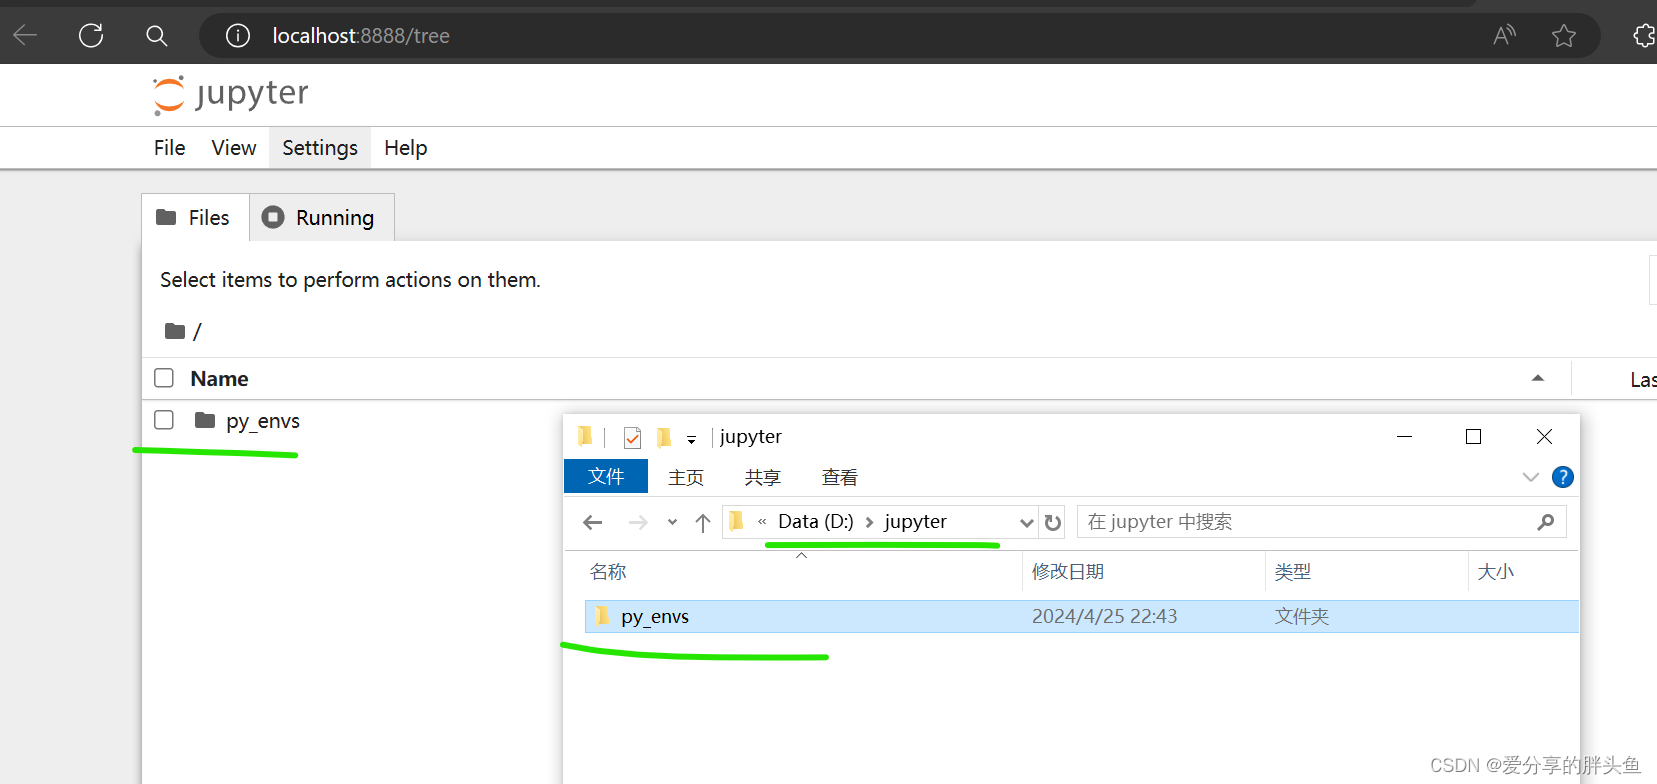
3 构建不同python虚拟环境
如果有多个项目,每个项目需要用到的python的依赖包都不一样,那么可以考虑为每一个项目构建python虚拟环境,然后在虚拟环境中安装需要python依赖包,便于管理。
3.1 构建虚拟环境并安装项目依赖包
在D:\jupyter\py_envs中建立一个虚拟环境:
D:\jupyter>cd py_envs
D:\jupyter\py_envs>virtualenv env1
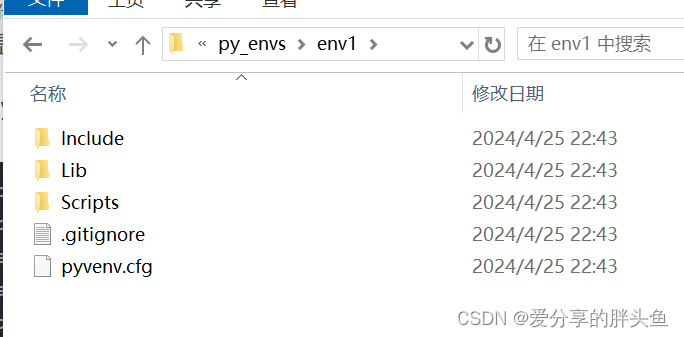
created virtual environment CPython3.8.10.final.0-64 in 28913ms
creator Venv(dest=D:\jupyter\py_envs\env1, clear=False, no_vcs_ignore=False, global=False, describe=CPython3Windows)
seeder FromAppData(download=False, pip=bundle, setuptools=bundle, wheel=bundle, via=copy, app_data_dir=C:\Users\PC\AppData\Local\pypa\virtualenv)
added seed packages: pip==24.0, setuptools==69.5.1, wheel==0.43.0
activators BashActivator,BatchActivator,FishActivator,NushellActivator,PowerShellActivator,PythonActivator可以看到多了一个env1的文件夹
启动虚拟环境:(之后就可以安装需要的依赖包了)
D:\jupyter\py_envs>cd env1   #进入目录

D:\jupyter\py_envs\env1>.\Scripts\activate  #启动虚拟环境(启动和退出的脚本在Scripts目录下面)

(env1) D:\jupyter\py_envs\env1>  #在这里就可以执行pip install安装需要的依赖包了。
退出虚拟环境:
(env1) D:\jupyter\py_envs\env1>deactivate  #退出
D:\jupyter\py_envs\env1>
如果提示:'virtualenv' 不是内部或外部命令,也不是可运行的程序(win11系统),通过【pip list】查看是否安装,如果没有安装,使用命令【pip3 install virtualenv】安装virtualenv,并按照安装提示,将相应的路径添加到环境变量中
3.2 将虚拟环境加入到jupyter中
在虚拟环境中安装ipykernel(一个Python库,提供了一个用于在Jupyter环境中运行Python代码的内核)
(env1) D:\jupyter\py_envs\env1>pip install ipykernel  #安装
Collecting ipykernel
  Using cached ipykernel-6.29.4-py3-none-any.whl.metadata (6.3 kB)
Collecting comm>=0.1.1 (from ipykernel)
  Using cached comm-0.2.2-py3-none-any.whl.metadata (3.7 kB)
Collecting debugpy>=1.6.5 (from ipykernel)
  Using cached debugpy-1.8.1-cp38-cp38-win_amd64.whl.metadata (1.1 kB)
Collecting ipython>=7.23.1 (from ipykernel)
......
Successfully installed asttokens-2.4.1 backcall-0.2.0 colorama-......

(env1) D:\jupyter\py_envs\env1>pip list  #查看安装结果
Package            Version
------------------ -----------
......
ipykernel          6.29.4
......
运行以下命令来新建一个新的ipykernel
(env1) D:\jupyter\py_envs\env1>python -m ipykernel install --user --name=env1 --display-name=Python_env1
Installed kernelspec env1 in C:\Users\PC\AppData\Local\Packages\PythonSoftwareFoundation.Python.3.8_qbz5n2kfra8p0\LocalCache\Roaming\jupyter\kernels\env1

# 各个参数的含义可以通过右边命令查看:python -m ipykernel install --help
#--name 给编译内核取一个名字
#--display-name 在jupyter中显示的名字
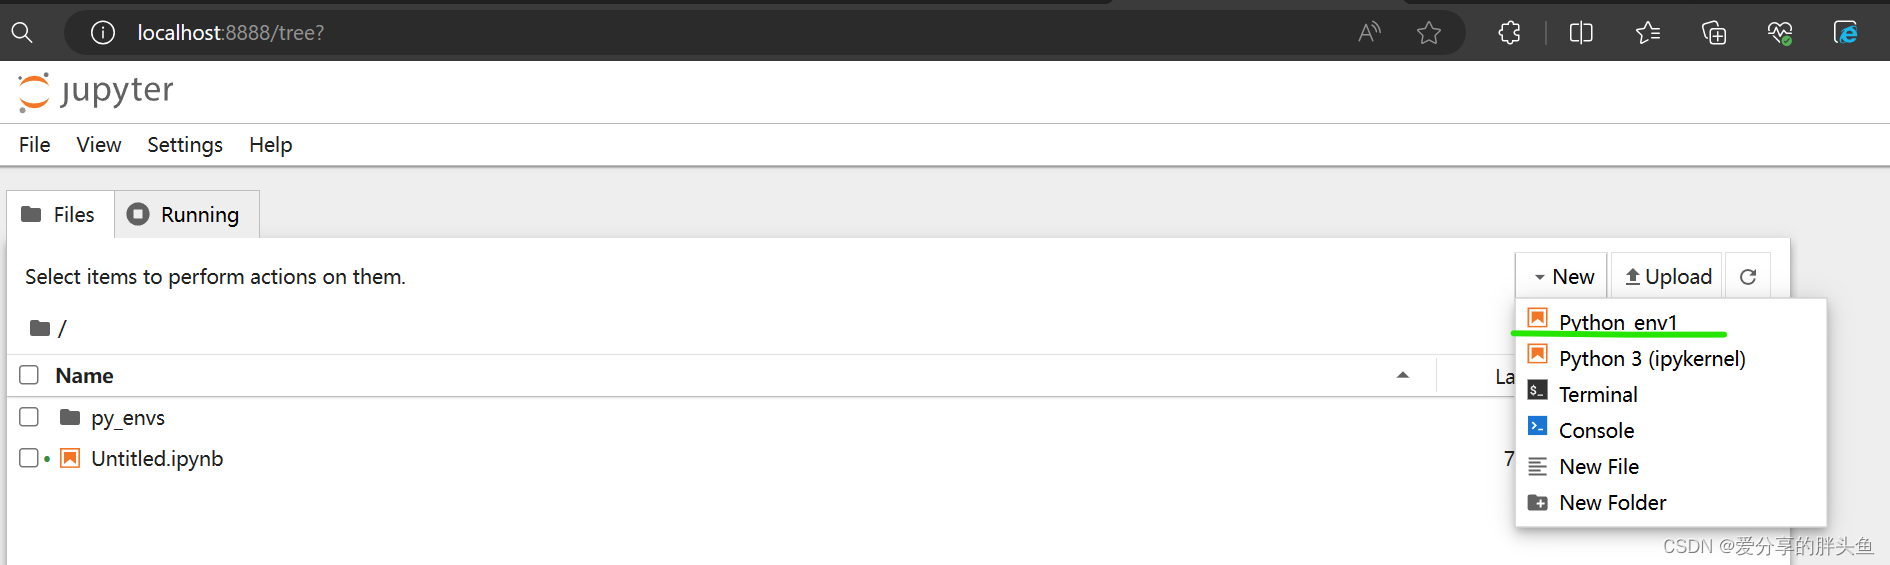
PS:可以看到,下面是在...\jupyter\kernels\下面建立了一个指定的name(env1)的目录,查看里面的kernel.json,可以看到里面指定的路径为虚拟环境中python.exe的路径。
刷新jupyter的页面,就可以看到一个我们新加的ipykernel。
添加代码的时候,选择这个环境,运行时候使用的就是我们上面新建的虚拟python环境
到此,你就可以在虚拟python环境中各种安装包了,然后在jupyter中去使用这些包