前言
继续接上一篇笔记,继续学习的vue的组件化知识,可能需要分2个小节记录。前端大佬请忽略,也可以留下大家的鼓励,感恩!
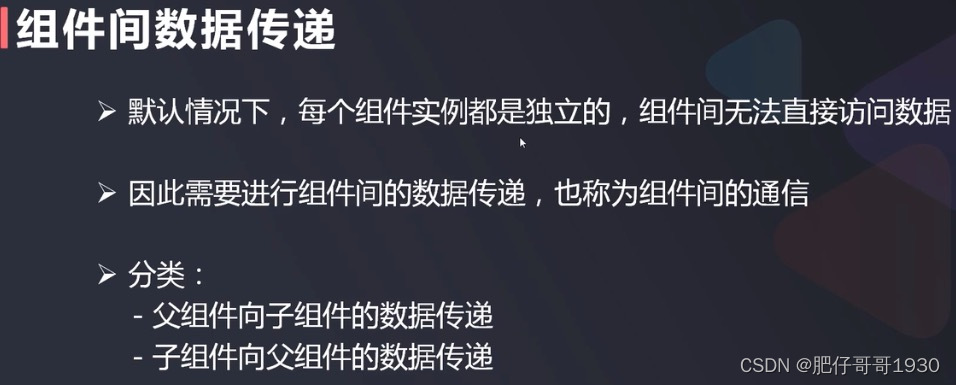
一、理解组件化
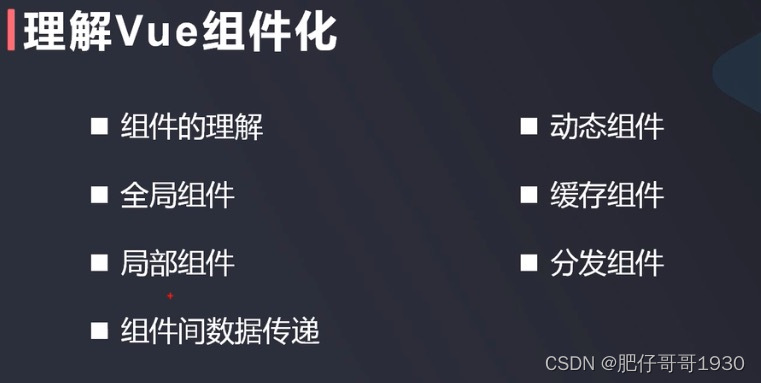
二、组件化知识
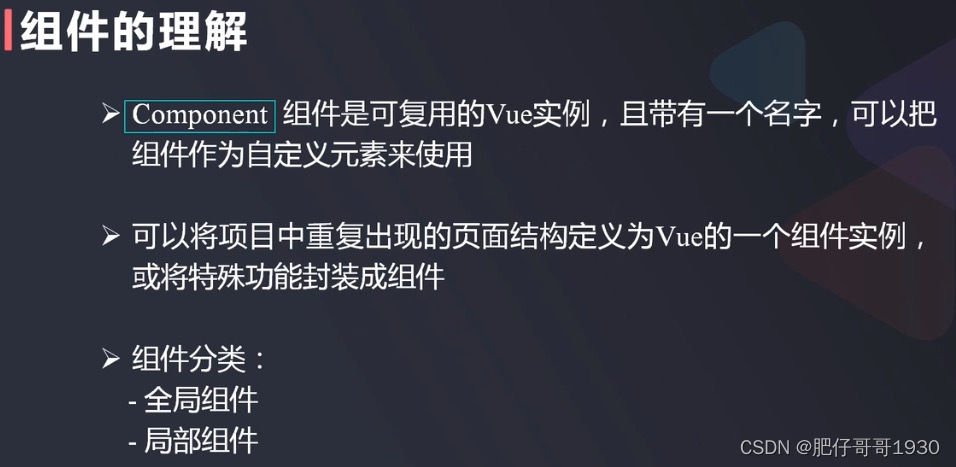
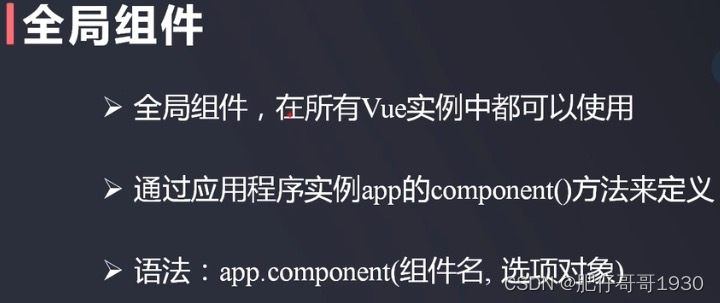
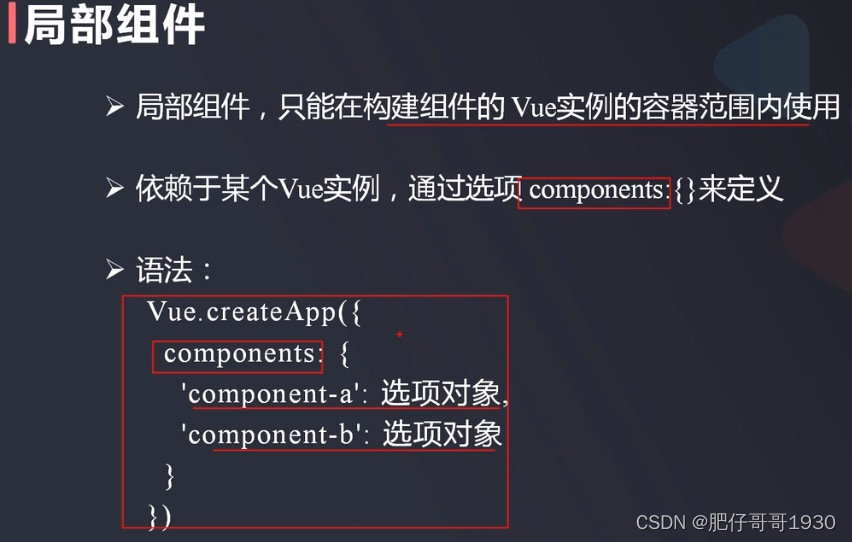
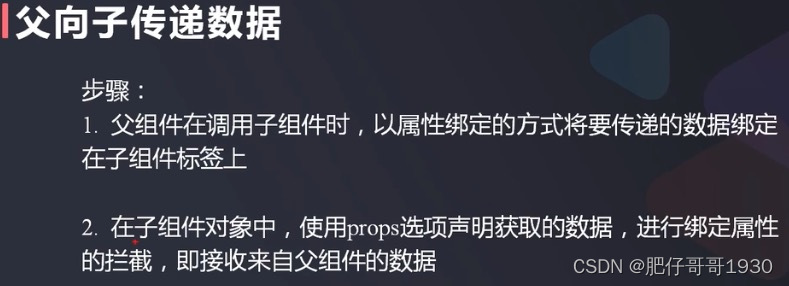
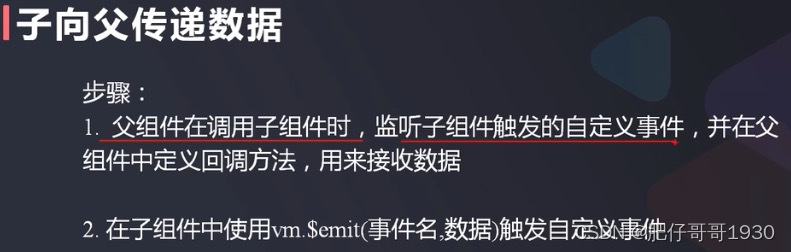
1、先上知识点:
2、示例代码
App.vue (主页面)
<template>
  <HelloWorld v-bind:msg="msg" @getChildMsg="getChildMsg" :user="user" @getSonInfo="getSonInfo"/>

  <hr/>

  <h1>我是App父组建</h1>
  <label>主页面输入框:</label><input type="text" @keyup="changeMsg($event.target.value)"/>

  <h1>子传父显示:{{ childMsg }}</h1>

  <h1>子传对象到父</h1>
  <ul>
    <li>son name:{{ sonData.name }}</li>
    <li>son age:{{ sonData.age }}</li>
    <li>son school:{{ sonData.school }}</li>
  </ul>


</template>

<script setup>
import {ref} from 'vue'
import HelloWorld from './components/HelloWorld.vue'

// ref创建响应式数据
const msg = ref('Welcome to Your Vue.js App')

function changeMsg(value) {
  console.log("输入msg:", value);
  msg.value = value
}

//父传子,对象
const user = {
  name:"tom",
  age:18,
  school:"MIT"
}

//定义子传父属性
const childMsg = ref('子传值父');
//定义方法
const getChildMsg = (ms) =>{
  console.log('getChildMsg',ms);
  childMsg.value = ms;
}

const sonData = {
  name: '',
  age: null,
  school: ''
}
const getSonInfo = (sonInfo) =>{
  console.log("App son:",sonInfo)
  sonData.name = sonInfo.name;
  sonData.age = sonInfo.age;
  sonData.school = sonInfo.school;
}


</script>

<style>
#app {
  font-family: Avenir, Helvetica, Arial, sans-serif;
  -webkit-font-smoothing: antialiased;
  -moz-osx-font-smoothing: grayscale;
  text-align: center;
  color: #2c3e50;
  margin-top: 60px;
}
</style>
HelloWorld.vue(全局组件)
<template>
  <div class="hello">
    <h1>我是HelloWorld子组建</h1>
    <h1>主页面输入传值:{{ msg }}</h1>
    <h1>主页面传对象到子</h1>
    <ul>
      <li>name:{{ user.name }}</li>
      <li>age:{{ user.age }}</li>
      <li>school:{{ user.school }}</li>
    </ul>

    <h1>组建内输入:{{ compMsg }}</h1>
<!--    <input type="text" readonly v-model="compMsg">-->
    <label>组建内输入框:</label><input type="text" @keyup="keyUpChange($event.target.value)">

  </div>
</template>
<!--
普通写法
<script>
export default {
  name: 'HelloWorld',
  props: {
    msg: String
  }
}
</script>-->

<!-- script setup写法 -->
<script setup>
import {defineProps, ref, defineEmits} from 'vue';

//组建传参数,defineProps:父传子,defineEmits子传父
const props = defineProps({
  msg: String,
  user: {
    type: Object
  }
});
console.log(props);

let childMsg = ref("子传父msg");
console.log(childMsg);

//思考一下,为什么组建内输入框的值不会立马渲染到页面上?答案:其实是ref定义,下面又没有用.value = 接收
//let compMsg = ref('组建内输入msg');
const compMsg = ref('组建内输入msg');

function keyUpChange(value) {
  console.log("组建内容输入msg:", value);
  compMsg.value = value;
  changeChildMsg();
  //触发发送对象到父
  sendChildUser();
}

//定义发送给父组建的方法
const emits = defineEmits(['getChildMsg','getSonInfo']);

//定义方法
function changeChildMsg() {
  emits('getChildMsg', compMsg.value);
}

/* 这种是变量声明方式定义函数,涉及到vue的生命周期
const changeChildMsg = () =>{
  emits('getChildMsg',compMsg);
}
*/

//子传对象到父
const childUser = {
  name:'son',
  age:3,
  school: '幼儿园'
}
function sendChildUser(){
  console.log("son:",childUser)
  emits('getSonInfo',childUser);
}


</script>

<!-- Add "scoped" attribute to limit CSS to this component only -->
<style scoped>
h3 {
  margin: 40px 0 0;
}

ul {
  list-style-type: none;
  padding: 0;
}

li {
  display: inline-block;
  margin: 0 10px;
}

a {
  color: #42b983;
}
</style>
3、效果
初始

输入内容效果
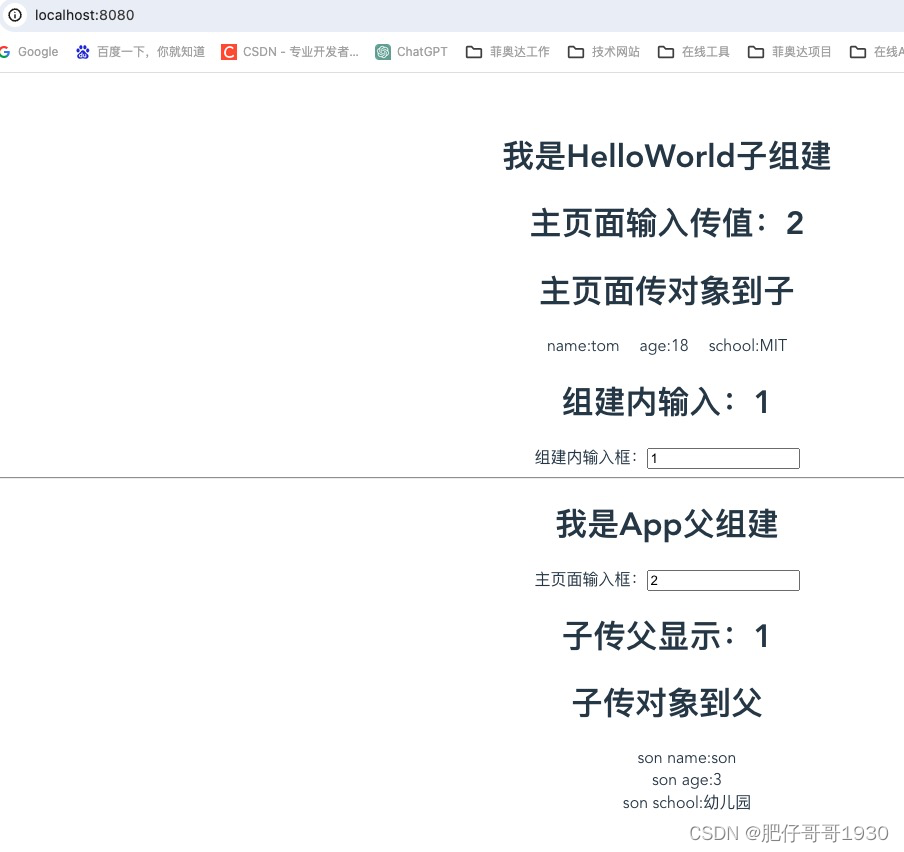
知识点都是vuejs暴露的写法,这里code的是组合是API写法,大家用力理解下。
总结
- 官网内容更详细,还是很有必要看的
- 这里记录的笔记深度还不够,先入门吧,后面主要是会看官方文档
就记录到这里,跟大家一起进步,uping!