1. Navigation介绍
Navigation组件是路由导航的根视图容器,一般作为Page页面的根容器使用,其内部默认包含了标题栏、内容区和工具栏,其中内容区默认首页显示导航内容(Navigation的子组件)或非首页显示(NavDestination的子组件),首页和非首页通过路由进行切换。
官网文档地址:文档中心
本案例代码运行环境是API17
2. 案例代码
下面是基于官网示例代码修改而成的:
import { Gouwuche } from './Gouwuche';
@Entry
@Component
struct NavigationExample {
private arr: number[] = [0, 1, 2, 3, 4, 5, 6, 7, 8, 9];
@Provide pageInfo: NavPathStack = new NavPathStack();
@State message: string = '';
@Builder
NavigationTitle() {
Column() {
Text('Title')
.fontColor('#182431')
.fontSize(35)
.lineHeight(41)
.fontWeight(700)
if (this.message) {
Text('子页面返回数据=' + this.message)
.fontColor('#182431')
.fontSize(16)
.lineHeight(19)
.opacity(0.4)
.margin({ top: 2, bottom: 20 })
}
}
.alignItems(HorizontalAlign.Start)
}
@Builder
NavigationMenus() {
Row({ space: 15 }) {
Image($r('app.media.ic_public_add'))
.width(24)
.height(24)
.fillColor('#ic_public_add')
.onClick(() => {
this.pageInfo.pushPathByName('Gouwuche', '18022223333', (info) => {
//接收返回值
this.message = info.result as string
});
})
Image($r('app.media.ic_public_more'))
.width(24)
.height(24)
.fillColor('#ic_public_add')
}
.margin({ top: 10 })
}
@Builder
PagesMap(name: string) {
if (name == 'Gouwuche') {
Gouwuche()
}
}
build() {
Column() {
Navigation(this.pageInfo) {
TextInput({ placeholder: 'search...' })
.width('100%')
.height(40)
.backgroundColor('#FFFFFF')
.margin({ top: 8 })
List({ space: 12, initialIndex: 0 }) {
ForEach(this.arr, (item: number) => {
ListItem() {
Text('' + item)
.width('100%')
.height(72)
.backgroundColor('#FFFFFF')
.borderRadius(24)
.fontSize(16)
.fontWeight(500)
.textAlign(TextAlign.Center)
}
}, (item: number) => item.toString())
}
.layoutWeight(1)
.width('100%')
.alignListItem(ListItemAlign.Center)
.scrollBar(BarState.Off) //关闭滚动条
.margin({ top: 12 })
}
.navDestination(this.PagesMap) //创建NavDestination组件。使用builder函数,基于name和param构造NavDestination组件
.title(this.NavigationTitle) //设置页面标题
.menus(this.NavigationMenus) //设置页面右上角菜单。不设置时不显示菜单项
.titleMode(NavigationTitleMode.Full) // 设置页面标题栏显示模式
.hideTitleBar(false, true) //设置是否隐藏标题栏
.hideToolBar(false, true) //设置是否隐藏工具栏
.mode(NavigationMode.Auto) //设置导航栏的显示模式,支持单栏(Stack)、分栏(Split)和自适应(Auto)
}
.width('100%')
.height('100%')
.backgroundColor('#F1F3F5')
}
}Gouwuche.ets文件代码如下:
@Component
export struct Gouwuche {
@State message: string = '购物车';
@Consume pageInfo: NavPathStack
aboutToAppear(): void {
this.message = `${this.pageInfo.getParamByName('Gouwuche')}`
}
build() {
NavDestination() {
Column() {
Row() {
Text(this.message)
.fontSize(30)
Button('返回上一页')
.onClick(() => {
this.pageInfo.pop('hello:鸿蒙你好!')
})
}
}
.width('100%')
.height('100%')
.backgroundColor('#ff77f8bd')
}
}
}实验现象:
点击页面右上角的加号,会跳转到【Gouwuche】页面,并且显示上一个页面传来的参数:18022223333
点击【Gouwuche】页面中的【返回上一页】的按钮,页面跳转回第一个页面,并且将字符【hello:鸿蒙你好!】传递给第一个页面了
通过上面实验,我们可以学会以下知识点
页面之间如何通过
Navigation组件进行跳转页面跳转时,如何来回传递数据
3. 实战
3.1. 需求
定义登录和注册页面,然后登录页面点击注册按钮,跳转到注册页面
注册页面输入账号和密码后,点击注册按钮,页面立马跳转到登录页面
登录页面显示刚注册的账号和密码信息
3.2. 编码
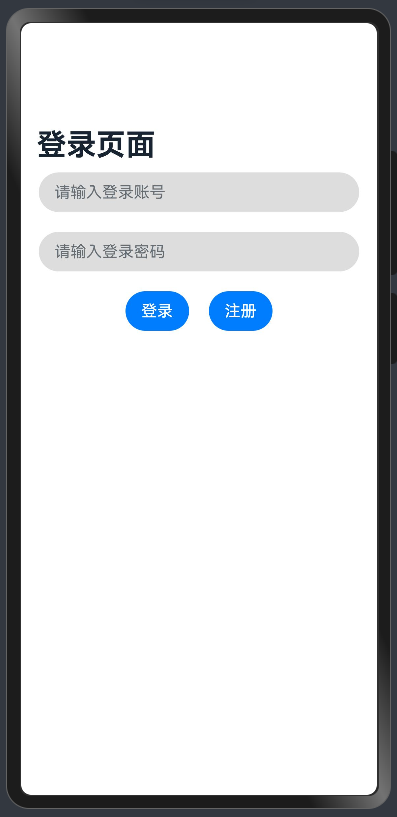
登录页面代码如下:
import { RegisterPage } from './RegisterPage';
/**
* 登录页面
*/
@Entry
@Component
struct LoginPage {
@Provide pageInfo: NavPathStack = new NavPathStack();
@State registerInfo: string = '';
@Builder
PagesMap(name: string) {
if (name == 'Register') {
RegisterPage()
}
}
build() {
Navigation(this.pageInfo) {
Column({ space: 20 }) {
TextInput({ placeholder: '请输入登录账号' })
.width('90%')
.backgroundColor('#ffdddddd')
TextInput({ placeholder: '请输入登录密码' })
.width('90%')
.backgroundColor('#ffdddddd')
Row({ space: 20 }) {
Button('登录')
Button('注册')
.onClick(() => {
this.pageInfo.pushPathByName('Register', '', (info) => {
//接收返回值
this.registerInfo = info.result as string
});
})
}
//显示注册账号密码信息
if (this.registerInfo) {
Text(this.registerInfo)
.fontSize(16)
}
}
}
.title('登录页面')
.navDestination(this.PagesMap)
}
}页面预览效果如下:
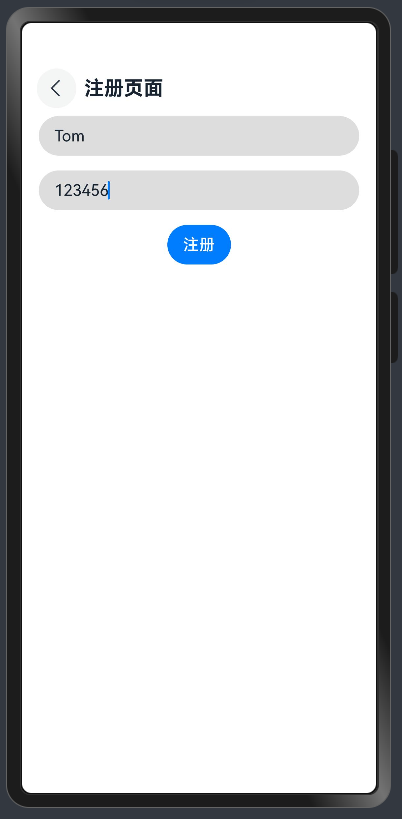
注册页面代码如下:
/**
* 注册页面
*/
@Component
export struct RegisterPage {
@State username: string = ''; //登录账号
@State password: string = ''; //登录密码
@Consume pageInfo: NavPathStack
build() {
NavDestination() {
Column({ space: 15 }) {
TextInput({ placeholder: '请输入登录账号' })
.width('90%')
.backgroundColor('#ffdddddd')
.onChange((value: string) => {
this.username = value;
})
TextInput({ placeholder: '请输入登录密码' })
.width('90%')
.backgroundColor('#ffdddddd')
.onChange((value: string) => {
this.password = value;
})
Row() {
Button('注册')
.onClick(() => {
this.pageInfo.pop('账号:' + this.username + ',密码:' + this.password)
})
}
}
.width('100%')
.height('100%')
}
.title('注册页面')
}
}页面效果如下图所示:
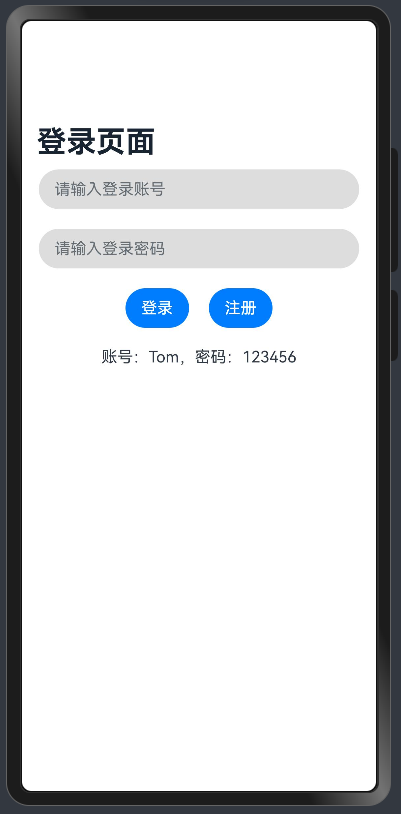
点击注册按钮后,会立马跳转到登录按钮,如下:
小结
大家也可以做一些其他页面跳转的测试,页面之间也可以写到对象参数,转成JSON串进行传递,然后接收方再转成对象即可,大家可以参考官网API多做尝试!