1、数字信封的概念
数字信封,英文是Digital Envelope,望文生义,就可以知道将需要传递的数据,通过加密的方式包裹起来。
数字信封的准确定义,在《PKCS #7: Cryptographic Message Syntax Standard》标准的第10章中给出,原话是:“加密的内容,以及对内容解密的密钥被加密后的结果,这两者组合起来后,被称为数字信封”。
数字信封的组成如下图所示:

从上图可以看出,数字信封和我们日常生活中使用的信封,还是不一样的:日常生活中的信封,仅仅指包裹信件的外壳,不包含信件(内容);但数字信封其实是包含内容的。
2、数字信封的两种密钥
从概念介绍,我们可以看到数字信封其实有两种密钥:
密钥1:用于对内容进行加密和解密;
密钥2:用于对密钥1进行加密和解密。
由于需要处理的内容有可能很长,一般密钥1使用对称密钥,而且密钥1往往是临时(随机)生成;
密钥2则可以是对称密钥,也可以是非对称密钥:
如果是1对1发送信息,建议密钥2使用非对称密钥,发送者用公钥加密,接收者用私钥解密;
如果是1对多发送信息,建议密钥2使用对称密钥,发送者用对称密钥加密,接收者也用同样的密钥解密。
3、数字信封的通信原理
说到这里,即使不再介绍,大家也能猜出数字信封的通信原理了。
我还是画蛇添足,把数字信封的通信原理画出来(这里密钥1是对称密钥,密钥2则为最常用的非对称密钥):

4、Java语言实现数字信封
这里,我们使用JDK提供的加解密功能,对称加密算法为AES,非对称加密算法为RSA。
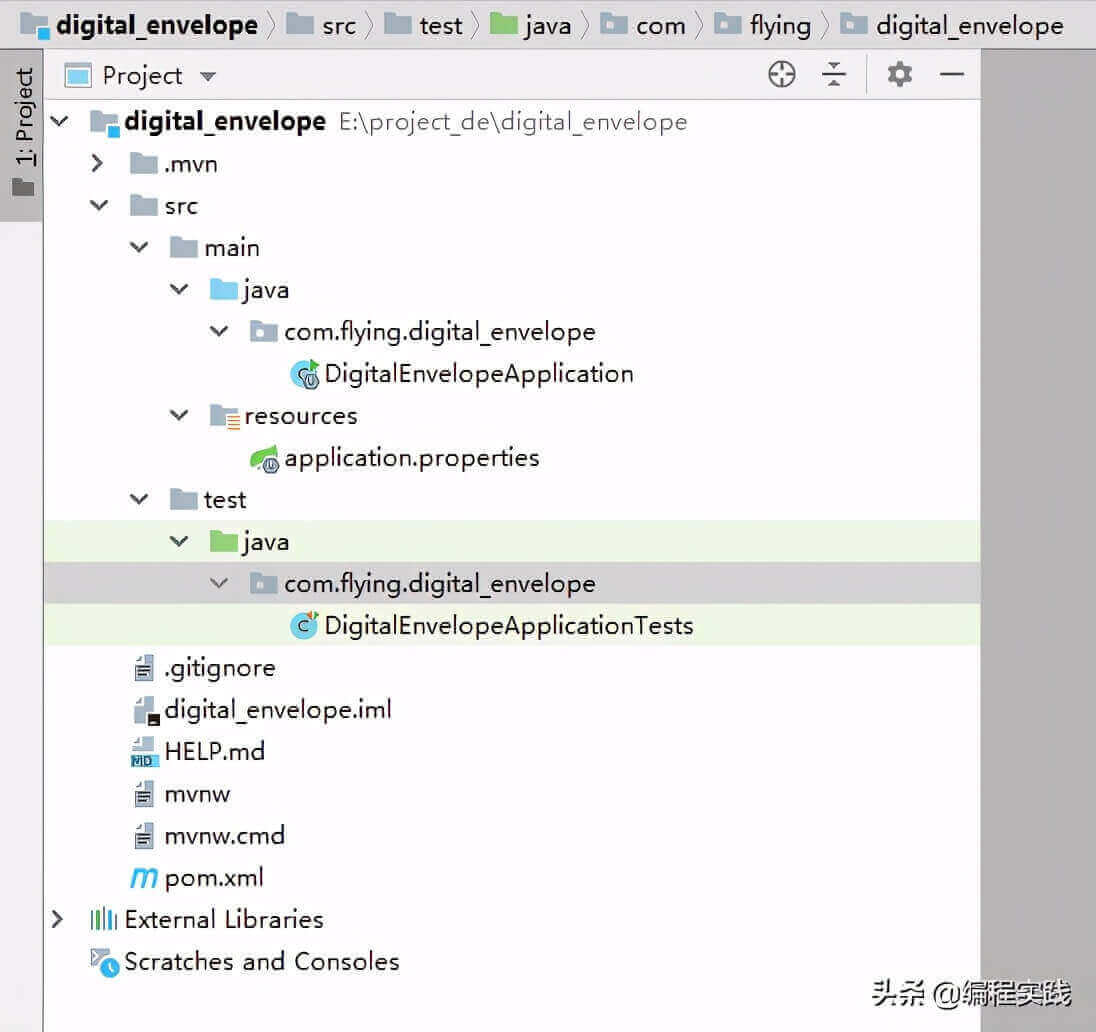
4.1 使用IDEA工具创建project_de工程,然后在project_de工程下建立digital_envelope模块
模块建立后,在IDEA中的显示如下:
4.2 新建一个数字信封类
数字信封类只有两个数据成员,加密后的内容,以及加密后的对称密钥。数字信封类的源代码如下:
package com.flying.digital_envelope;
public class DigitalEnvelope {
    byte[] encryptedKey;
    byte[] encryptedContent;
}
4.3 新建Sender类,表示发送方(甲方)
建立Sender对象时,需要传入消息内容,AES密钥,还有RSA的公钥。Sender对象将会生成一个数字信封。
Sender类的源代码如下:
package com.flying.digital_envelope;
import javax.crypto.Cipher;
import javax.crypto.spec.SecretKeySpec;
import java.security.interfaces.RSAPublicKey;
public class Sender {
    private byte[] contentBytes;
    private byte[] aesKeyBytes;
    private RSAPublicKey rsaPublicKey;
    public Sender(byte[] contentBytes, byte[] aesKeyBytes, RSAPublicKey rsaPublicKey){
        this.contentBytes = contentBytes;
        this.aesKeyBytes = aesKeyBytes;
        this.rsaPublicKey = rsaPublicKey;
    }
    public DigitalEnvelope putMessageToEnvelope(){
        DigitalEnvelope digitalEnvelope = new DigitalEnvelope();
        try {
            SecretKeySpec secretKeySpec = new SecretKeySpec(aesKeyBytes, "AES");
            Cipher cipher = Cipher.getInstance("AES");
            cipher.init(Cipher.ENCRYPT_MODE, secretKeySpec);
            byte[] encrytedContent = cipher.doFinal(contentBytes);
            cipher = Cipher.getInstance("RSA");
            cipher.init(Cipher.ENCRYPT_MODE, rsaPublicKey);
            byte[] encryptedKey = cipher.doFinal(aesKeyBytes);
            digitalEnvelope.encryptedContent = encrytedContent;
            digitalEnvelope.encryptedKey = encryptedKey;
        }catch (Exception ex){
            ex.printStackTrace();
        }
        return digitalEnvelope;
    }
}
4.4 新建Receiver类,表示接收方(乙方)
建立Receiver对象时,需要传入数字信封和RSA私钥。Receiver对象将会解开数字信封,得到消息的内容。
Receiver类的源码如下:
package com.flying.digital_envelope;
import javax.crypto.Cipher;
import javax.crypto.spec.SecretKeySpec;
import java.security.interfaces.RSAPrivateKey;
public class Receiver {
    private DigitalEnvelope digitalEnvelope;
    RSAPrivateKey rsaPrivateKey;
    public Receiver(DigitalEnvelope digitalEnvelope, RSAPrivateKey rsaPrivateKey){
        this.digitalEnvelope = digitalEnvelope;
        this.rsaPrivateKey = rsaPrivateKey;
    }
    public byte[] getMessageFromEnvelope(){
        byte[] contentBytes = null;
        try {
            Cipher cipher = Cipher.getInstance("RSA");
            cipher.init(Cipher.DECRYPT_MODE, rsaPrivateKey);
            byte[] aesKeyBytes = cipher.doFinal(digitalEnvelope.encryptedKey);
            cipher = Cipher.getInstance("AES");
            SecretKeySpec secretKeySpec = new SecretKeySpec(aesKeyBytes, "AES");
            cipher.init(Cipher.DECRYPT_MODE, secretKeySpec);
            contentBytes = cipher.doFinal(digitalEnvelope.encryptedContent);
        }catch (Exception ex){
            ex.printStackTrace();
        }
        return contentBytes;
    }
}
4.5 main方法
main方法在DigitalEnvelopeApplication类中提供,该类提供内容原文、AES密钥、RSA公钥和私钥,调用Sender和Receiver实现完整流程。
DigitalEnvelopeApplication类的源代码如下:
package com.flying.digital_envelope;
import org.springframework.boot.SpringApplication;
import org.springframework.boot.autoconfigure.SpringBootApplication;
import java.security.KeyPair;
import java.security.KeyPairGenerator;
import java.security.interfaces.RSAPrivateKey;
import java.security.interfaces.RSAPublicKey;
import java.util.Base64;
@SpringBootApplication
public class DigitalEnvelopeApplication {
    public static void main(String[] args) {
        SpringApplication.run(DigitalEnvelopeApplication.class, args);
        try {
            byte[] aesKeyBytes = {1, 2, 3, 4, 5, 6, 7, 8, 9, 10, 11, 12, 13, 14, 15, 16};
            System.out.println("AES key: " + Base64.getEncoder().encodeToString(aesKeyBytes));
            KeyPairGenerator keyPairGenerator = KeyPairGenerator.getInstance("RSA");
            keyPairGenerator.initialize(1024);
            KeyPair keyPair = keyPairGenerator.generateKeyPair();
            RSAPublicKey rsaPublicKey = (RSAPublicKey) keyPair.getPublic();
            RSAPrivateKey rsaPrivateKey = (RSAPrivateKey) keyPair.getPrivate();
            byte[] contentBytes = "1234567890".getBytes();
            System.out.println("Before encryption, content bytes: " + Base64.getEncoder().encodeToString(contentBytes));
            Sender sender = new Sender(contentBytes, aesKeyBytes, rsaPublicKey);
            DigitalEnvelope digitalEnvelope = sender.putMessageToEnvelope();
            Receiver receiver = new Receiver(digitalEnvelope, rsaPrivateKey);
            byte[] decryptedContentBytes = receiver.getMessageFromEnvelope();
            System.out.println("After decryption, content bytes: " + Base64.getEncoder().encodeToString(decryptedContentBytes));
        }catch (Exception ex){
            ex.printStackTrace();
        }
    }
}
4.6 程序运行结果
下面是程序的某次运行结果:
AES key: AQIDBAUGBwgJCgsMDQ4PEA==
Before encryption, content bytes: MTIzNDU2Nzg5MA==
After decryption, content bytes: MTIzNDU2Nzg5MA==
根据结果,可以得知,数字信封的例子程序测试通过。
5、特别提示
上面的例子不建议商用
本讲提供的例子,主要用于讲解数字信封的概念,把这个例子看懂了,数字信封也基本上学会了。
但实际上,现在数字信封和数字证书捆绑得越来越紧,上面的例子用于学习没有问题,如果要实际商用,还得将数字证书的知识彻底掌握,然后在数字证书的环境中再次实现数字信封。