本章是MySQL的最后一章,MySQL到此完结,下一站Hadoop!!!
这章很简单,完整代码在最后,详细讲解之前python课程里面也有,感兴趣的可以往前找一下
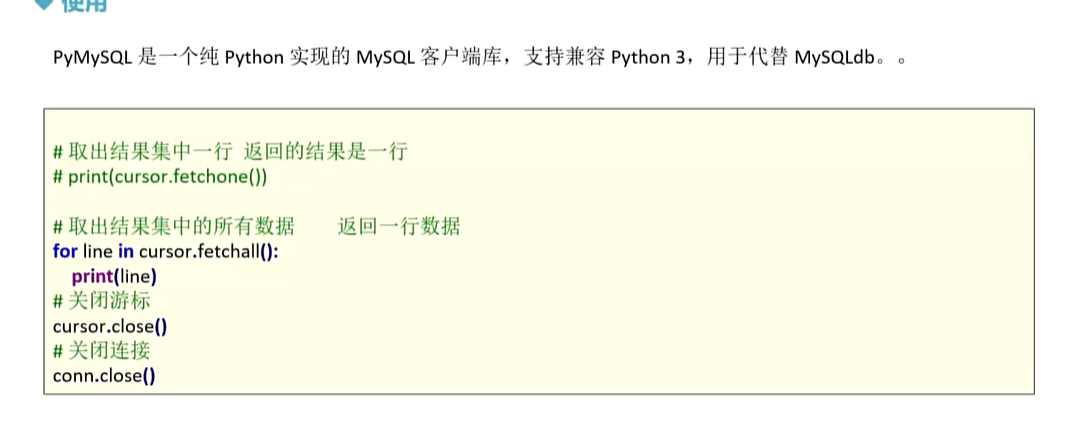
一、查询操作

我们需要打开pycharm
pycharm需要安装pymysql库,在命令提示符里面输入pip install Pymysql即可
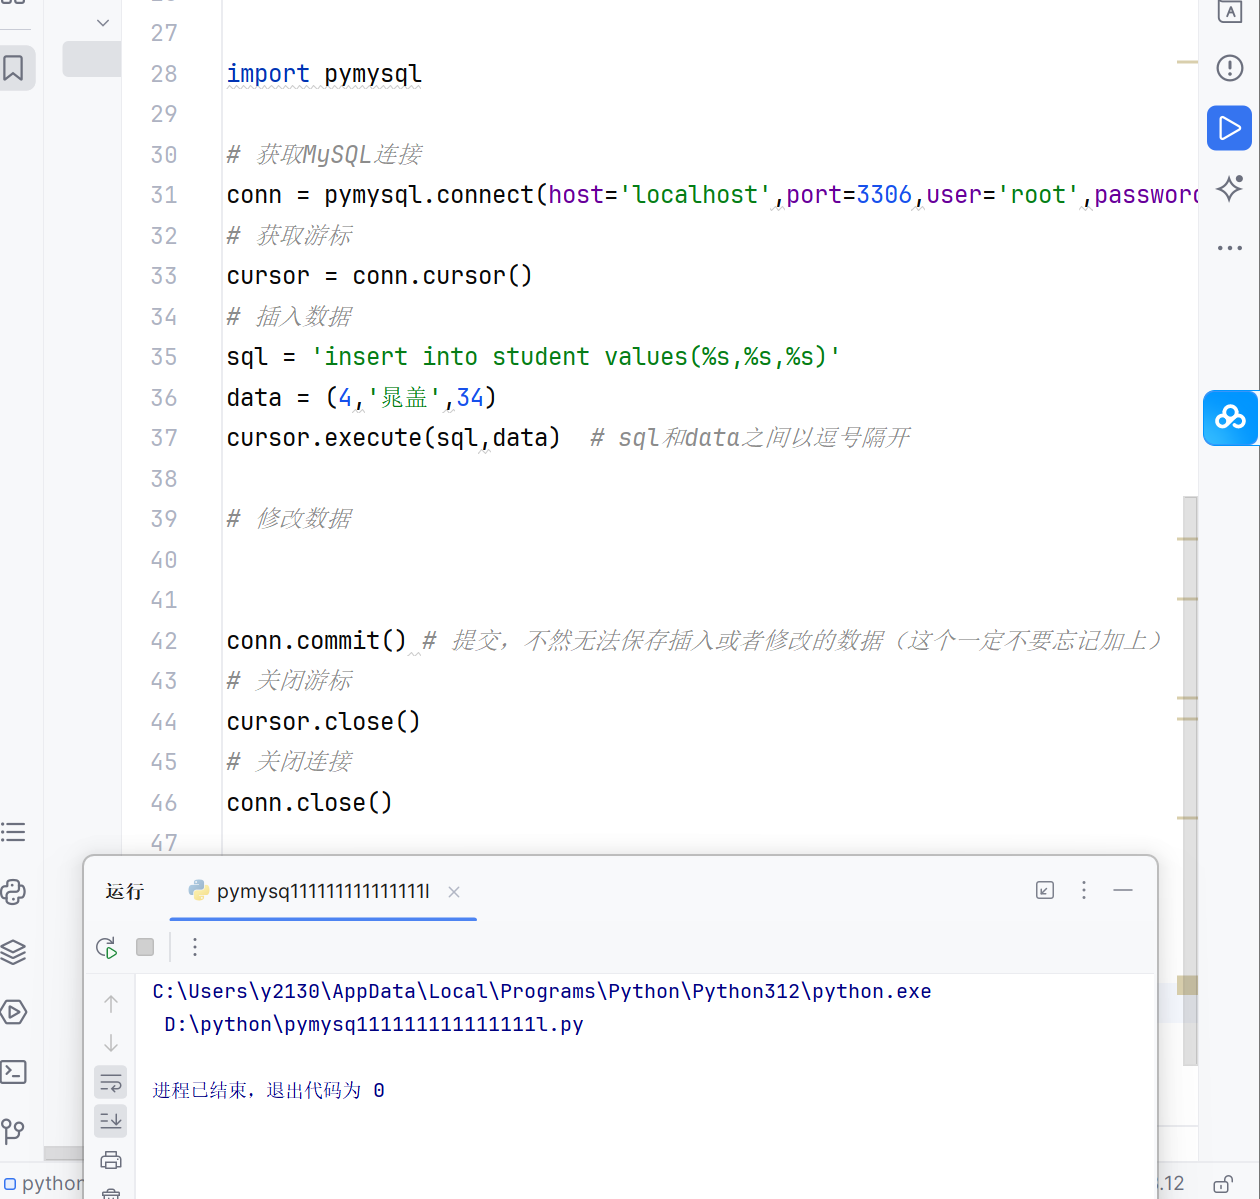
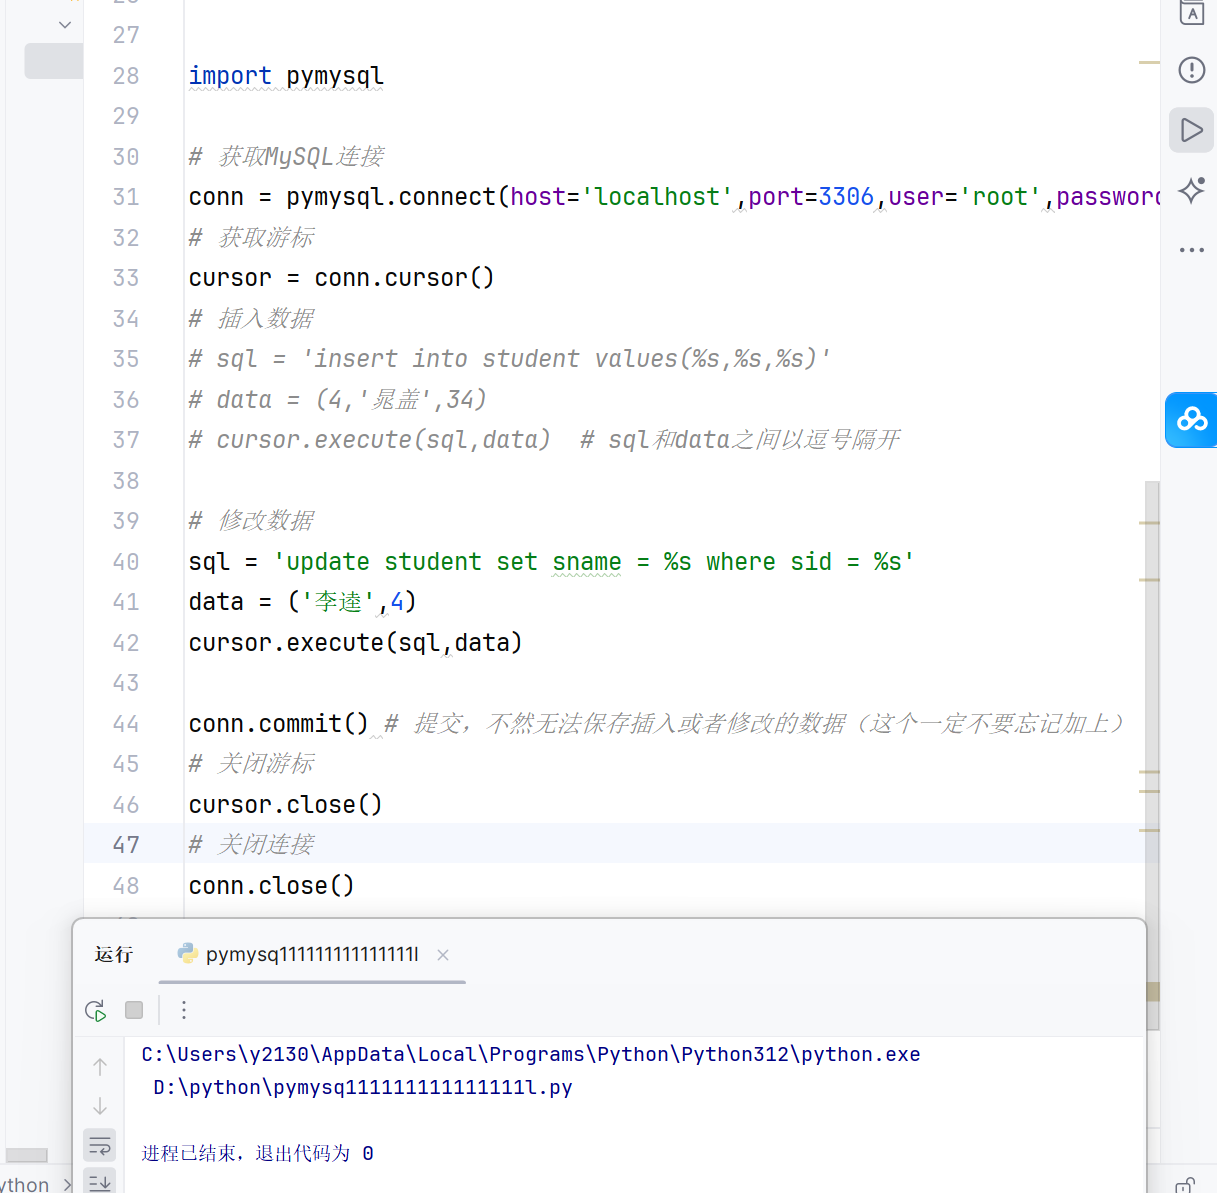
二、增删改操作
每次执行完增删改操作时,记得提交,不然数据无法保存
三、完整代码
sql
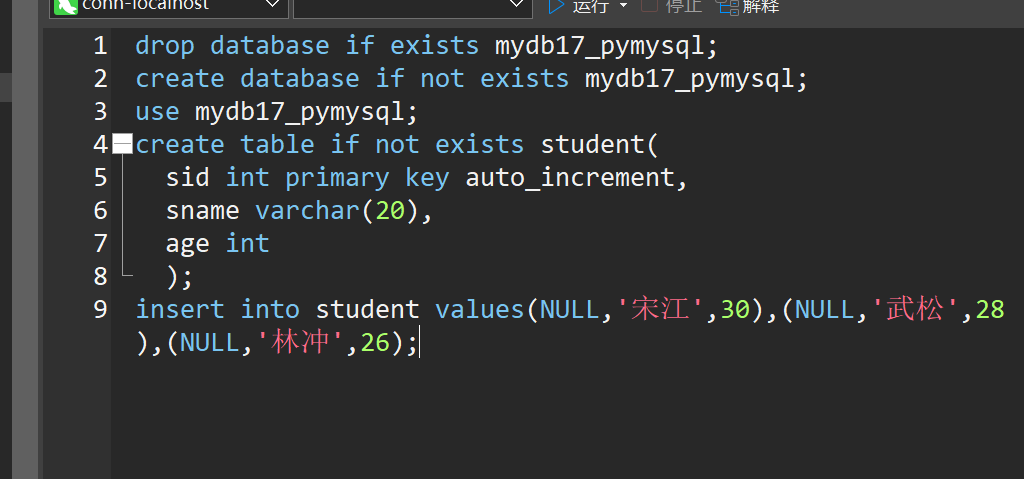
drop database if exists mydb17_pymysql;
create database if not exists mydb17_pymysql;
use mydb17_pymysql;
create table if not exists student(
sid int primary key auto_increment,
sname varchar(20),
age int
);
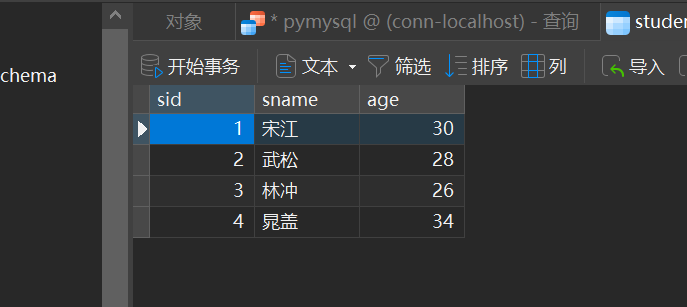
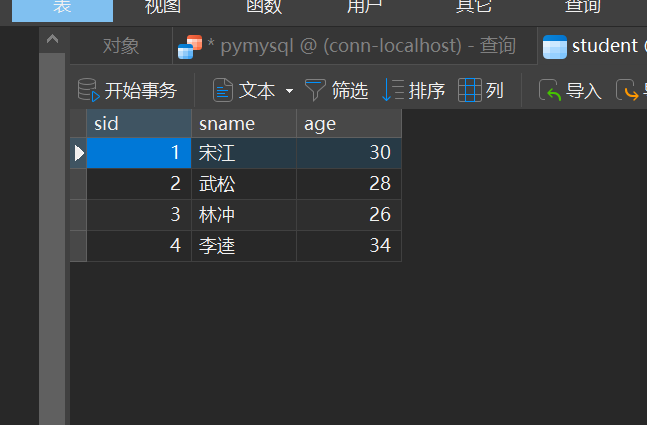
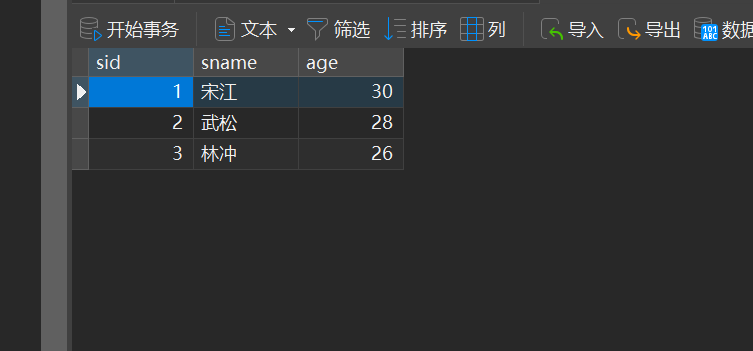
insert into student values(NULL,'宋江',30),(NULL,'武松',28),(NULL,'林冲',26);
python
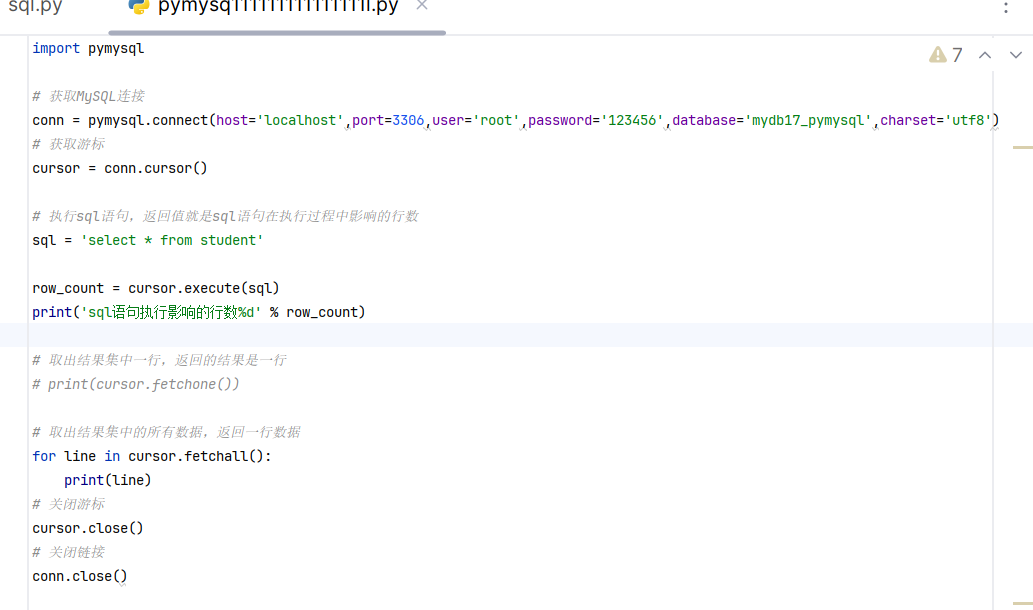
# import pymysql
#
# # 获取MySQL连接
# conn = pymysql.connect(host='localhost',port=3306,user='root',password='123456',database='mydb17_pymysql',charset='utf8')
# # 获取游标
# cursor = conn.cursor()
#
# # 执行sql语句,返回值就是sql语句在执行过程中影响的行数
# sql = 'select * from student'
#
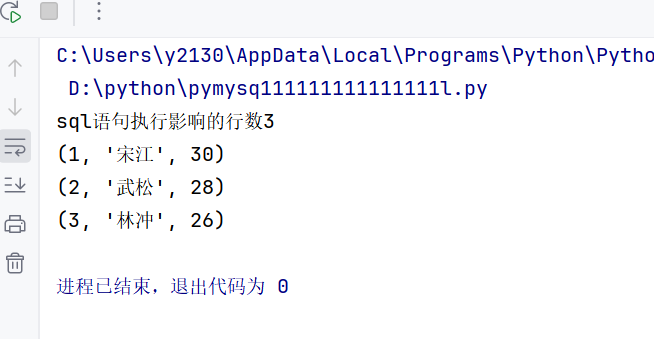
# row_count = cursor.execute(sql)
# print('sql语句执行影响的行数%d' % row_count)
#
# # 取出结果集中一行,返回的结果是一行
# # print(cursor.fetchone())
#
# # 取出结果集中的所有数据,返回一行数据
# for line in cursor.fetchall():
# print(line)
# # 关闭游标
# cursor.close()
# # 关闭链接
# conn.close()
import pymysql
# 获取MySQL连接
conn = pymysql.connect(host='localhost',port=3306,user='root',password='123456',database='mydb17_pymysql',charset='utf8')
# 获取游标
cursor = conn.cursor()
# 插入数据
# sql = 'insert into student values(%s,%s,%s)'
# data = (4,'晁盖',34)
# cursor.execute(sql,data) # sql和data之间以逗号隔开
# # 修改数据
# sql = 'update student set sname = %s where sid = %s'
# data = ('李逵',4)
# cursor.execute(sql,data)
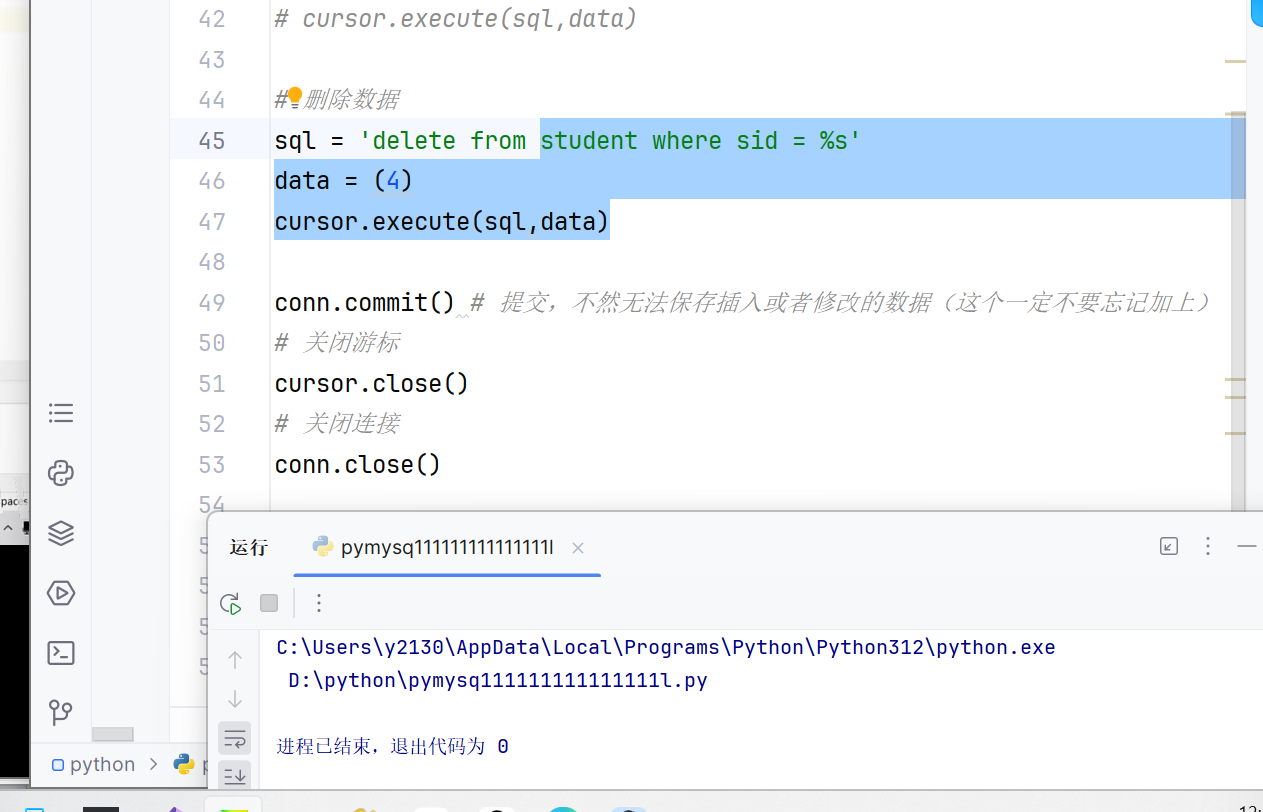
# 删除数据
sql = 'delete from student where sid = %s'
data = (4)
cursor.execute(sql,data)
conn.commit() # 提交,不然无法保存插入或者修改的数据(这个一定不要忘记加上)
# 关闭游标
cursor.close()
# 关闭连接
conn.close()