目录
我们先来看看视频效果
其实这个无疑就是一个刮刮乐的效果
本文我实现了两种效果,最终效果如下:
工程源码见文章末尾。
二、原理
其原理是通过Alpha通道实现透明效果——当Alpha值为0时呈现透明状态。具体实现时,我们采用一张RenderTexture作为Alpha通道图,将其与UI主贴图的Alpha通道进行相乘运算。
实际操作中,我们只需在RenderTexture上根据鼠标刮擦的位置绘制相应的笔刷印记即可。
三、实操
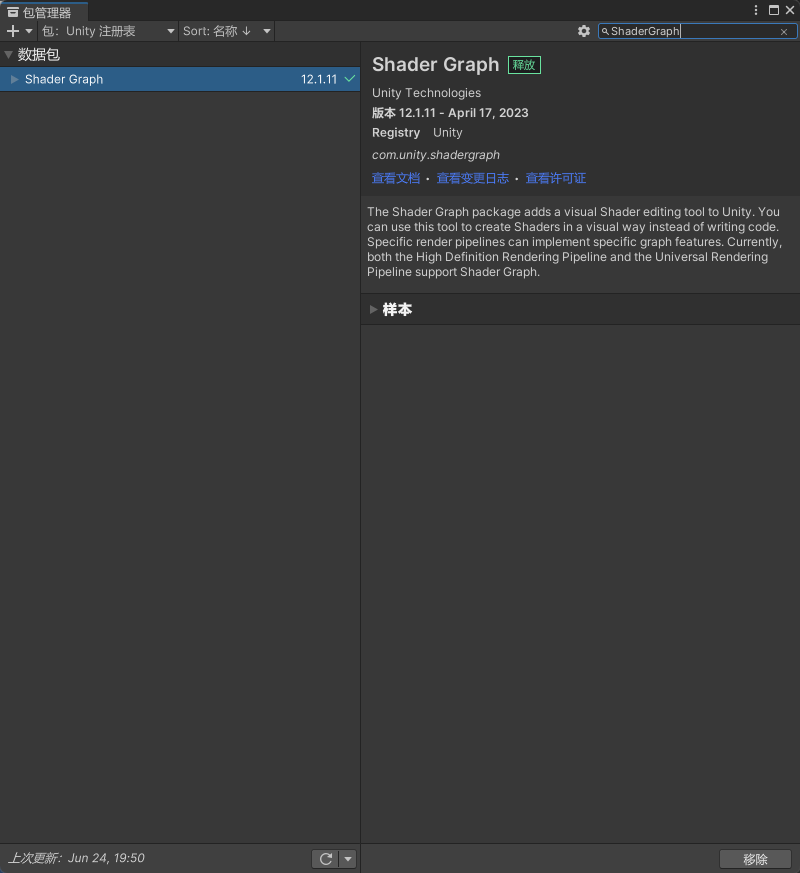
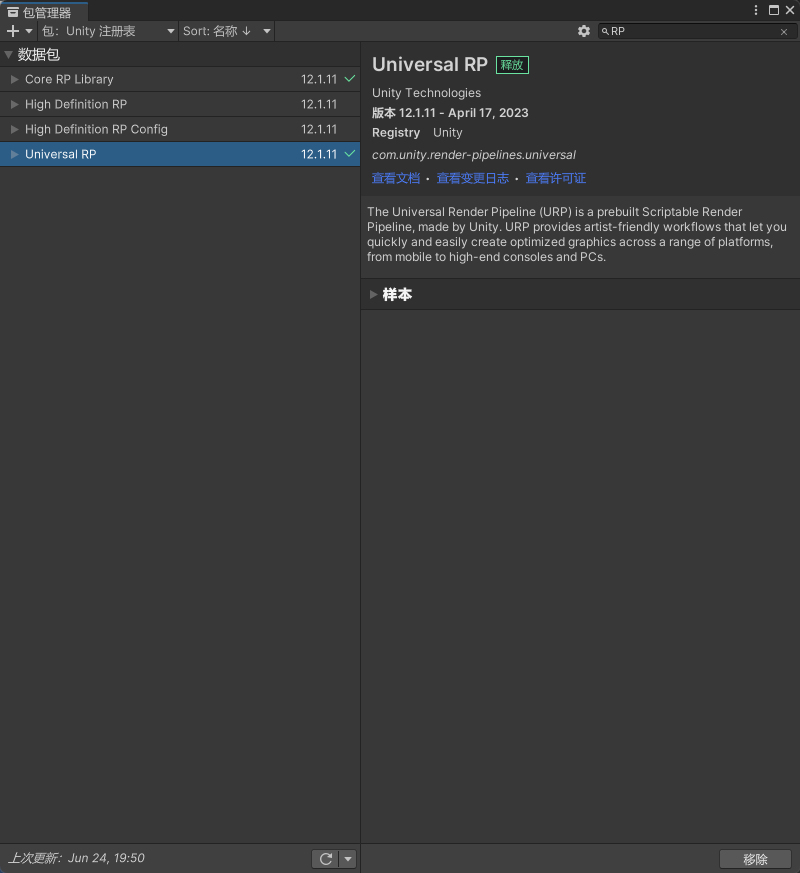
1.安装环境
新建项目,安装ShaderGraph和升级URP项目
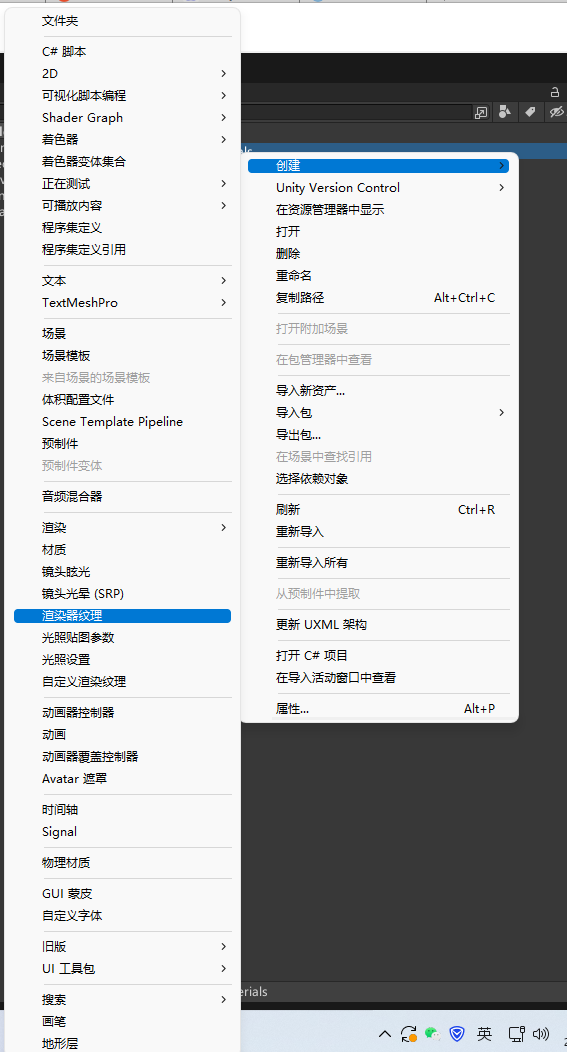
2. 渲染纹理RenderTexture
首先,创建一个渲染纹理
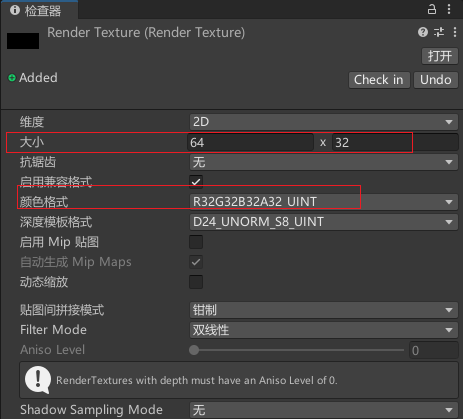
设置一下Render Texture的尺寸和格式
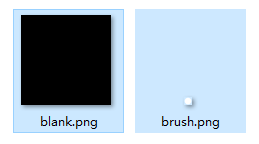
用photoshop做两张图,一张纯黑色的方图(用于初始化填充Render Texture),一张笔刷图,简单起见,笔刷图案我就用一个白点。
如下:
3.写脚本:ScratchUI.cs
代码的注释我写得比较清晰了,大家应该能看懂
// ScratchUI.cs
using UnityEngine;
using UnityEngine.EventSystems;

/// <summary>
/// 刮刮乐UI组件
/// </summary>
public class ScratchUI : MonoBehaviour, IPointerDownHandler, IPointerUpHandler
{
    [Header("渲染设置")]
    public RenderTexture renderTexture;  // 目标渲染纹理
    public Texture brushTexture;         // 笔刷纹理
    public Texture blankTexture;         // 初始空白纹理

    [Header("UI组件")]
    public RectTransform rectTransform; // 遮罩区域
    public Canvas canvas;                // 所属画布

    private bool m_isMove = false;

    private void Start()
    {
        InitializeTexture();
    }

    /// <summary>
    /// 初始化渲染纹理为空白状态
    /// </summary>
    private void InitializeTexture()
    {
        RenderTexture.active = renderTexture;
        GL.PushMatrix();
        GL.LoadPixelMatrix(0, renderTexture.width, renderTexture.height, 0);

        Graphics.DrawTexture(
            new Rect(0, 0, renderTexture.width, renderTexture.height),
            blankTexture
        );

        GL.PopMatrix();
        RenderTexture.active = null;
    }

    /// <summary>
    /// 在指定坐标绘制笔刷
    /// </summary>
    private void Draw(int x, int y)
    {
        RenderTexture.active = renderTexture;
        GL.PushMatrix();
        GL.LoadPixelMatrix(0, renderTexture.width, renderTexture.height, 0);

        // 调整坐标使笔刷居中
        x -= (int)(brushTexture.width * 0.5f);
        y -= (int)(brushTexture.height * 0.5f);

        Graphics.DrawTexture(
            new Rect(x, y, brushTexture.width, brushTexture.height),
            brushTexture
        );

        GL.PopMatrix();
        RenderTexture.active = null;
    }

    public void OnPointerDown(PointerEventData eventData)
    {
        m_isMove = true;
    }

    public void OnPointerUp(PointerEventData eventData)
    {
        m_isMove = false;
    }

    private void Update()
    {
        if (m_isMove)
        {
            HandleScratch(Input.mousePosition);
        }
    }

    /// <summary>
    /// 处理刮卡操作
    /// </summary>
    private void HandleScratch(Vector2 screenPosition)
    {
        Vector2 localPos = ScreenToLocalPosition(screenPosition, rectTransform, canvas.worldCamera);

        // 转换为UV坐标
        float uvX = (rectTransform.sizeDelta.x * 0.5f + localPos.x) / rectTransform.sizeDelta.x;
        float uvY = (rectTransform.sizeDelta.y * 0.5f + localPos.y) / rectTransform.sizeDelta.y;

        // 转换为渲染纹理坐标
        int x = (int)(uvX * renderTexture.width);
        int y = renderTexture.height - (int)(uvY * renderTexture.height);

        Draw(x, y);
    }

    /// <summary>
    /// 屏幕坐标转换为UI局部坐标
    /// </summary>
    private Vector2 ScreenToLocalPosition(Vector3 screenPos, RectTransform target, Camera cam)
    {
        if (RectTransformUtility.ScreenPointToLocalPointInRectangle(
            target, screenPos, cam, out Vector2 localPos))
        {
            return localPos;
        }
        return Vector2.zero;
    }
}
// ScratchUI.cs
using UnityEngine;
using UnityEngine.EventSystems;
/// <summary>
/// 刮刮乐UI
/// </summary>
public class ScratchUI : MonoBehaviour, IPointerDownHandler, IPointerUpHandler
{
    /// <summary>
    /// 绘制的目标图片
    /// </summary>
    public RenderTexture renderTexture;
    /// <summary>
    /// 笔刷
    /// </summary>
    public Texture brushTexture;
    /// <summary>
    /// 空白图
    /// </summary>
    public Texture blankTexture;
    /// <summary>
    /// mask的RectTransform
    /// </summary>
    public RectTransform rectTransform;
    /// <summary>
    /// 画布
    /// </summary>
    public Canvas canvas;
    private bool m_isMove = false;
    private void Start()
    {
        DrawBlank();
    }
    /// <summary>
    /// 初始化RenderTexture
    /// </summary>
    private void DrawBlank()
    {
        // 激活rt
        RenderTexture.active = renderTexture;
        // 保存当前状态
        GL.PushMatrix();
        // 设置矩阵
        GL.LoadPixelMatrix(0, renderTexture.width, renderTexture.height, 0);
        // 绘制贴图
        Rect rect = new Rect(0, 0, renderTexture.width, renderTexture.height);
        Graphics.DrawTexture(rect, blankTexture);
        // 弹出改变
        GL.PopMatrix();
        RenderTexture.active = null;
    }
    /// <summary>
    /// 在RenderTexture的(x,y)坐标处画笔刷图案
    /// </summary>
    /// <param name="x">Graphics坐标系下的x</param>
    /// <param name="y">Graphics坐标系下的y</param>
    private void Draw(int x, int y)
    {
        // 激活rt
        RenderTexture.active = renderTexture;
        // 保存当前状态
        GL.PushMatrix();
        // 设置矩阵
        GL.LoadPixelMatrix(0, renderTexture.width, renderTexture.height, 0);
        // 绘制笔刷图案
        x -= (int)(brushTexture.width * 0.5f);
        y -= (int)(brushTexture.height * 0.5f);
        Rect rect = new Rect(x, y, brushTexture.width, brushTexture.height);
        Graphics.DrawTexture(rect, brushTexture);
        // 弹出改变
        GL.PopMatrix();
        RenderTexture.active = null;
    }
    /// <summary>
    /// 按下
    /// </summary>
    public void OnPointerDown(PointerEventData data)
    {
        m_isMove = true;
    }
    /// <summary>
    /// 抬起
    /// </summary>
    public void OnPointerUp(PointerEventData data)
    {
        m_isMove = false;
    }
    private void Update()
    {
        if (m_isMove)
        {
            OnMouseMove(Input.mousePosition);
        }
    }
    /// <summary>
    /// 刮卡
    /// </summary>
    /// <param name="position">刮卡的屏幕坐标</param>
    private void OnMouseMove(Vector2 position)
    {
        // 获取刮的位置的ui局部坐标
        var uiLocalPos = ScreenPosToUiLocalPos(position, rectTransform, canvas.worldCamera);
        // 将局部坐标转化为uv坐标
        var uvX = (rectTransform.sizeDelta.x / 2f + uiLocalPos.x) / rectTransform.sizeDelta.x;
        var uvY = (rectTransform.sizeDelta.y / 2f + uiLocalPos.y) / rectTransform.sizeDelta.y;
        // 将uv坐标转化为Graphics坐标
        var x = (int)(uvX * renderTexture.width);
        // 注意,uv坐标系和Graphics坐标系的y轴方向相反
        var y = (int)(renderTexture.height - uvY * renderTexture.height);
        Draw(x, y);
    }
    /// <summary>
    /// 将屏幕坐标抓话为目标RectTransform的局部坐标
    /// </summary>
    /// <param name="screenPos">屏幕坐标</param>
    /// <param name="transform">目标RectTransform</param>
    /// <param name="cam">摄像机</param>
    /// <returns>ui局部坐标</returns>
    private Vector2 ScreenPosToUiLocalPos(Vector3 screenPos, RectTransform transform, Camera cam)
    {
        Vector2 uiLocalPos;
        if (RectTransformUtility.ScreenPointToLocalPointInRectangle(transform, screenPos, cam, out uiLocalPos))
        {
            return uiLocalPos;
        }
        return Vector2.zero;
    }
}
4.ShaderGraph
创建一个Unlit ShaderGraph,实现UI主贴图的Alpha通道与和RenderTexture的相乘。
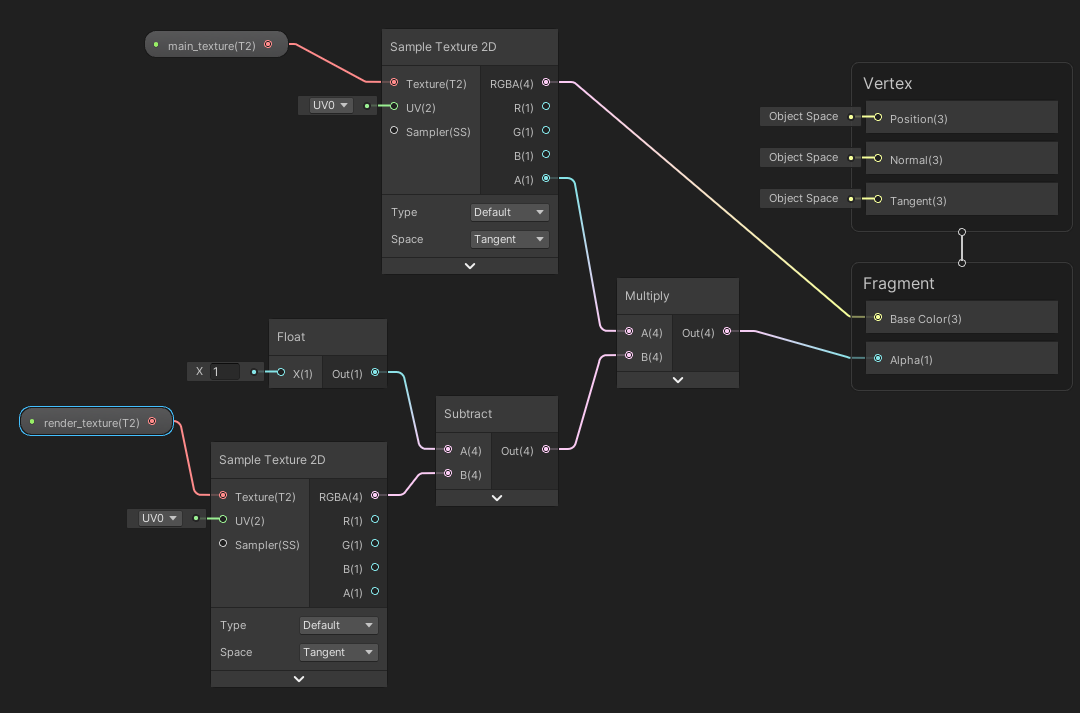
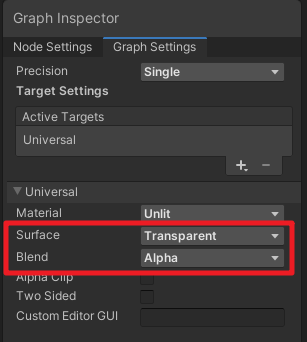
注意Graph Settings设置Surface为Transparent,Blend设置为Alpha。
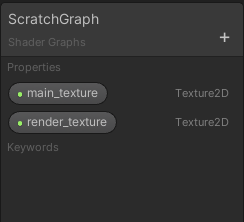
暴露出两个变量,方便在材质球中设置参数。
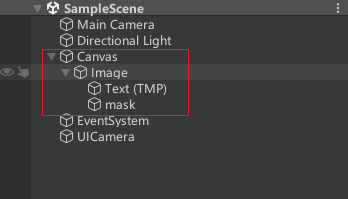
5. UI制作
准备刮刮乐的UI图片,导入Unity中

拼成界面,如下。mask层就是要被刮掉的层。text可以写文字,比如恭喜中奖之类的
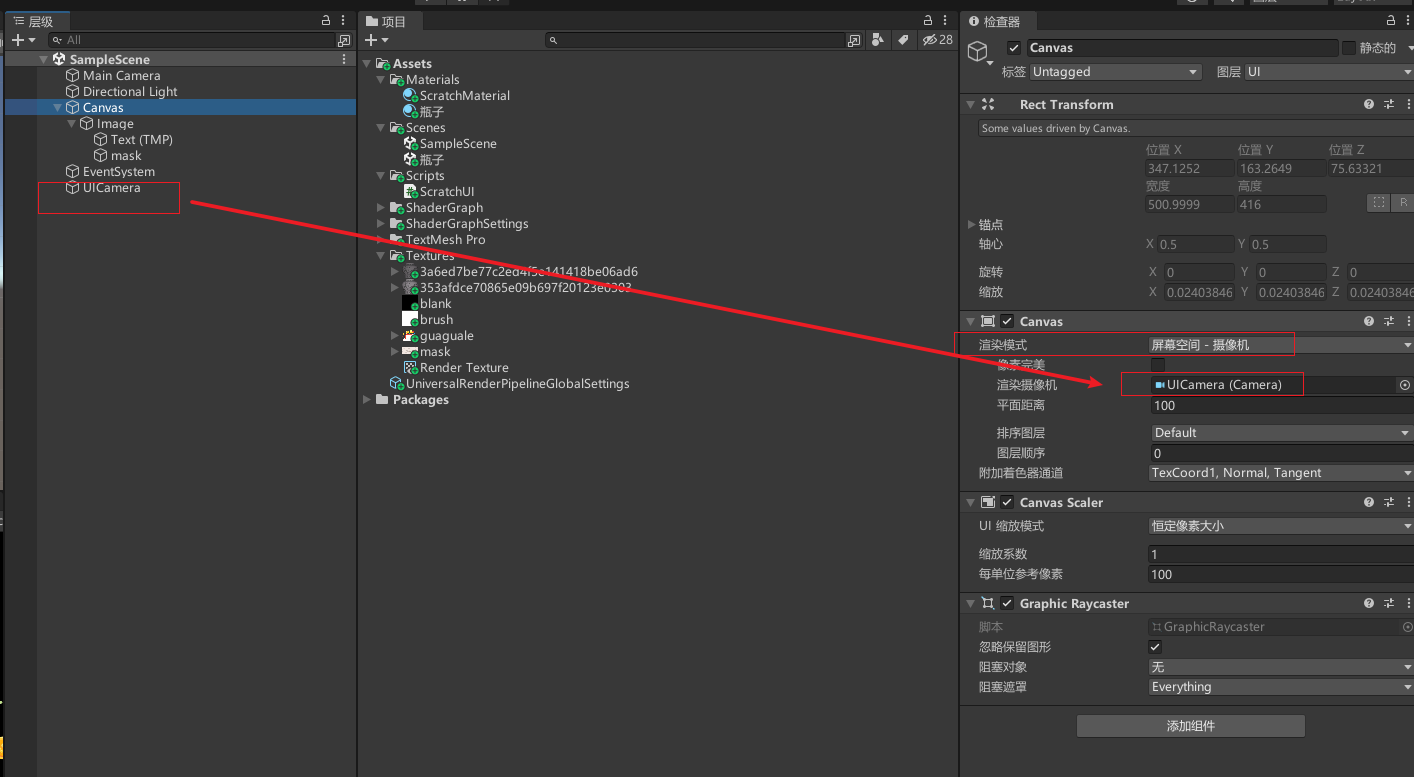
新建一个摄像机,用于渲染UI
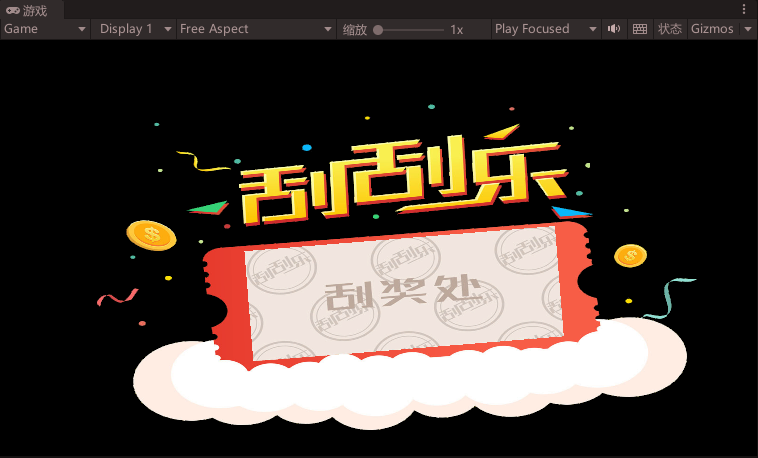
最终效果
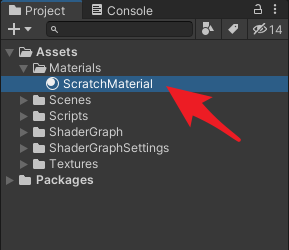
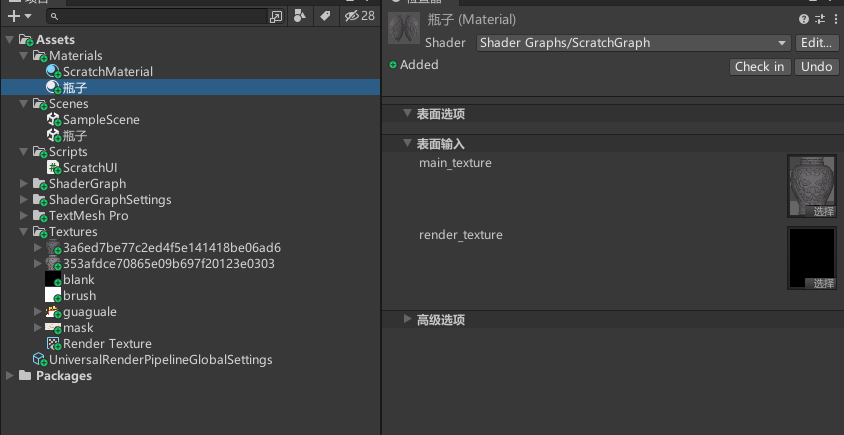
6.材质球
创建一个材质球ScratchMaterial,使用上面做的ShaderGraph,给材质球赋值贴图。
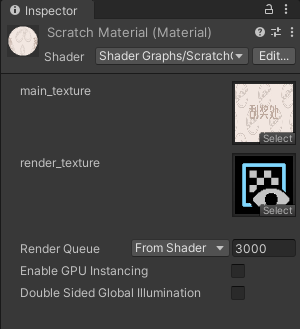
最后将材质赋给mask的Material。

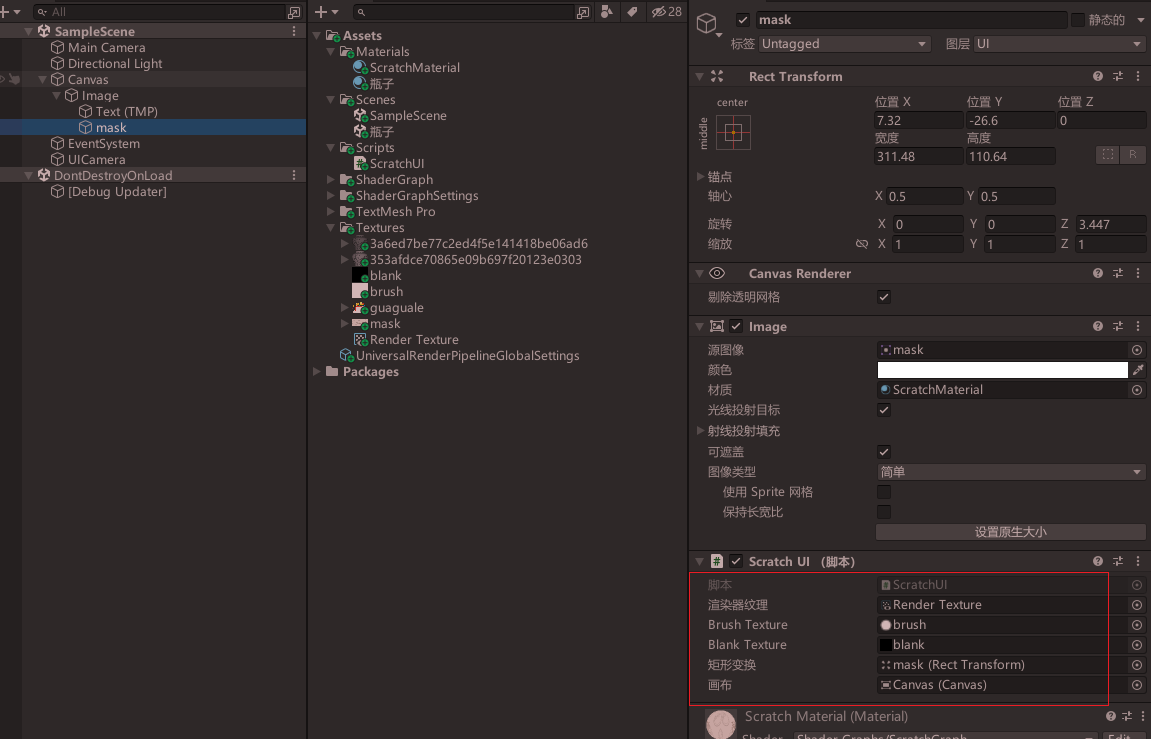
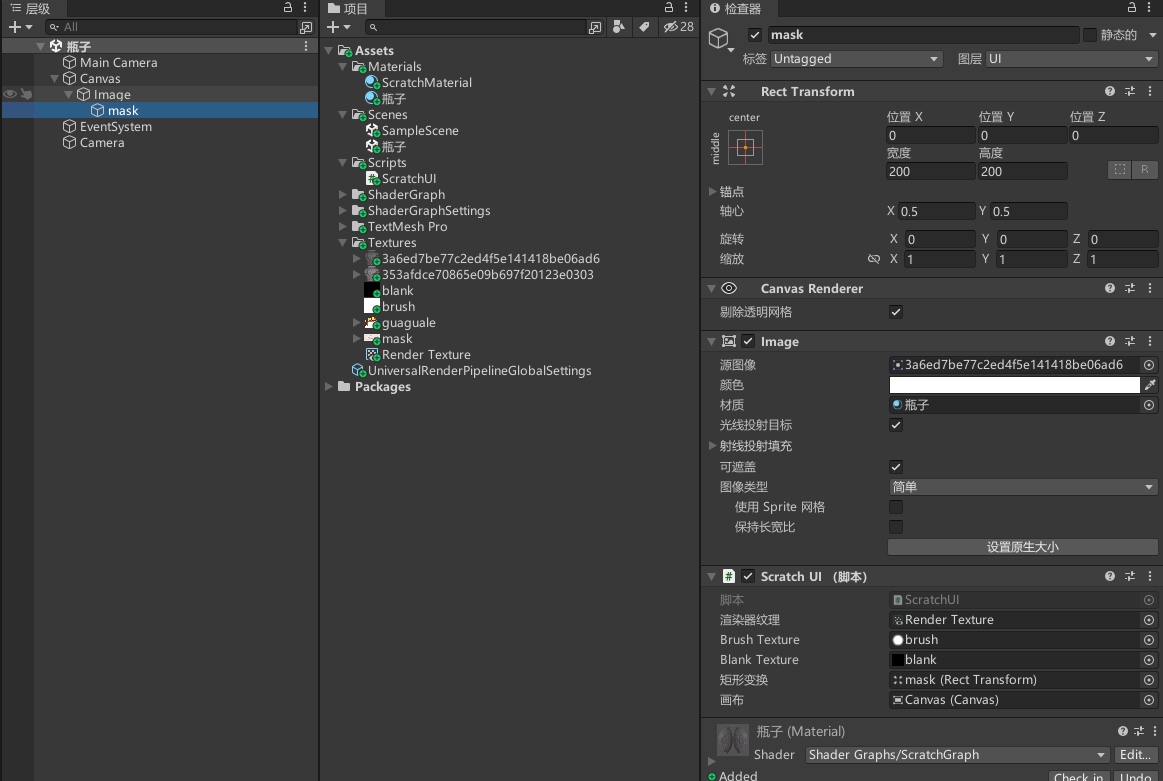
7.挂脚本
将ScratchUI.cs脚本附加到mask对象上,并进行如下参数配置:
- RenderTexture:用于存储Alpha通道的图像
- Brush Texture:使用白色圆点作为笔刷图案
- Blank Texture:采用纯黑色的空白纹理
- RectTransform:绑定mask的RectTransform组件,用于坐标转换
- Canvas:用于辅助坐标转换
四、运行测试

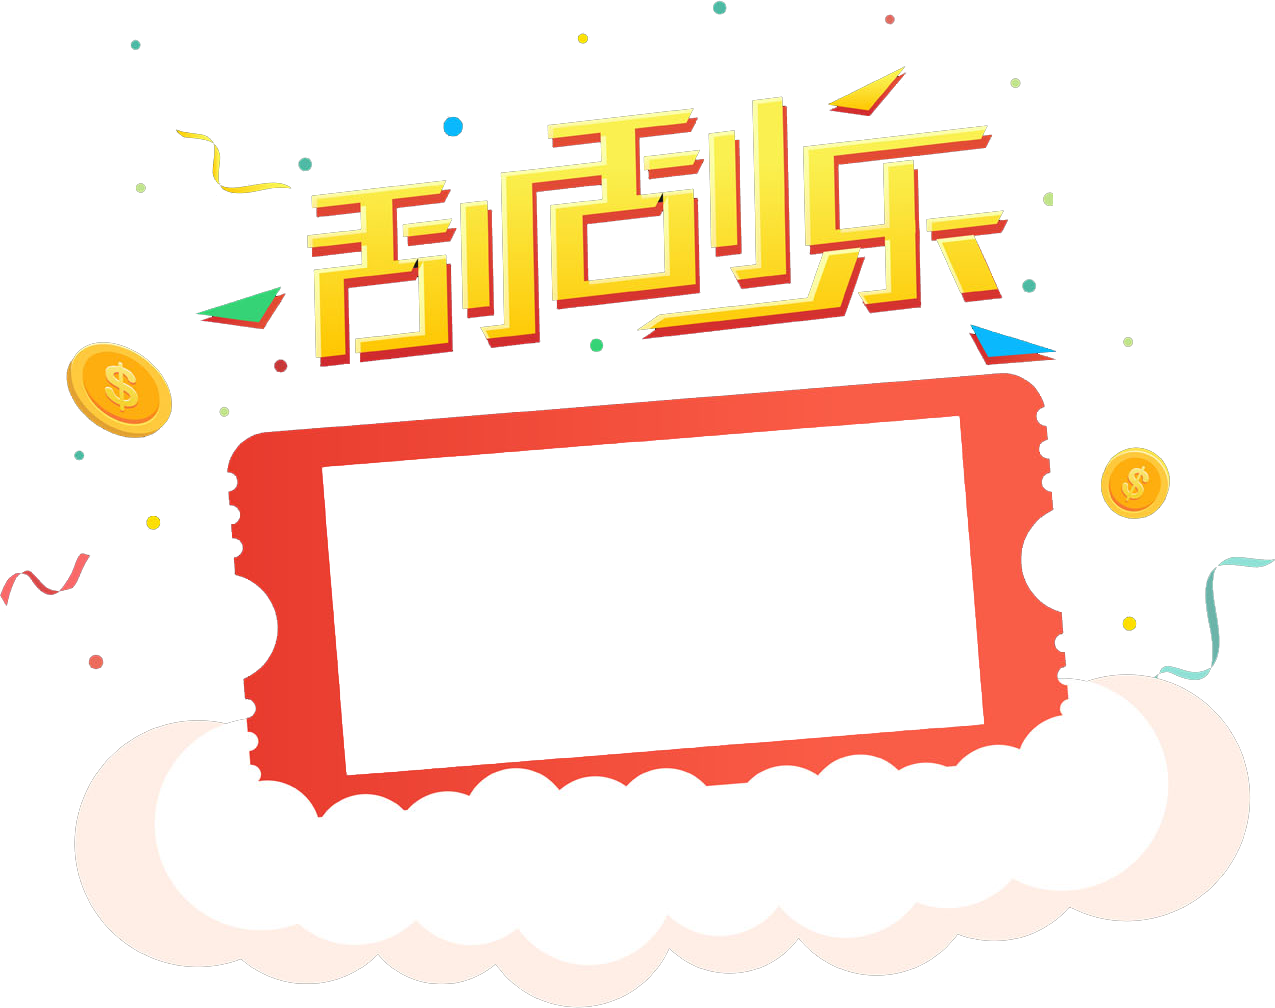
五、不同素材实现相同的效果
这是网友提供的素材
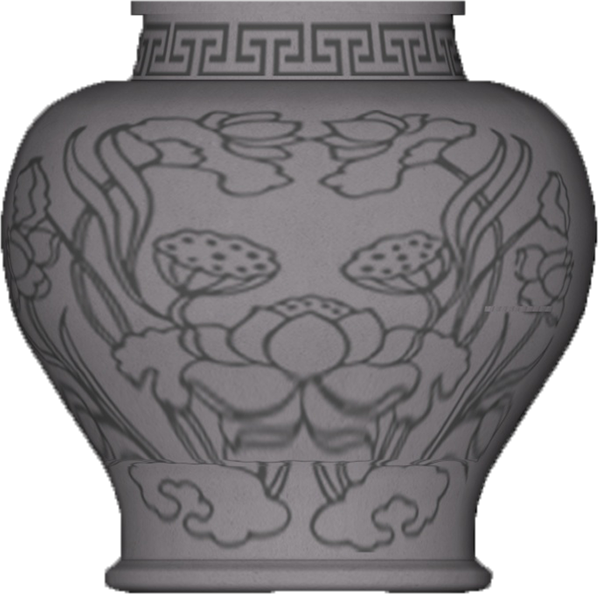
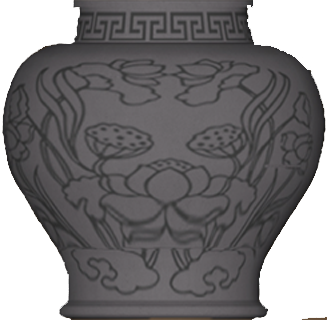
新建材质做相应的修改
其他照旧
最终效果
