Masonry
前言
Masonry是iOS上一个轻量级的Auto Layout 框架。可以使用链式语法写布局,比原生NSLayoutConstraint简介很多。这里读者就学习的Masonry内容作个总结。
链式语法:允许在同一条语句中连续调用多个方法,每个方法返回对象自身。
Masonry使用
核心方法
Masonry在使用时有三大核心方法:
- mas_makeConstraints:创建约束。第一次给控件添加约束时使用。
- mas_updateConstraints:更新约束。控件尺寸位置发生变化时,只修改block中的约束来更新部分约束而不影响其他布局。
- mas_remakeConstraints:移除约束。在需要彻底重新布局时(从竖屏切换成横屏),移除先前所有约束,然后添加新约束。
写法示例
这里展示两种写法:
- 指定依赖的视图
#import "ViewController.h"
#import <Masonry/Masonry.h>

@interface ViewController ()

@end

@implementation ViewController

- (void)viewDidLoad {
    [super viewDidLoad];
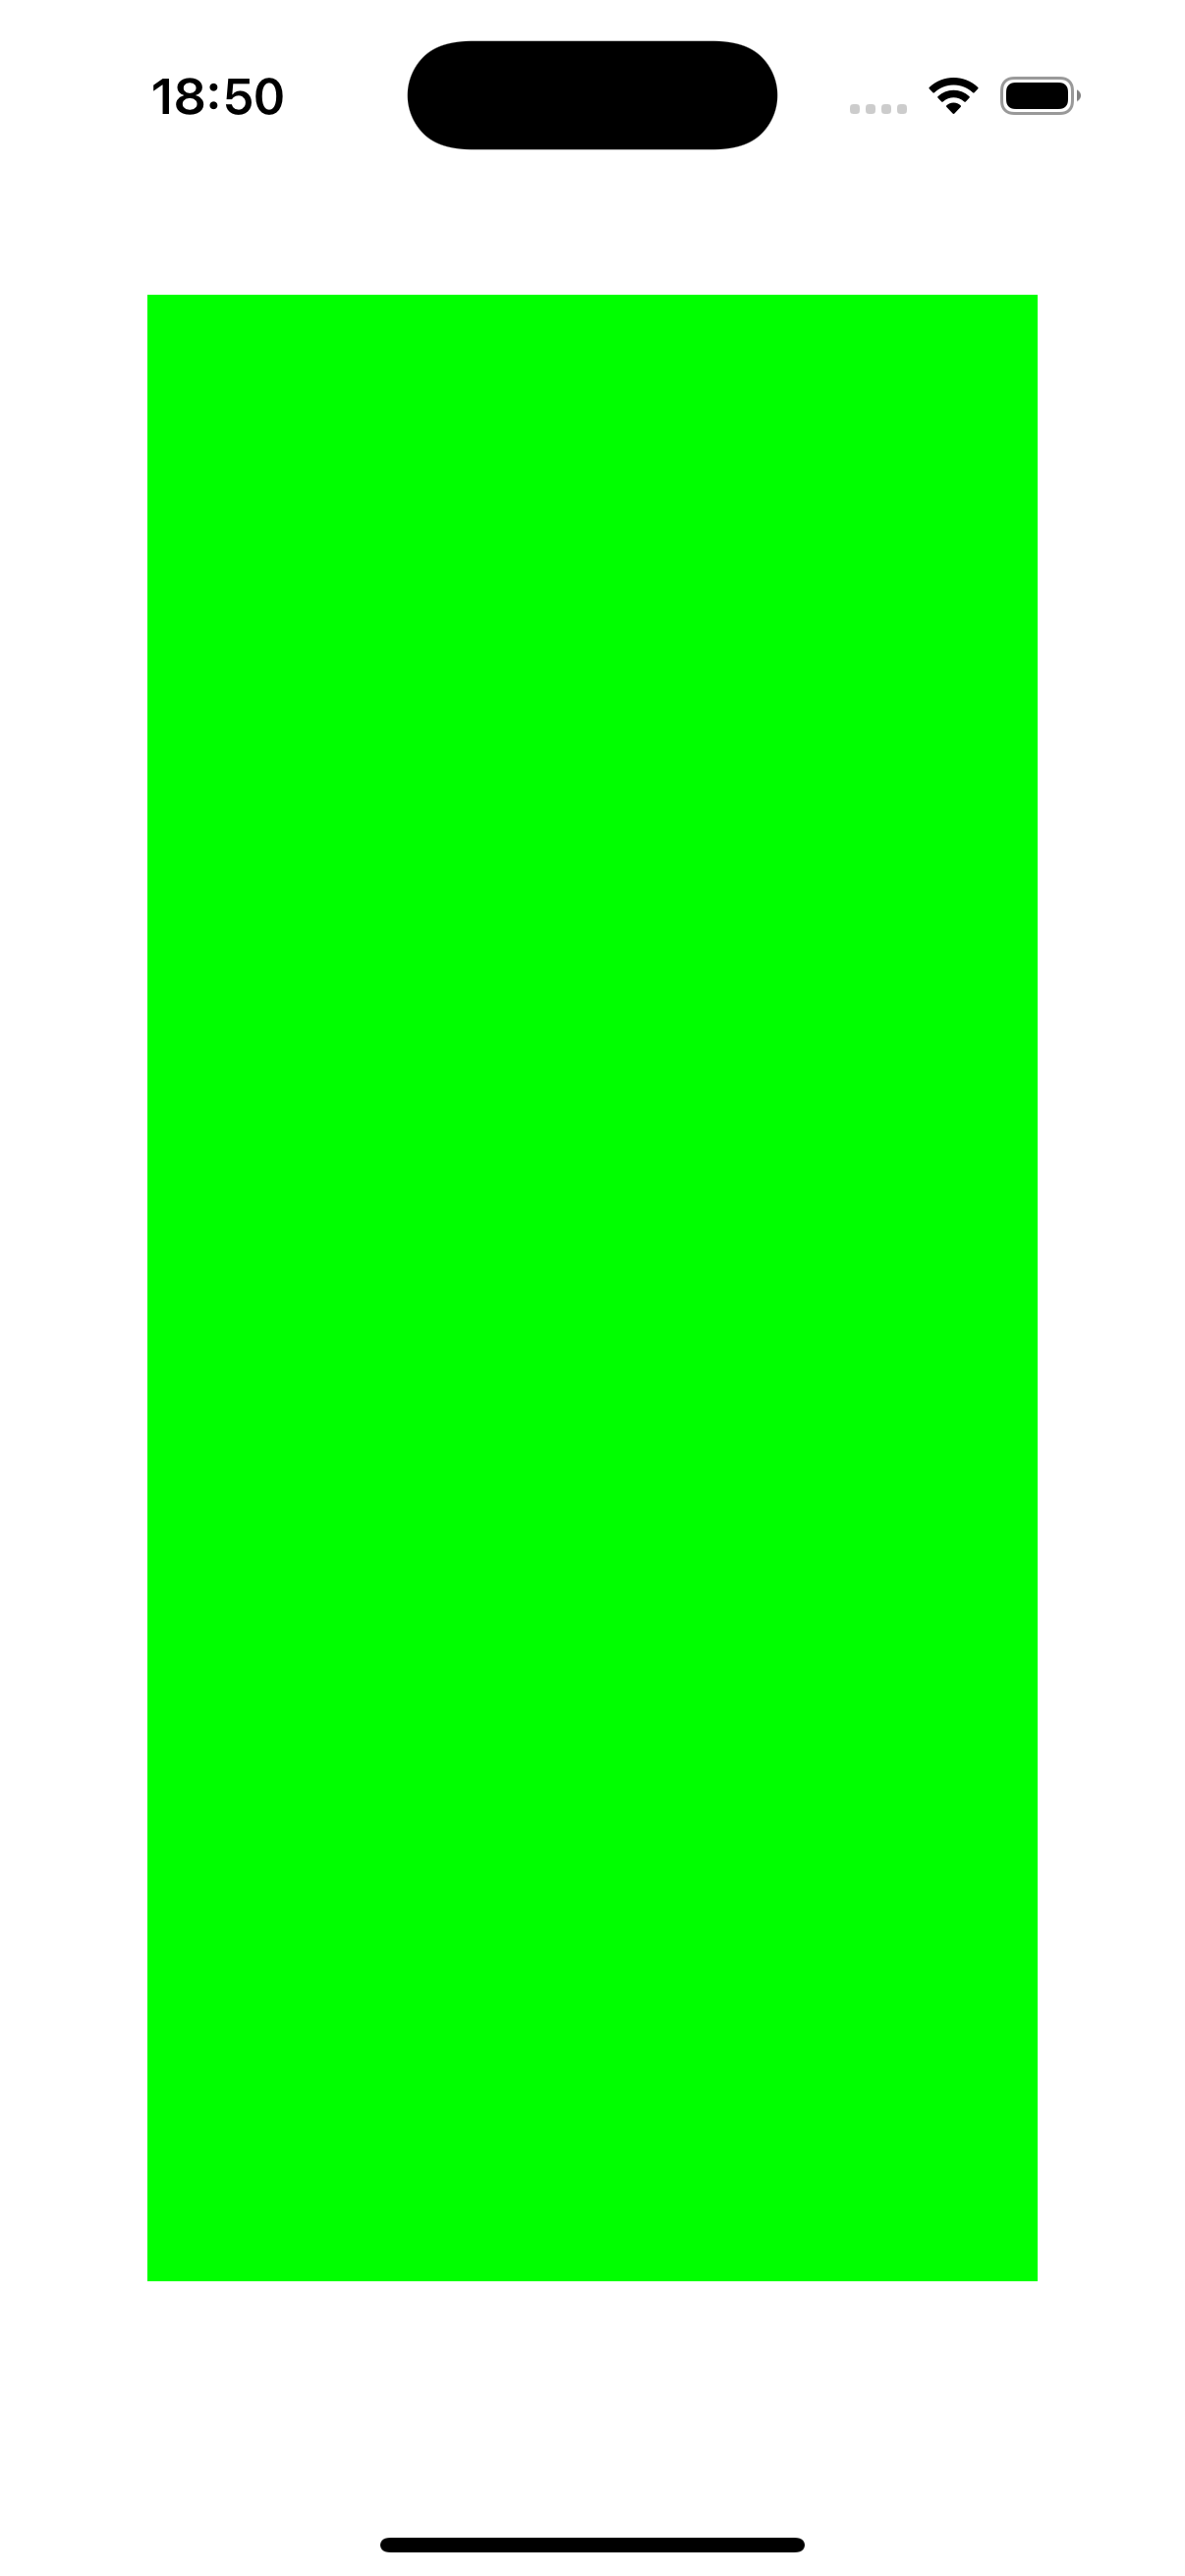
    UIView *view = [[UIView alloc] init];
    view.backgroundColor = [UIColor greenColor];
    [self.view addSubview:view];

    [view mas_makeConstraints:^(MASConstraintMaker *make) {
            make.left.mas_equalTo(self.view.mas_left).mas_offset(50);
            //等同于make.left.equalTo(self.view).with.offset(50);
            make.right.mas_equalTo(self.view.mas_right).mas_offset(-50);
            make.top.mas_equalTo(self.view.mas_top).mas_offset(100);
            make.bottom.mas_equalTo(self.view.mas_bottom).mas_offset(-100);
    }];

}

@end
- 直接传值
这种写法等同于相对父视图的约束加偏移量,适合父子视图的简单布局。
[view mas_makeConstraints:^(MASConstraintMaker *make) {
            make.left.mas_equalTo(50);
            make.right.mas_equalTo(-50);
            make.top.mas_equalTo(100);
            make.bottom.mas_equalTo(-100);
    }];

总结一下,上述第一种写法适用于复杂的UI,而第二种简单快捷,只用于简单的父子关系的视图。
这里补充两个我在练习demo时遇到的问题:
- .xcworkspace 🆚 .xcodeproj
- .xcworkspace:是一个Xcode基础工程文件
- .xcodeproj:是工作区文件,可以把多个.xcworkspace项目融合在一起,即将主工程和第三方依赖工程组合在一起
因而我们在导入第三方库后,我们的项目代码应该从.xcodeproj打开进行编辑
- #import “Masonry.h” 🆚 #import <Masonry/Masonry.h>
- #import “Masonry.h”:Xcode会现在当前工程目录中查找头文件,找不到后再去Pods路径查找
- #import <Masonry/Masonry.h>:表示到全局文件去搜索路径,也就是直接通过Pods搜索路径找到
CocoaPods 现在默认使用 #import <Masonry/Masonry.h>
具体示例
在上面简单的布局上,我们进行一个升级来使用Masonry来实现布局:
self.fatherView = [[UIView alloc] init];
self.fatherView.backgroundColor = [UIColor greenColor];
[self.view addSubview:self.fatherView];

[self.fatherView mas_makeConstraints:^(MASConstraintMaker *make) {
    make.left.mas_equalTo(50);
    make.right.mas_equalTo(-50);
    make.top.mas_equalTo(100);
    make.bottom.mas_equalTo(-100);
}];

self.sonView = [[UIView alloc] init];
self.sonView.backgroundColor = [UIColor grayColor];
[self.fatherView addSubview:self.sonView];

[self.sonView mas_makeConstraints:^(MASConstraintMaker *make) {
    make.left.mas_equalTo(50);
    make.right.mas_equalTo(-50);
    make.top.mas_equalTo(50);
    make.bottom.mas_equalTo(-50);
}];

//居中布局
//    [self.sonView mas_makeConstraints:^(MASConstraintMaker *make) {
//        make.center.mas_equalTo(0);
//        make.height.mas_equalTo(50);
//        make.width.mas_equalTo(50);
//    }];
UIButton *btn = [UIButton buttonWithType:UIButtonTypeCustom];
btn.frame = CGRectMake(20, 20, 50, 50);
btn.backgroundColor = [UIColor blackColor];
[btn addTarget:self action:@selector(pressBtn) forControlEvents:UIControlEventTouchUpInside];
[self.view addSubview:btn];

-(void)pressBtn {
    [self.fatherView mas_makeConstraints:^(MASConstraintMaker *make) {
        make.left.mas_equalTo(30);
        make.right.mas_equalTo(-30);
        make.top.mas_equalTo(60);
        make.bottom.mas_equalTo(-60);
    }];

    [self.sonView mas_makeConstraints:^(MASConstraintMaker *make) {
        make.left.mas_equalTo(10);
        make.right.mas_equalTo(-10);
        make.top.mas_equalTo(10);
        make.bottom.mas_equalTo(-10);
    }];
}
展示一下效果:

Masonry使用原因
上面我们学习了Masonry的简单使用方法后也能明显的看出放弃传统的AutoLayout布局的原因,即通过链式调用的方式来描述布局,使得排版代码更加简洁易读。
这里展示一下传统的AutoLayout布局来进一步体现代码上的区别:
- 传统 Auto Layout
系统给的自动布局API笔者都通过注释的方式体现在了代码中。
UIView *view = [[UIView alloc] init];
view.backgroundColor = [UIColor greenColor];
[self.view addSubview:view];

//关闭Autoresizing转换为Auto Layout
[view setTranslatesAutoresizingMaskIntoConstraints:NO];

//宽高约束
NSLayoutConstraint *widthConstraint = [NSLayoutConstraint constraintWithItem:view//约束视图
                                       attribute:NSLayoutAttributeWidth//约束视图的属性
                                       relatedBy:NSLayoutRelationEqual//枚举值
                                       //NSLayoutRelationEqual:等于
                                       //NSLayoutRelationLessThanOrEqual:小于等于
                                       //NSLayoutRelationGreaterThanOrEqual:大于等于
                                       toItem:nil//参考视图
                                       attribute:NSLayoutAttributeNotAnAttribute//参考视图属性
                                                                  multiplier:1//约束视图和参考视图比例
                                                                    constant:100];//约束值额外偏移量

NSLayoutConstraint *heightConstraint = [NSLayoutConstraint constraintWithItem:view
                                                                    attribute:NSLayoutAttributeHeight
                                                                    relatedBy:NSLayoutRelationEqual
                                                                       toItem:nil
                                                                    attribute:NSLayoutAttributeNotAnAttribute
                                                                   multiplier:1
                                                                     constant:100];
[view addConstraint:widthConstraint];
[view addConstraint:heightConstraint];

//水平垂直约束
NSLayoutConstraint *centerX = [NSLayoutConstraint constraintWithItem:view
                                                           attribute:NSLayoutAttributeCenterX
                                                           relatedBy:NSLayoutRelationEqual
                                                              toItem:self.view
                                                           attribute:NSLayoutAttributeCenterX
                                                          multiplier:1
                                                            constant:0];
NSLayoutConstraint *centerY = [NSLayoutConstraint constraintWithItem:view
                                                           attribute:NSLayoutAttributeCenterY
                                                           relatedBy:NSLayoutRelationEqual
                                                              toItem:self.view
                                                           attribute:NSLayoutAttributeCenterY
                                                          multiplier:1
                                                            constant:0];

[self.view addConstraint:centerX];
[self.view addConstraint:centerY];
Masonry约束优先级
优先级是用于处理发生冲突的约束布局的。
这是设置Masonry约束优先级的基础方法:
[self.fatherView mas_makeConstraints:^(MASConstraintMaker *make) {
  make.width.mas_equalTo(200).priorityHigh();//高优先级
  make.height.mas_equalTo(100).priorityLow();//低优先级
  make.width.mas_equalTo(200).priorityMedium();//中等优先级
}];
除此之外,还可以自定义数值来表示优先级,如果像上面的默认不设置时,就是1000,表示必须满足。
make.width.mas_equalTo(200).priority(600);
通过具体例子展示一下
UIView *view1 = [[UIView alloc] init];
view1.backgroundColor = [UIColor greenColor];
[self.view addSubview:view1];

[view1 mas_makeConstraints:^(MASConstraintMaker *make) {
        make.left.mas_equalTo(self.view.mas_left).mas_offset(50);
        make.right.mas_equalTo(self.view.mas_right).mas_offset(-50);
        make.top.mas_equalTo(self.view.mas_top).mas_offset(500);
        make.bottom.mas_equalTo(self.view.mas_bottom).mas_offset(-100);
}];


UIView *view2 = [[UIView alloc] init];
view2.backgroundColor = [UIColor yellowColor];
[self.view addSubview:view2];

[view2 mas_makeConstraints:^(MASConstraintMaker *make) {
        make.left.mas_equalTo(self.view.mas_left).mas_offset(50);
        make.right.mas_equalTo(self.view.mas_right).mas_offset(-50);
        make.top.mas_equalTo(self.view.mas_top).mas_offset(100);
        make.bottom.mas_equalTo(self.view.mas_bottom).mas_offset(-400);
}];

UIButton *btn = [UIButton buttonWithType:UIButtonTypeCustom];
btn.backgroundColor = [UIColor blackColor];
[self.view addSubview:btn];

[btn mas_makeConstraints:^(MASConstraintMaker *make) {
    make.center.equalTo(view1).priorityLow();
    make.center.equalTo(view2).priorityHigh();
}];

可以看的出来,因为优先级的设置,按钮显示到了view2上,如果没有优先级设置,按钮会按照代码顺序显示在view1上。
总结
以上就是我对Masonry的学习总结,在今后的学习中将会多练习使用Cocoapods导入第三方库和Masonry布局来提高我的代码性能。