Windows 部署 Gerrit 与 Apache24 并配置反向代理
准备工作
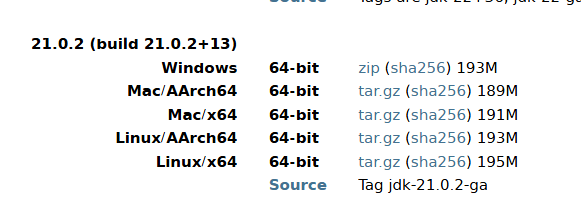
- 下载并安装 Java JDK
- 确保配置 JAVA_HOME 环境变量
博主这里安装openjdk21
https://jdk.java.net/archive/
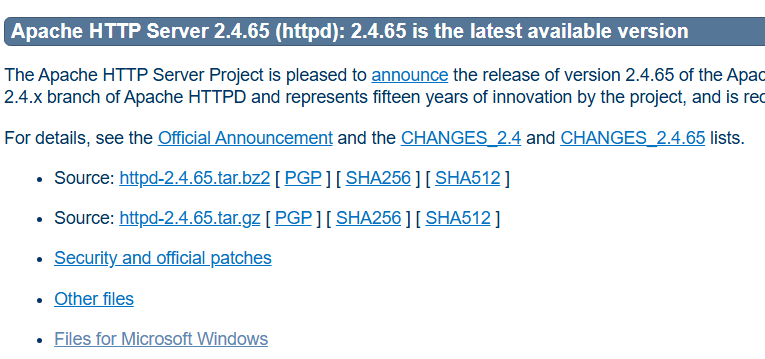
- 下载所需软件
- Apache24:https://httpd.apache.org/download.cgi
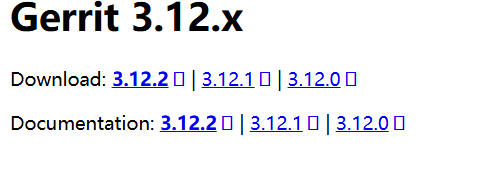
- Gerrit:https://www.gerritcodereview.com/3.12.html
- Apache24:https://httpd.apache.org/download.cgi
安装 Apache24
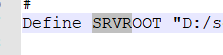
将下载的 Apache24 解压到合适的目录(例如:
C:\Apache24)Apache24\conf路径下,用记事本软件打开“httpd.conf”文件
修改“Define SRVROOT”为安装目录
测试 Apache 是否能正常运行
cd C:\Apache24\bin
httpd.exe -k install -n apache
httpd.exe -k start
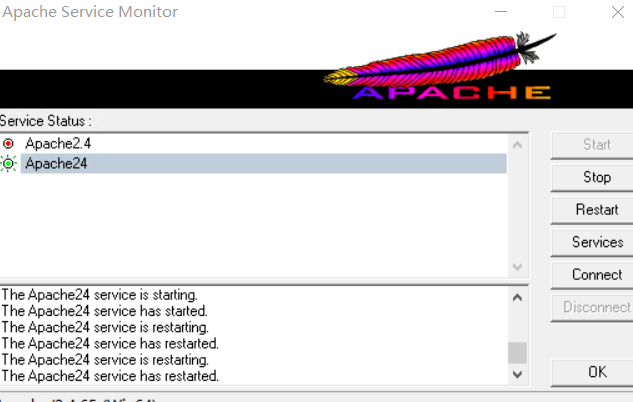
计算机服务中出现apache的服务,可以手动启动
4. 打开浏览器访问 http://localhost,如能看到 “It works!” 则表示安装成功
安装 Gerrit
创建 Gerrit 安装目录(例如:
C:\gerrit)打开命令提示符,执行 Gerrit 安装命令
java -jar gerrit-<version>.war init --batch -d C:\gerrit
可以修改-d后的路径,修改安装位置
- 配置 Gerrit(在安装过程中或修改
C:\gerrit\etc\gerrit.config)
注意替换canonicalWebUrl 中的ip
[gerrit]
	basePath = git
	canonicalWebUrl = http://10.*.37.10:8080/
	serverId = 8a656c4b-3c51-4dcf-af46-de35d2770449
[container]
	javaOptions = "-Dflogger.backend_factory=com.google.common.flogger.backend.log4j.Log4jBackendFactory#getInstance"
	javaOptions = "-Dflogger.logging_context=com.google.gerrit.server.logging.LoggingContext#getInstance"
	user = Administrator
	javaHome = D:\\software\\jdk\\openjdk-21.0.1_windows-x64_bin\\jdk-21.0.1
[index]
	type = lucene
[auth]
	type = HTTP
[receive]
	enableSignedPush = false
[sendemail]
	smtpServer = localhost
[sshd]
	listenAddress = *:29418
[httpd]
	listenUrl = http://*:8080/
[cache]
	directory = cache
配置 Apache 反向代理
启用 Apache 必要模块,编辑
C:\Apache24\conf\httpd.conf,确保以下模块被启用:Define SRVROOT "D:\Apache24" ... ServerName 10.*.37.10:80 ... LoadModule proxy_module modules/mod_proxy.so LoadModule proxy_http_module modules/mod_proxy_http.so LoadModule rewrite_module modules/mod_rewrite.so LoadModule proxy_ftp_module modules/mod_proxy_ftp.so LoadModule negotiation_module modules/mod_negotiation.so LoadModule authn_file_module modules/mod_authn_file.so LoadModule auth_basic_module modules/mod_auth_basic.so LoadModule authz_user_module modules/mod_authz_user.so在
httpd.conf末尾添加反向代理配置:
注意替换gerrit.passwd路径为真实路径<VirtualHost *:80> ServerName localhost ProxyRequests Off ProxyVia Off ProxyPreserveHost On <Proxy *:80> Require all granted </Proxy> <Location "/login/"> AuthType Basic AuthName "Gerrit Code Review" Require valid-user AuthBasicProvider file AuthUserFile F:/Gerrit/etc/gerrit.passwd </Location> AllowEncodedSlashes On ProxyPass / http://localhost:8080/
配置账号密码认证
创建密码文件(需要使用 Apache 的 htpasswd 工具)
-c参数为创建新的passwd文件cd C:\Apache24\bin htpasswd.exe -c C:\Apache24\conf\gerrit.passwd <用户名>执行后会提示输入密码,这将创建第一个用户
添加更多用户(注意去掉
-c参数,否则会覆盖现有文件)htpasswd.exe C:\Apache24\conf\gerrit.passwd <新用户名>
启动服务
- 重启 Apache 服务
cd C:\Apache24\bin
httpd.exe -k restart
2. 启动 Gerrit 服务
C:\gerrit\bin\gerrit.sh start
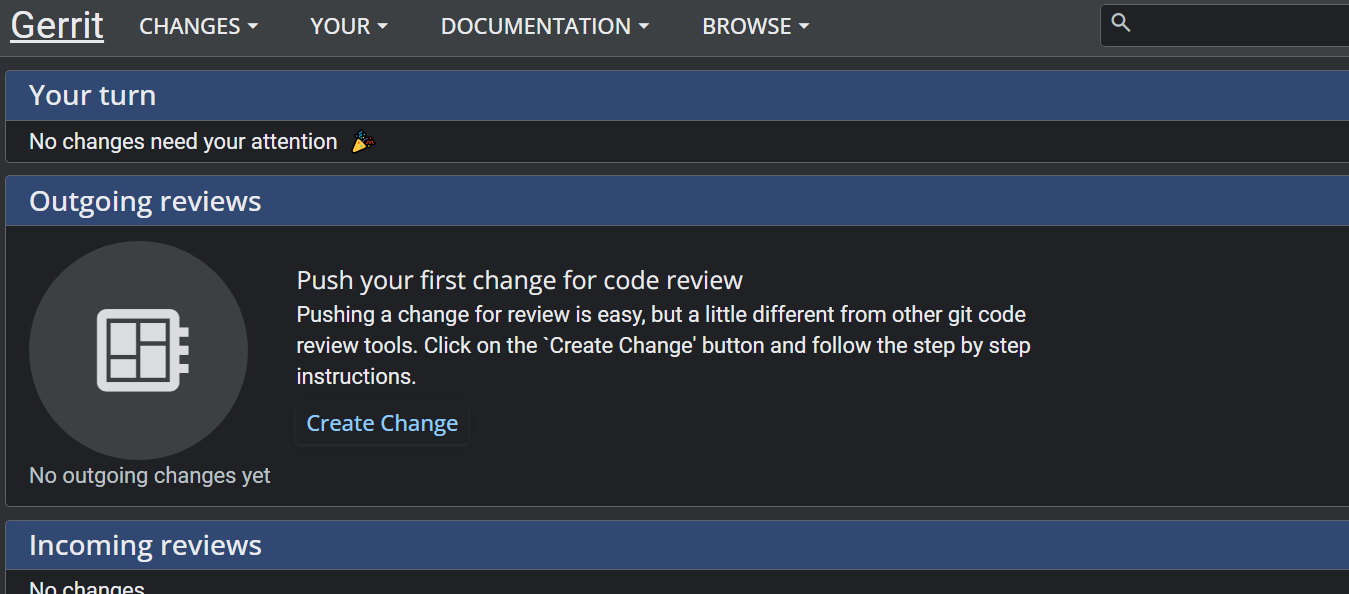
- 访问 Gerrit:打开浏览器访问 http://localhost,使用你创建的账号密码登录
常见问题解决
端口冲突:如果 80 端口被占用,可以修改 Apache 的监听端口(在 httpd.conf 中修改 Listen 指令)
权限问题:确保 Gerrit 和 Apache 有足够的权限访问各自的目录
服务启动失败:查看 Apache 的错误日志(
C:\Apache24\logs\error.log)和 Gerrit 的日志(C:\gerrit\logs\error_log)寻找线索如果无法通过 http://localhost 访问 Gerrit,可以先测试直接访问 Gerrit 端口 http://localhost:8081 确认 Gerrit 本身是否正常运行
完成以上步骤后,你应该已经成功在 Windows 上部署了 Gerrit 并通过 Apache 实现了反向代理和账号密码认证。