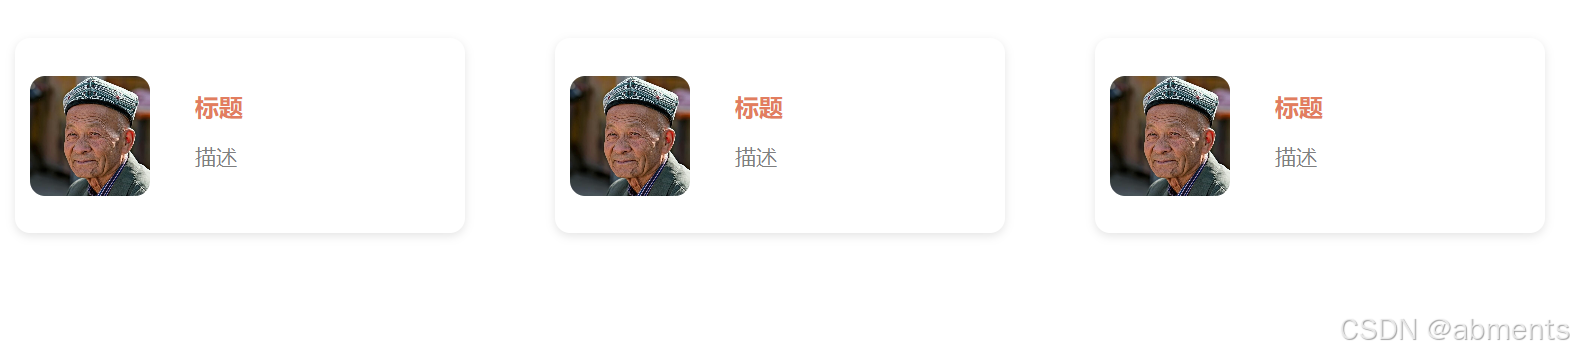
效果展示:
代码展示
<!DOCTYPE html>
<html lang="en">
<head>
<meta charset="UTF-8">
<meta name="viewport" content="width=device-width, initial-scale=1.0">
<title>图片展示</title>
</head>
<body>
<div class="menu-container">
<div class="col-sm-3 menu-card" onclick="window.open('${site.url}', '_blank')">
<img src="25.jpg">
<div class="menu-content">
<h2>标题</h2>
<p>描述</p>
</div>
</div>
<div class="col-sm-3 menu-card" onclick="window.open('${site.url}', '_blank')">
<img src="25.jpg">
<div class="menu-content">
<h2>标题</h2>
<p>描述</p>
</div>
</div>
<div class="col-sm-3 menu-card" onclick="window.open('${site.url}', '_blank')">
<img src="25.jpg">
<div class="menu-content">
<h2>标题</h2>
<p>描述</p>
</div>
</div>
</div>
</body>
</html>
<style>
.menu-card {
cursor: pointer;
width: 300px;
height: 130px;
margin: 20px;
background-color: #fff;
border-radius: 10px;
box-shadow: 0 2px 6px rgba(0, 0, 0, 0.1);
overflow: hidden;
transition: transform 0.3s;
display: flex;
align-items: center;
}
.menu-container {
display: flex;
flex-wrap: wrap;
justify-content: center;
gap: 20px;
padding: 20px;
}
.menu-card:hover {
transform: translateY(-5px);
}
.menu-card img {
width: 80px;
height: 80px;
margin-left: 10px;
object-fit: cover;
border-radius: 10px;
}
.menu-content {
padding: 20px;
}
.menu-content h2 {
font-size: 16px;
margin-left: 10px;
margin-bottom: 10px;
color: #e27d60;
}
.menu-content p {
font-size: 14px;
margin-left: 10px;
color: #7f7f7f;
margin-bottom: 20px;
}
.menu-content div a {
display: inline-block;
padding: 8px 16px;
background-color: #e27d60;
color: #fff;
text-decoration: none;
border-radius: 4px;
transition: background-color 0.3s;
}
.menu-content a:hover {
background-color: #bf6043;
}
</style>
碎碎念
- cursor: pointer; 可以把鼠标变为小手
- width: 300px; 设置容器的宽度
- height: 130px; 设置容器的高度
- margin: 20px; 设置相邻容器之间的距离(外边框距离),margin可以单独对上下左右进行设置。如margin-left margin-right …
- padding: 20px; 设置内边框距离
- background-color: #fff; 设置背景色
- border-radius: 10px; 设置边框圆角
- box-shadow: 0 2px 6px rgba(0, 0, 0, 0.1); 设置边框阴影部分
- overflow: hidden; 超出部分被隐藏
- transition: transform 0.3s; 设置移动时间
- transform: translateY(-5px); 设置移动距离
- display: flex; 设置布局类型
- align-items: center; 中间防止
- justify-content: center; 内容放在中间
类的选择 还可以通过.menu-content div a方式按照层级选择标签
div标签提供容器功能,一般标签之间以纵向排列,如果需要横排需要改变display布局方式