- 封装导航栏自定义组件
创建 nav-bar.vue
<script setup>
	import {
		onReady
	} from '@dcloudio/uni-app'
	import {
		ref
	} from 'vue';
	const props=defineProps(['navBackgroundColor'])
	const statusBarHeight = ref()
	const navHeight = ref()
	onReady(() => {
		uni.getSystemInfo({
			success: (e) => {
				statusBarHeight.value = e.statusBarHeight
				const custom = uni.getMenuButtonBoundingClientRect()
				navHeight.value = custom.height + (custom.top - e.statusBarHeight) * 2
			}
		})
	})
</script>
<template>
	<view :style="{'background-color': props.navBackgroundColor}">
		<view :style="{'height':statusBarHeight+'px'}"></view>
		<view class="nav" :style="{'height':navHeight+'px'}">
			<view class="left">
				<slot name="left"></slot>
			</view>
			<view class="center">
				<slot name="center"></slot>
			</view>
			<view class="right"></view>
		</view>
	</view>
</template>
<style lang="scss" scoped>
	.nav {
		font-size: 30rpx;
		height: 100%;
		padding: 0 30rpx;
		display: flex;
		justify-content: space-between;
		align-items: center;

		.left {
			width: 100rpx;
		}

		.right {
			width: 100rpx;
		}
	}
</style>
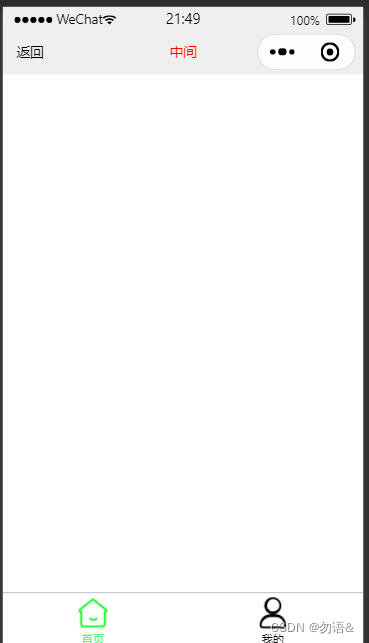
- 测试使用自定义导航
<script setup>
const back=()=>{
	console.log('back')
}
</script>

<template>
		<nav-bar navBackgroundColor="#efefef">
			<template #left>
				<text @click="back">返回</text>
			</template>
			<template #center style="color: red;">
				中间
			</template>
		</nav-bar>
</template>

<style lang="scss" scoped>

</style>